 I’m one of those people. The ones who get giddy as soon as the weather starts to change, the temperature dips, the first flakes fall from the sky, and the store shelves start to fill with Holiday Cheer. I do hold off on putting up the tree until Dec 1st, only because I have a toddler who loves to take the decorations off and throw them around. However, this year is extra exciting! I’m spending the first 8 days of December in Mexico where I will be getting married! We have been planning this for over a year now, and I think it will be the perfect kick-off to the Christmas Season. Since we won’t be around to put up the tree on December 1st (the day our flight leaves), I thought it was extra appropriate to release this Basket as my first Holiday Design of 2017! Drum roll, please…..
![]()
![]()
I am so excited to be a part of the annual 12 Weeks of Christmas CAL organized by Maria of Pattern Paradise, and sponsored by Red Heart Yarns!
For all 12 projects and additional event info, click HERE.
FIND THE FACEBOOK EVENT HERE ===> https://www.facebook.com/events/325810794559811/
(Must be a member of the Crochet Playgroup FB group to see the event)
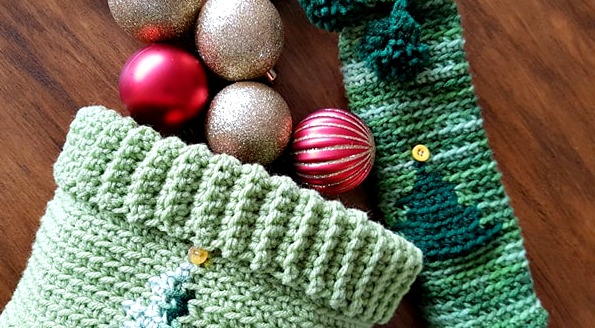
This pattern includes instructions for both the Basket (6″ tall x 8″ diameter), and the Bottle Cozy (12.5″ tall x 3″ diameter). Perfect to fill with Christmas goodies ❤
Materials
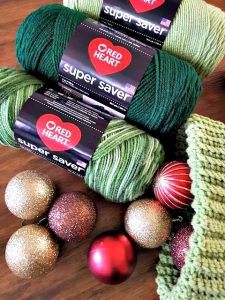
Yarn: Worsted Weight #4 yarn, I used Red Heart Super Saver in 4 colors. See individual patterns for yardage and colors used.
Hook: J (6.0 mm) hook and H (5.0 mm) hook.
Tapestry Needle for weaving in ends.
Measuring Tape.
Optional: 0.5” Yellow Button.
Pattern Key
- ch: chain
- st(s): stitch(es)
- sk: skip
- sp: space
- slst: slip stitch
- sc: single crochet
- BLO: back loop only
Experience Level
Intermediate
Gauge
4”x4” = 8 sc and 8 rows in BLO
Pattern Instructions
Basket
Approximately 175 yards of Guava, 2 yards Hunter Green, 2 yards Green Tones, 2 yards Honeydew.
1: Using Guava and a J hook, start with a Magic Circle ch2, 12 dc in circle, join to first dc. (12)
2: Ch2, 2dc in each st around, join. (24)
3: Ch2, dc in first, 2dc in next, *dc in next, 2dc in next, repeat from * around, join. (36)
4: Ch2, dc in first 2, 2dc in next, *dc in next 2, 2dc in next, repeat from * around, join. (48)
5: Ch2, dc in first 3, 2dc in next, *dc in next 3, 2dc in next, repeat from * around, join. (60)
6: Ch2, dc in first 4, 2dc in next, *dc in next 4, 2dc in next, repeat from * around, join. (72)
7: Ch1, working in the BLO (now and throughout), sc around, join. (72 now and throughout)
The Tree section of the Basket is also worked entirely in the BLO. When working the different colors of the Basket, the instructions will refer to them only as (A) for Guava, (B) for Hunter Green, (C) for Green Tones, (D) for Honeydew, before the number of sts you need to work in that particular color. For example, (A) 2, (B) 1, means to sc 2 sts in color Guava, then sc 1 st in color Hunter. You may carry the colors behind one another when working the color changes, or cut the yarn at each color change and weave in ends. This is personal preference depending on how it affects tension. If color changes are pulled too tightly, the Basket will pucker. See color chart below on the left.
8: Ch1, (A) 30, (B) 5, (C) 4, (D) 4, (A) 29, join.
9: Ch1, (A) 33, (B) 1, (C) 3, (D) 3, (A) 32, join.
10: Ch1, (A) 31, (B) 4, (C) 3, (D) 4, (A) 30, join.
11: Ch1, (A) 33, (B) 1, (C) 3, (D) 3, (A) 32, join.
12: Ch1, (A) 32, (B) 3, (C) 1, (D) 1, (C) 1, (D) 3, (A) 31, join.
13: Ch1, (A) 34, (B) 1, (C) 2, (D) 2, (A) 33, join.
14: Ch1, (A) 33, (B) 2, (C) 1, (D) 4, (A) 32, join.
15: Ch1, (A) 35, (B) 1, (C) 1, (D) 1, (A) 34, join.
16: Ch1, (A) 34, (B) 1, (C) 1, (D) 3, (A) 33, join. Fasten off B.
17: Ch1, (A) 35, (C) 1, (D) 2, (A) 34, join. Fasten off C.
18: Ch1, (A) 36, (D) 1, (A) 35, join.
19: Ch1, (A) 36, (D) 1, (A) 35, join. Fasten off D.
20-22: Ch1, sc around, join.
23: Now starting on the Cuff, ch13, sc in 2nd and across, slst to next sc. (12 sc)
24: Slst in next sc, turn, working in the BLO, sk over 2 slst, sc across each sc. (12 sc)
25: Ch1, turn, working in the BLO, sc across, slst to next sc. (12 sc)
Repeat 24 and 25 until you have worked all around the top of the Basket.
26: Lining up the last Row worked to Row 23, sc in the BLO of both Rows to join the Cuff.
Fasten off and weave in all ends. Fold over Cuff.
Optional: Sew a yellow button to the top of the Tree to represent a star.
-
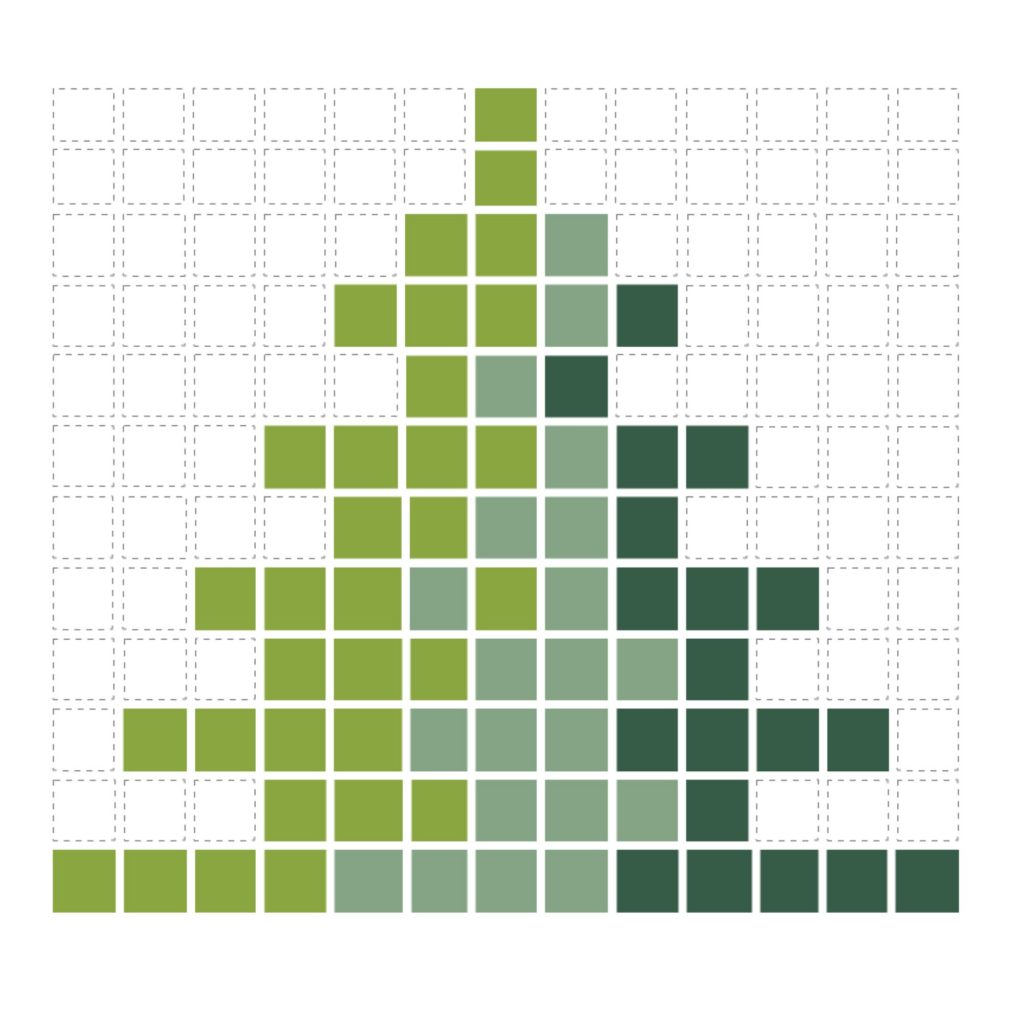

- Basket Graph
-
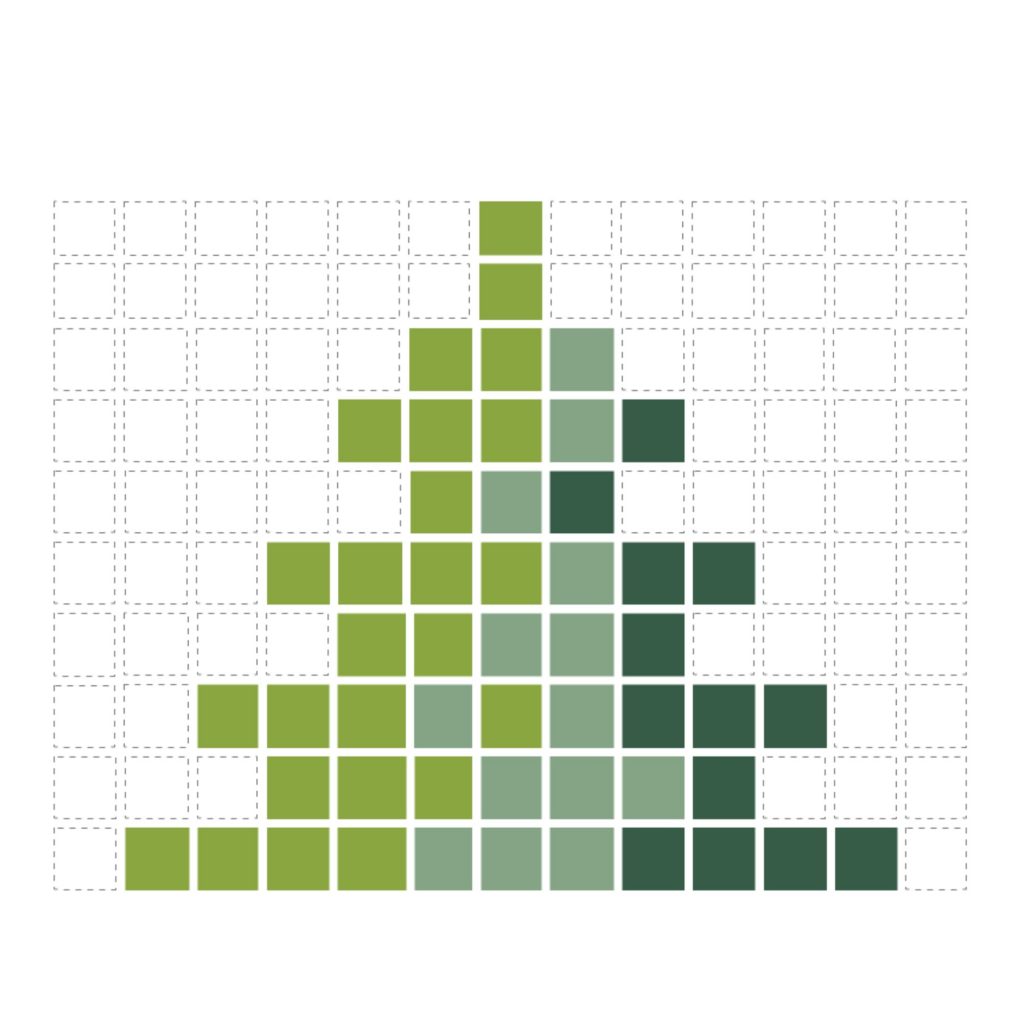
- Bottle Graph
BOTTLE COZY
Approximately 92 yards of Guava, 7 yards Hunter Green, 2 yards Green Tones, 2 yards Honeydew.
1: Using Guava and a J hook, start with a Magic Circle ch2, 12 dc in circle, join to first dc. (12)
2: Ch2, 2dc in each st around, join. (24)
3: Ch1, working in the BLO (now and throughout), sc around, join. (24 now and throughout)
Repeat 3 (9) more times.
The Tree section of the Bottle Cozy is also worked entirely in the BLO. When working the different colors of the Cozy, the instructions will refer to them only as (A) for Guava, (B) for Hunter Green, (C) for Green Tones, (D) for Honeydew, before the number of sts you need to work in that particular color. For example, (A) 2, (B) 1, means to sc 2 sts in color Guava, then sc 1 st in color Hunter. You may carry the colors behind one another when working the color changes, or cut the yarn at each color change and weave in ends. This is personal preference depending on how it affects tension. If color changes are pulled too tightly, the Wine Cozy will pucker. See the color chart above right. Please note that for the sample I only used 1 color for the Tree, not 3.
4: Ch1, (A) 7, (B) 4, (C) 3, (D) 4, (A) 6, join.
5: Ch1, (A) 9, (B) 1, (C) 3, (D) 3, (A) 8, join.
6: Ch1, (A) 8, (B) 3, (C) 1, (D) 1, (C) 1, (D) 3, (A) 7, join.
7: Ch1, (A) 10, (B) 1, (C) 2, (D) 2, (A) 9, join.
8: Ch1, (A) 9, (B) 2, (C) 1, (D) 4, (A) 8, join.
9: Ch1, (A) 11, (B) 1, (C) 1, (D) 1, (A) 10, join.
10: Ch1, (A) 10, (B) 1, (C) 1, (D) 3, (A) 9, join. Fasten off B.
11: Ch1, (A) 11, (C) 1, (D) 2, (A) 10, join. Fasten off C.
12: Ch1, (A) 12, (D) 1, (A) 11, join.
13: Ch1, (A) 12, (D) 1, (A) 11, join. Fasten off D.
14-26: Ch1, sc around, join.
27: Now starting on the Cuff, with an H hook, ch21, sc in 2nd and across, slst to next sc. (20 sc)
28: Slst in next sc, turn, working in the BLO, sk over 2 slst, sc across each sc. (20 sc)
29: Ch1, turn, working in the BLO, sc across, slst to next sc. (20 sc)
Repeat 28 and 29 until you have worked all around the top of the Basket.
30: Lining up the last Row worked to Row 27, sc in the BLO of both Rows to join the Cuff.
Fasten off and weave in all ends. Fold over Cuff.
Optional: Sew a yellow button to the top of the Tree to represent a star.
To make the Tie, using an H hook and color B, ch60, fasten off.
Make 2 pompoms approximately 1.5” in diameter. Attach to each end of the Tie. Tie around Cuff.
Looking for more Christmas Patterns? Check out these premium patterns available in my Ravelry Shop.
-
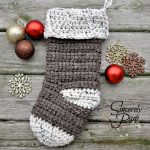

- Alex Stocking
-
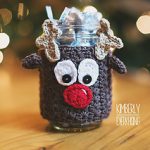
- Reindeer Mason Jar Cover
-

- iPad Cover
Very clear instruction
Thanks for the share
Rukmani
Thank you, Rukmani!