This post contains affiliate links to products we recommend. We may receive a commission for purchases made through these links.
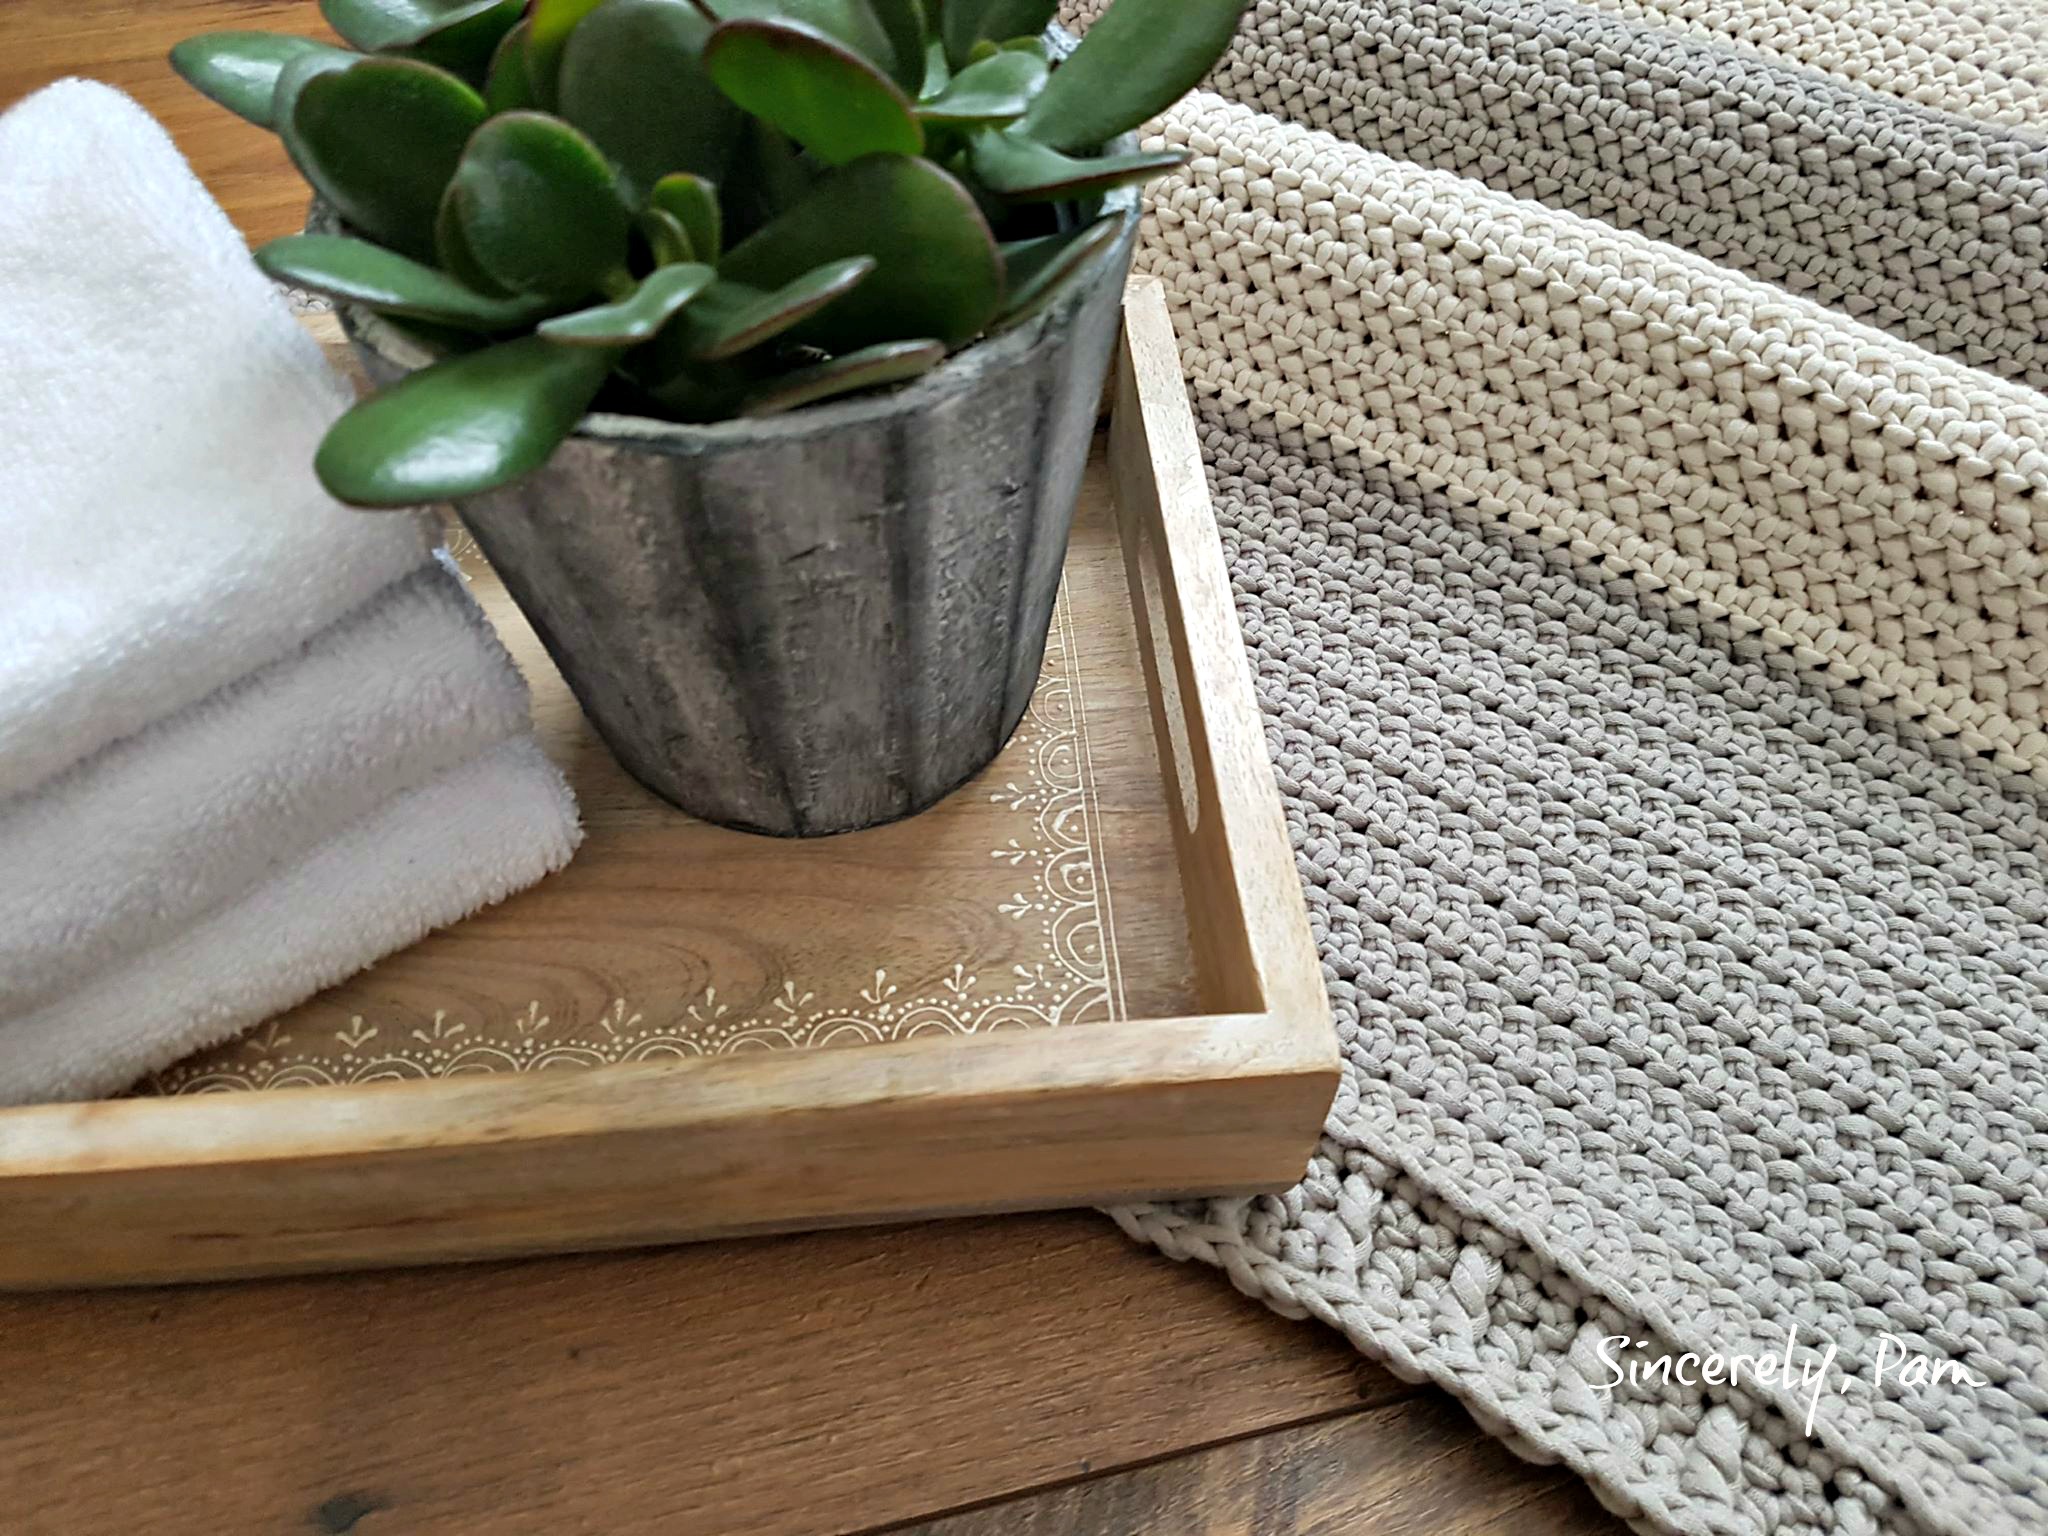
I have been sharing a lot of sneak peeks of this pattern over on Instagram. The Herringbone Bath Mat crochet pattern was written using Bernat Maker Home Dec. Have you used it? It’s a bulky #5 cotton/nylon blend which was perfect for the design I had in mind!
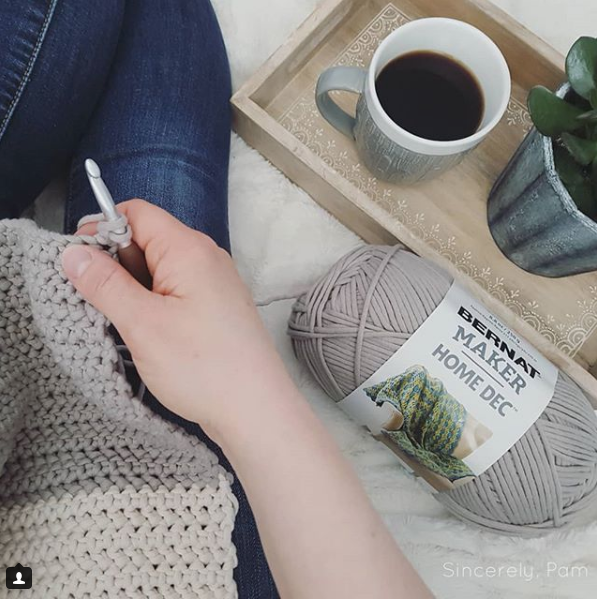
The Yarn
This is a tubular yarn that has incredible stitch definition and a soft cotton feel. Although it is available in 16 different shades, I chose to use Clay and Cream to match my bathroom. Made of a cotton shell with a nylon filling, this yarn is machine washable and dryable, making it an easy choice to use for Home Decor projects.
Want to see my finished bathroom reno? Check it out HERE. For the pattern for the Herringbone Bath Mat, read on below.
>> SIGN UP FOR THE SINCERELY, PAM NEWSLETTER! <<
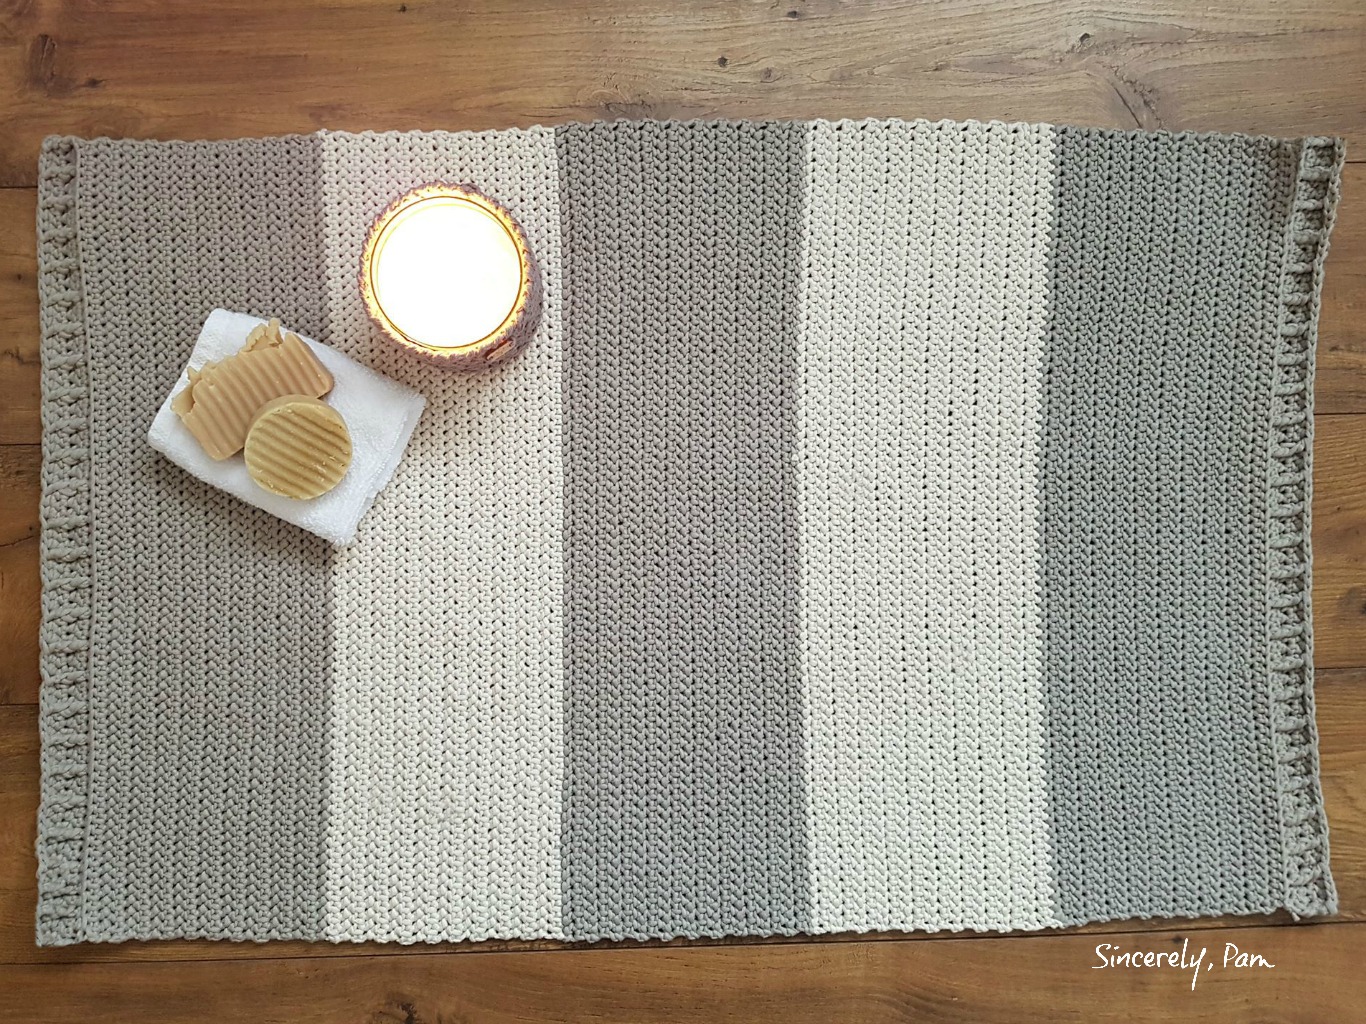
HERRINGBONE BATH MAT – CROCHET PATTERN
>>> PURCHASE THE AD-FREE PDF ON RAVELRY, ETSY, OR LOVECRAFTS <<<
Pattern Key:
- ch: chain
- st(s): stitch(es)
- sk: skip
- slst: slip stitch
- sc: single crochet
- hdc: half double crochet
- hhdc: herringbone half double crochet
- dc: double crochet
- FPdc: front post double crochet
- BLO: back loop only
Materials:
- 3 balls of Bernat Maker Home Dec (2 in Clay, 1 in Cream)
- J hook
- Tapestry Needle
- Scissors
Finished Size:
- 37″ long x 23″ wide
Gauge:
- 13 hhdc sts x 11 rows = 4″ x 4″
Special Stitches:
- hhdc: Yarn over, insert hook into stitch, yarn over and draw through stitch and first loop on hook. Yarn over and draw through remaining loops on hook.
- FPdc: Yarn over, insert hook behind post of next stitch and to the front of the fabric. Yarn over and draw loop around post (3 loops on hook). Yarn over and draw through 2 loops on hook. Yarn over and draw through remaining 2 loops.
Pattern Instructions:
1: Ch 78, hhdc in 3rd chain from the hook and across. (76 hhdc)
2: Ch1, turn, hhdc across. (76 hhdc)
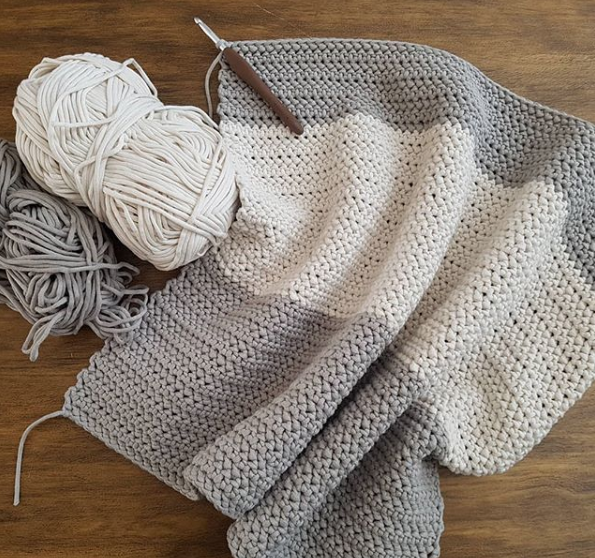
Repeat row 2 (100) times total, changing colors every 20 rows.
3: Ch1, turn, this is now the Right Side, working in the BLO, sc across. (76 sc)
4: Ch1, turn, sc across. (76 sc)
5: Ch1, turn, FPdc in first st, *hdc next 2, FPdc next st, repeat from * across. (76 sts)
Repeat 4 and 5.
Fasten off and weave in all ends.
Reattach yarn back on to the Foundation Chain on the Right Side of the Bath Mat.
Repeat rows 3 and on.
Fasten off and weave in ends.
Note: This project is tricky to weave in, due to the tubular nature of the yarn. I recommend using a plastic tapestry needle and a lot of patience.
Copyright Notice
You are free to sell what you make from this pattern, but you may not share, copy or reproduce this pattern in part or whole.
Photographs are also copyright protected and may not be used.
Please link back to one of my shops if selling your finished items online.
(c) Pam Dajczak 2018
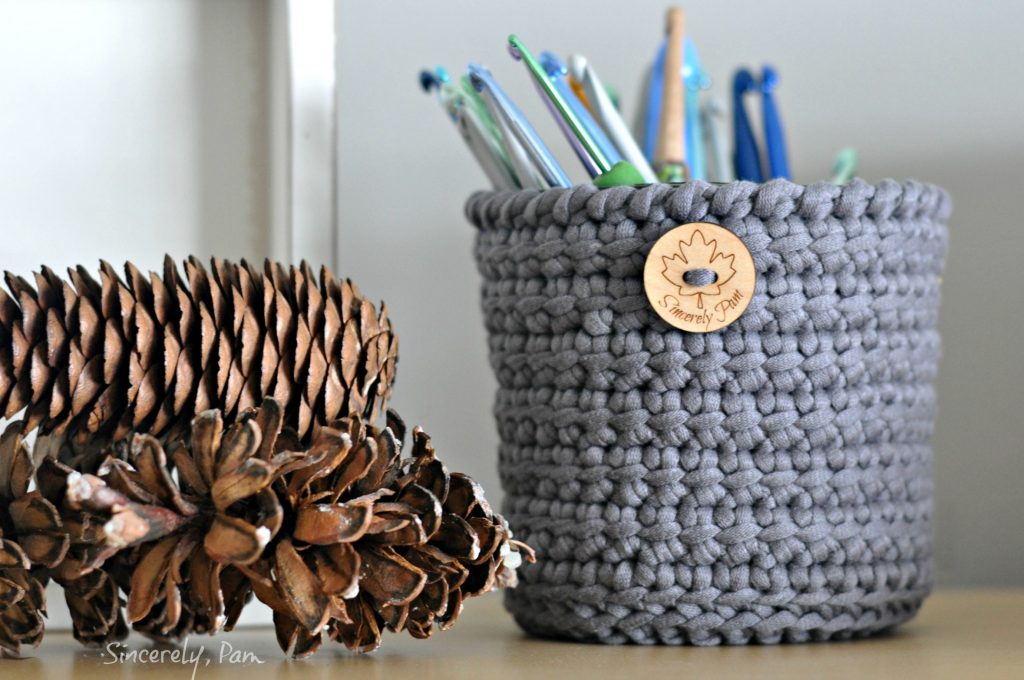
Check out these other projects that would look great with Bernat Maker Home Dec!
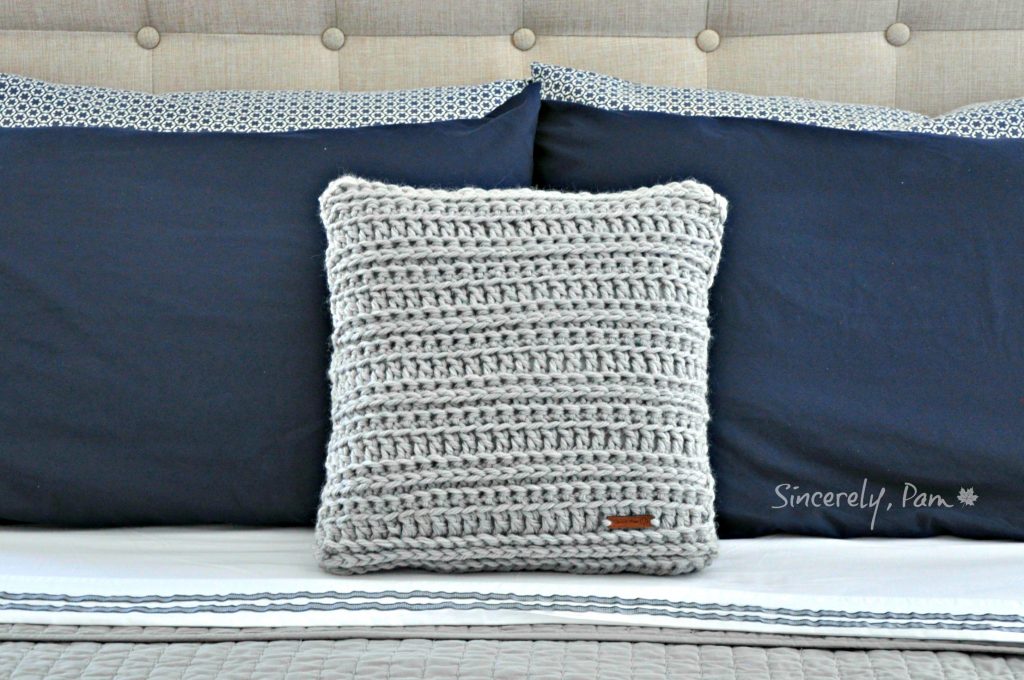
- Danielle Pillow Cover
[…] The last thing I needed, was a new bath mat. So, I seized the opportunity and made my own! Click HERE for the […]