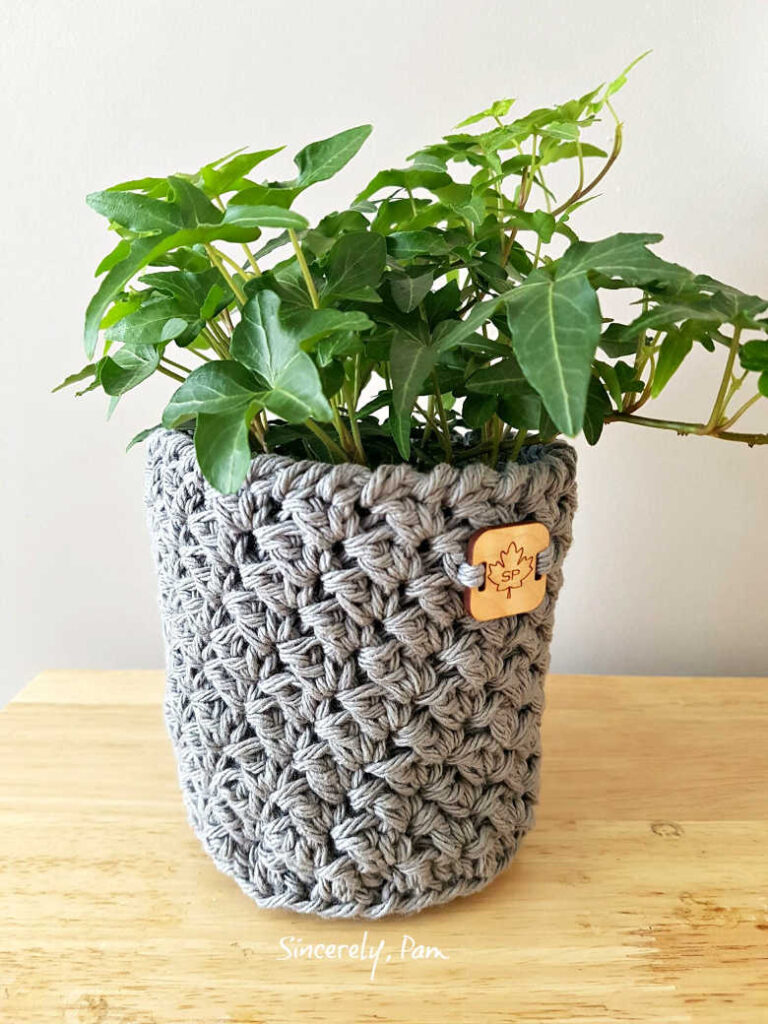
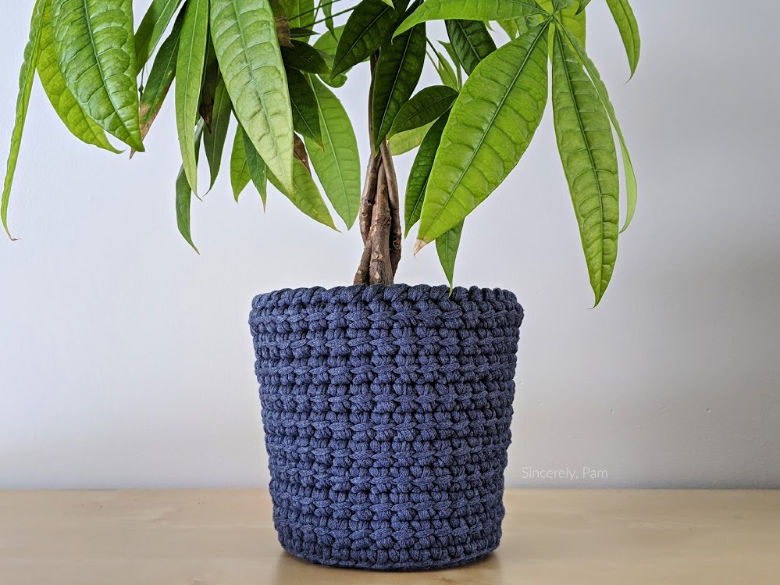
I can’t help it! I am hooked on baskets (pun totally intended). Not only do they compliment the addiction I have to taking care of my plant babies, they also work up incredibly fast, and use minimal amounts of yarn. Not to mention how thoughtful is it to cover an unsightly plant pot before giving one as a gift! The Julie Basket crochet pattern is no different. So why don’t you grab some of that scrap cotton you have laying around, and whip one up before your favorite prime-time drama is over!

This post contains affiliate links to products we recommend. We may receive a commision for purchases made through these links at no extra cost to you.
THE YARN
I used a few different yarns when making my various baskets and pot covers with varying results. Here are a few things to keep in mind when choosing yarn for this project:
- Cotton works best when it comes to structure. If you want a sturdy, durable, pot cover or basket, you need to use a fibre that will hold up. I used acrylic for the Basket and it was much floppier, and ended up incredibly fuzzy after a few weeks of use.
- Hook size matters! Worry less about gauge, and more about tight stitches. Again, if you want your basket or pot cover to be nice and sturdy, you will want the smallest stitches you can get.
- But really, use whatever you got! Especially if using to cover a plant pot (or other vessel). The pot itself will hold the pot cover in place as long as the fit is relatively snug.
- Single vs Double stranded. If you want to use a smaller weight yarn, feel free to double up the strands. Holding two strands of worsted weight yarn to make the bulky basket not only increases the durability of the basket, but allows to mix and match colors for a custom look!
Although you can use the free Julie Basket crochet pattern in this blog post, you can also purchase the ad-free PDF in my Ravelry, Etsy, or LoveCrafts Shops by clicking the buttons below!
Pattern Key:
- ch: chain
- st(s): stitch(es)
- sk: skip
- slst: slip stitch
- sc: single crochet
- dc: double crochet
- BLO: back loop only
Copyright Notice:
You are free to sell what you make from this pattern, but you may not share, copy or reproduce this pattern in part or whole.
Photographs are also copyright protected and may not be used.
Please link back to one of my shops if selling your finished items online.
(c) Pam Dajczak 2018
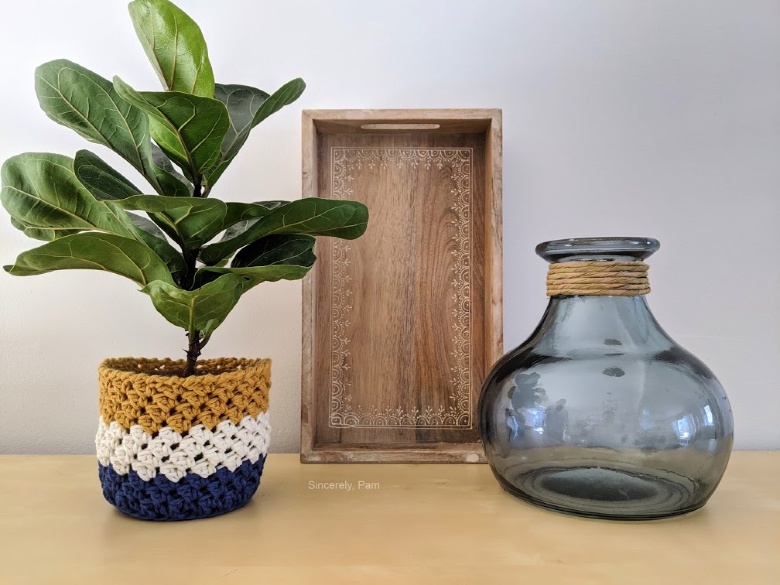
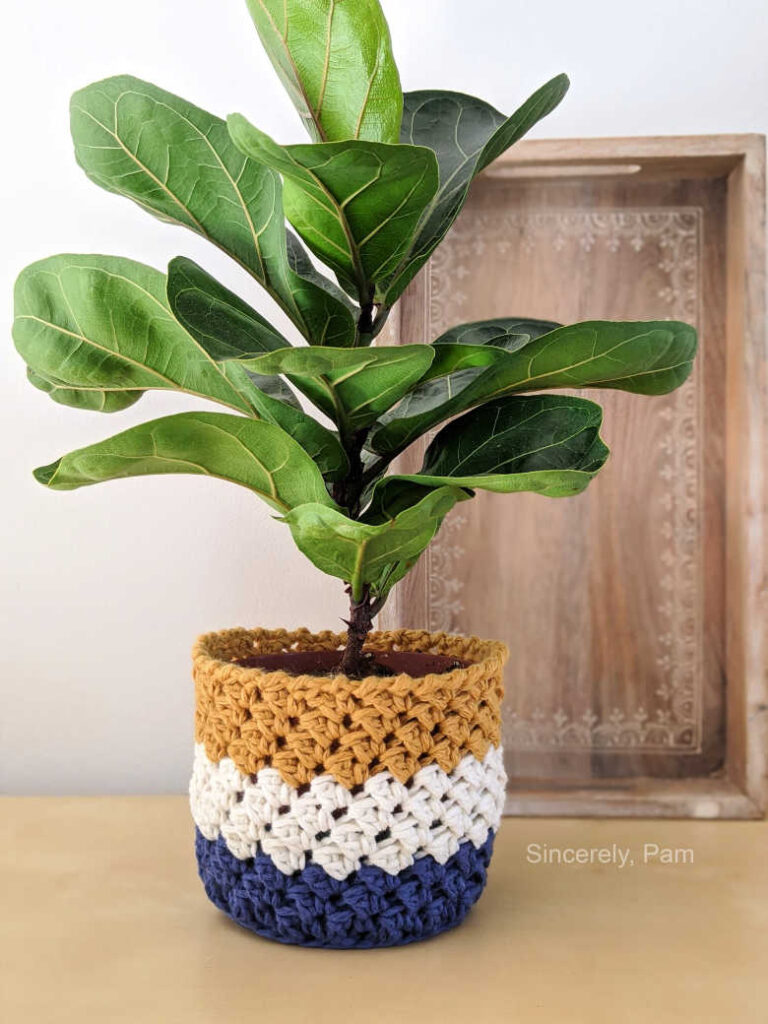
Julie Pot Cover Crochet Pattern
Worsted weight yarn
Finished Size:
14” circumference x 4” height
Materials:
- 1 skein worsted weight cotton yarn. Grey sample made using Bernat Handicrafter, striped sample made using Loops and Threads Créme Cotton.
- J (6.0mm) hook I used my Furls Crochet Streamline Swirl. (save15% off your Furls order when you use code SINCERELYPAM15)
Gauge:
First 3 rounds = 3.75” diameter
Pattern Instructions
New!!! You can now scroll to the end of this post to see the video instructions for the Julie Basket Pot Cover!
1: Starting with a Magic Circle, ch2, 12dc in circle, join. (12 dc)
2: Ch2, 2dc in each st around, join. (24 dc)
3: Ch2, sc in first st, 2sc in next, *sc in next st, 2sc in next, repeat from * around, join. (36 sts now and throughout.)
If you would like to make a larger Pot Cover, continue to work increase rounds until you reach your desired circumference before moving on to Round 4.
4: Ch1, working in the BLO, sc in first, dc next, *sc next, dc next, repeat from * around, join.
5: Ch1, (sc, dc) in first st, sk 1 st, *(sc, dc) in next, sk 1 st, repeat from * around, join.
Repeat Round 5 (9) times, or until Cover measures almost 4” tall.
6: Ch1, Reverse sc around, join.
Fasten off and weave in all ends.
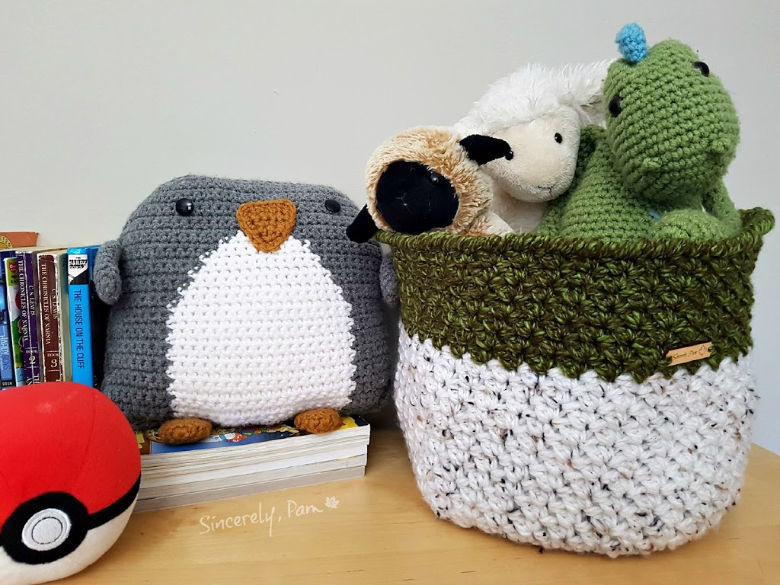
Julie Basket Crochet Pattern
Bulky yarn
Finished Size:
31” circumference x 9” height.
Materials:
- Approx 300 yards of Loops and Threads Charisma.
- J (6.0mm) hook
Gauge:
First 3 rounds = 4” diameter
Pattern Instructions
1: Starting with a Magic Circle, ch2, 12dc in circle, join. (12 dc)
2: Ch2, 2dc in each st around, join. (24 dc)
3: Ch2, dc in first st, 2dc in next, *dc in next st, 2dc in next, repeat from * around, join. (36 dc)
4: Ch2, dc in first 2 sts, 2dc in next, *dc in next 2 sts, 2dc in next, repeat from * around, join. (48 dc)
5: Ch2, dc in first 3 sts, 2dc in next, *dc in next 3 sts, 2dc in next, repeat from * around, join. (60 dc)
6: Ch2, dc in first 4 sts, 2dc in next, *dc in next 4 sts, 2dc in next, repeat from * around, join. (72 dc)
7: Ch2, dc in first 5 sts, 2dc in next, *dc in next 5 sts, 2dc in next, repeat from * around, join. (84 sts now and throughout.)
If you would like to make a larger Basket, continue to work increase rounds until you reach your desired circumference before moving on to Round 8.
8: Ch1, working in the BLO, sc in first, dc next, *sc next, dc next, repeat from * around, join.
9: Ch1, (sc, dc) in first st, sk 1 st, *(sc, dc) in next, sk 1 st, repeat from * around, join.
Repeat Round 9 (14) times, or until Cover measures almost 7” tall. I switched to green yarn after the 10th repeat.
10: Ch1, *(sc, dc), sk 1 st, repeat from * for the next 30 sts, ch12, sk 10 sts, *(sc, dc), sk 1 st, repeat from * for the next 30 sts, ch12, sk 10 sts, join. Handles made. (86 sts)
11: Ch1, (sc, dc) in first st, sk 1 st, *(sc, dc) in next, sk 1 st, repeat from * around, join. (86 sts)
12: Ch1, Reverse sc around, join. (86 sts)
Fasten off and weave in all ends.
Looking for your next project?
If you like the Julie Basket crochet pattern, try the Alex Pot Cover and Basket pattern next!


[…] 10. Julie Basket by Sincerely, Pam […]