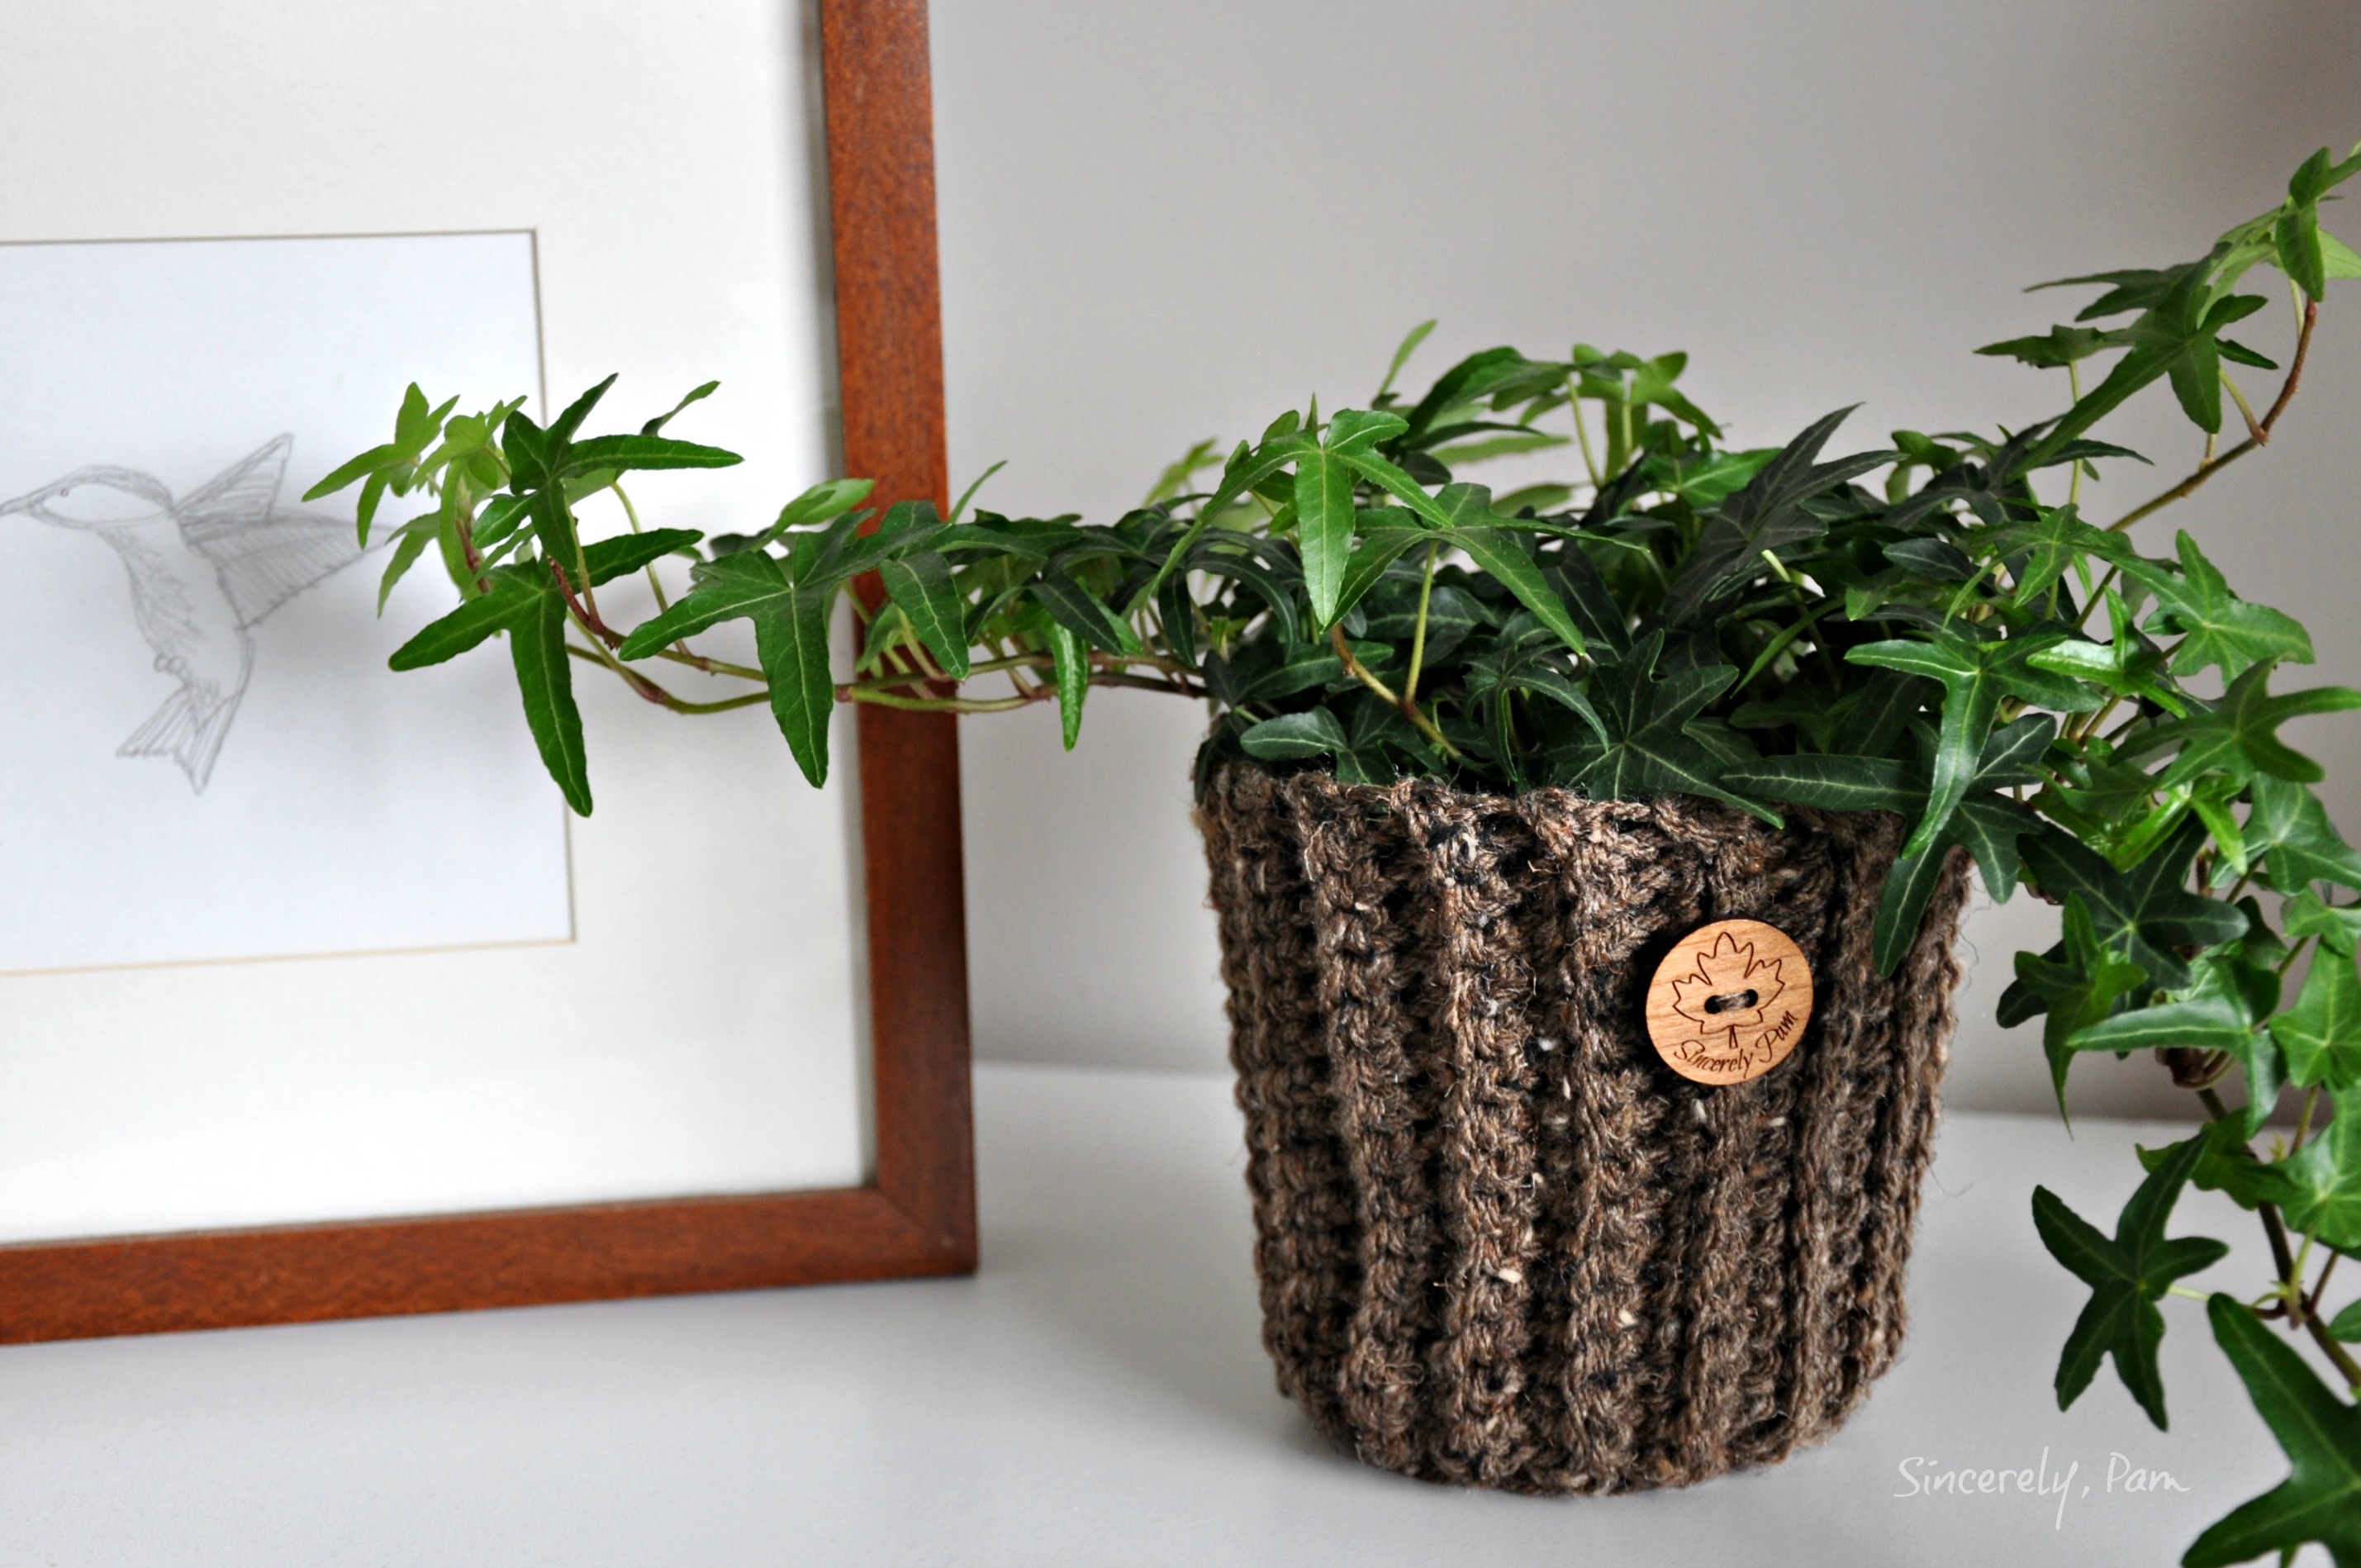
I don’t have a basket problem… YOU have a basket problem! Ok, sorry. That was super defensive of me. However, I will admit that I am seriously addicted to crocheting these little baskets right now. This Ribbed Basket crochet pattern was designed so quickly, I could hardly wait to share it with all of you!
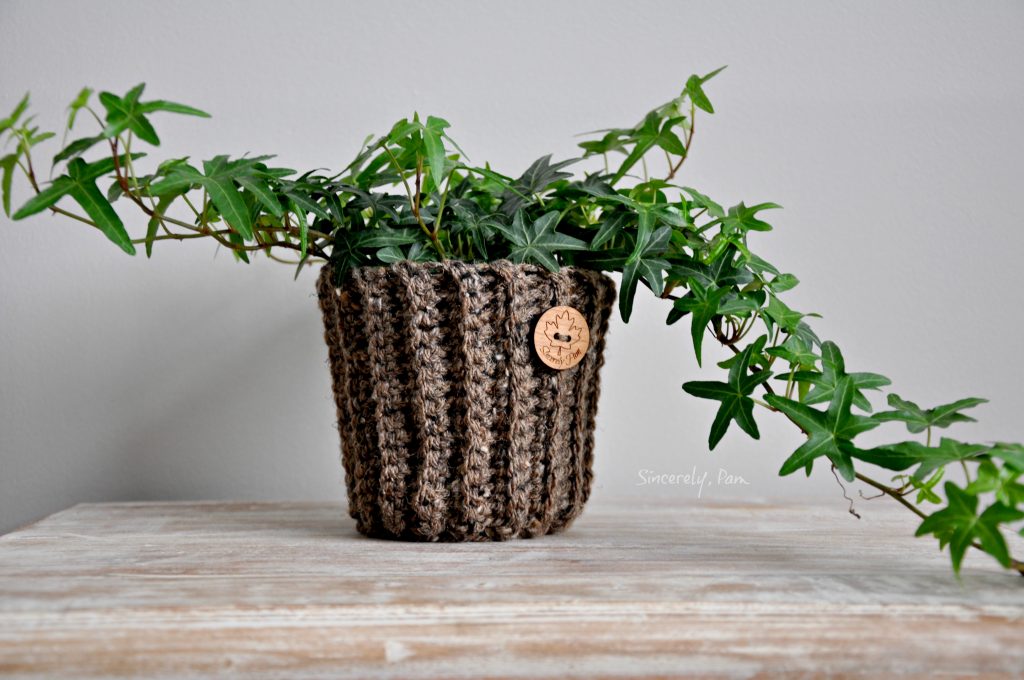
I mean, they are very practical. They use up my yarn stash. They work up in under an hour. And they also make great gifts! Everyone who hosted us for Easter this year got one with a plant inside. They were so well received, and I love how they are reusable.
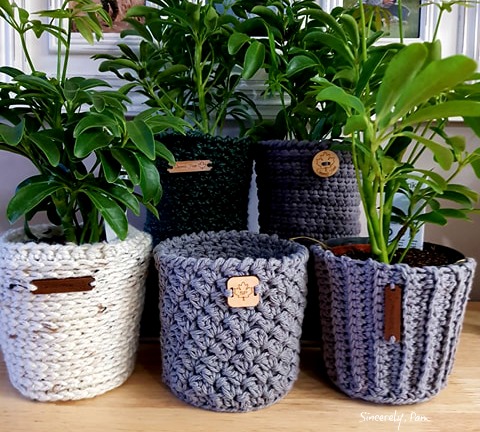
I think it’s possible that I have them in just about every room now.
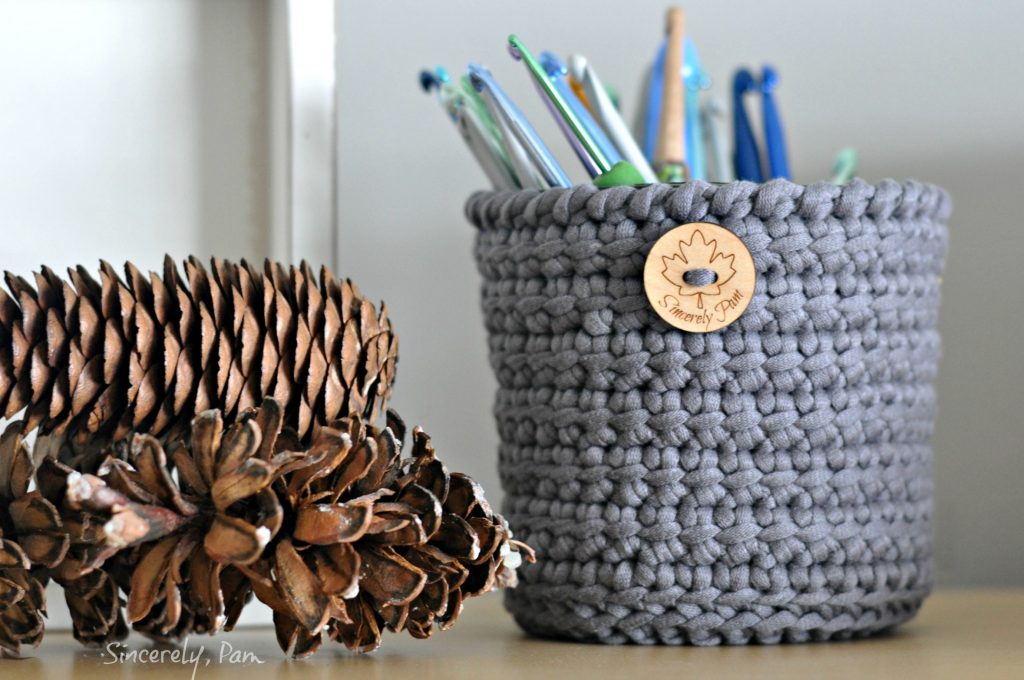
In my office, holding crochet hooks.
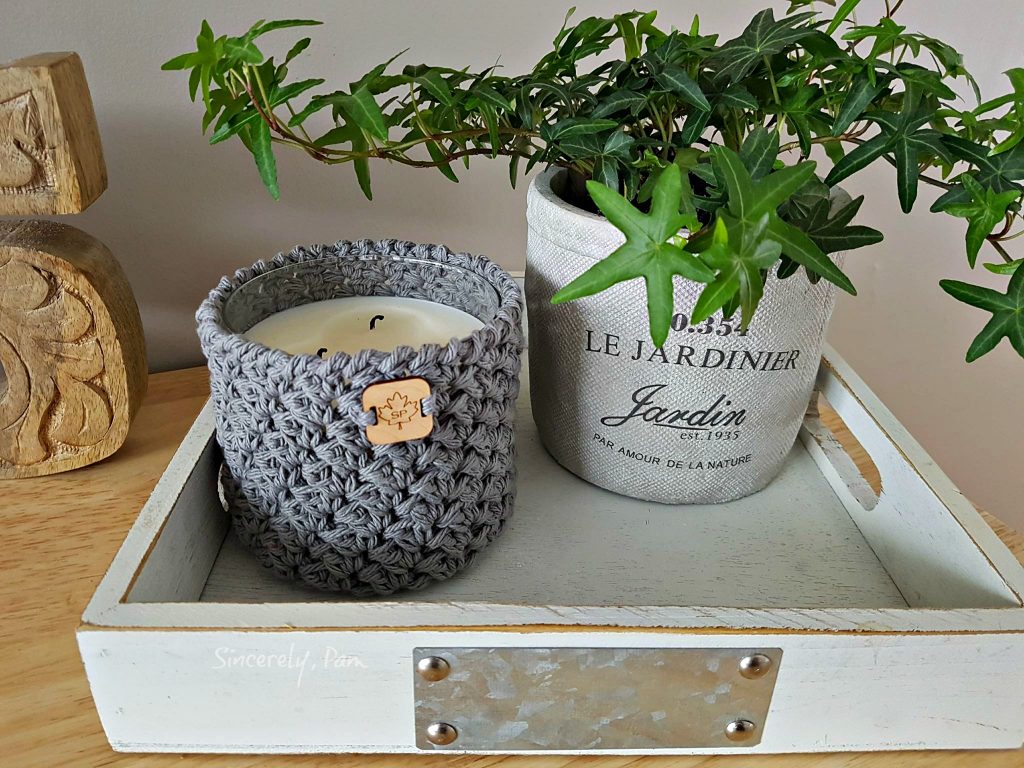
In my living room as a candle cover.
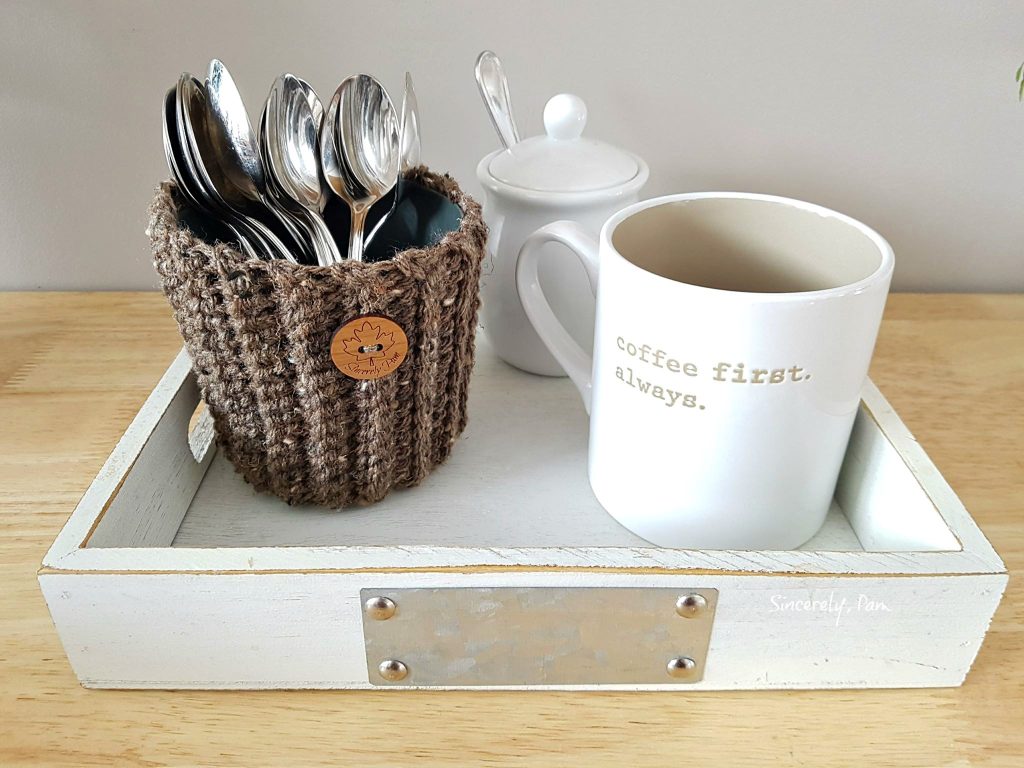
It would even be cute holding spoons on a coffee bar!
>>> PIN IT! <<<
This post contains affiliate links to products we recommend. We may receive a commission for purchases made through these links.
To be notified every time a new pattern is released….
>> SIGN UP FOR THE SINCERELY, PAM NEWSLETTER! <<
RIBBED BASKET CROCHET PATTERN
>>> PURCHASE THE AD-FREE PDF ON RAVELRY, ETSY, OR LOVECRAFTS <<<
Pattern Key:
ch: chain
st(s): stitch(es)
sk: skip
sp: space
slst: slip stitch
sc: single crochet
dc: double crochet
BLO: back loop only
Materials Used:
Less than 1 skein worsted weight yarn of your choice, I used Lion Brand Vanna’s Choice.
J (6.0 mm) hook.
Measuring tape.
Gauge:
first 3 rounds = 3.75” diameter.
Pattern Instructions:
1: Starting with a Magic Circle, ch2, 12dc in circle, join. (12 dc)
2: Ch2, 2dc in each st around, join. (24 dc)
3: Ch1, sc in first st, 2sc in next, *sc in next st, 2sc in next, repeat from * around, join. (36 sc now and throughout.)
If you would like to make a larger Pot Cover, continue to work increase rounds until you reach your desired circumference before moving on to Round 4.
4: Ch16, working in the back bump, sc in the 2nd chain and across, slst to BLO of same st as ch16. (15 sc now and throughout)
5: Slst in BLO of next st, turn, sk 2 slst, sc in BLO across.
6: Ch1, turn, sc in BLO across, slst in BLO to next st in Cover.
Repeat 5 and 6 around entire Cover.
Lining up the last Row worked to Row 4, sc in the BLO of both Rows to join the cuff. Fasten of and weave in all ends.
Tell me in the comments what you would use your cover for!
And make sure to check out the other free crochet patterns I have HERE.
![]()
![]()
These are awesome!!! Thanks for sharing