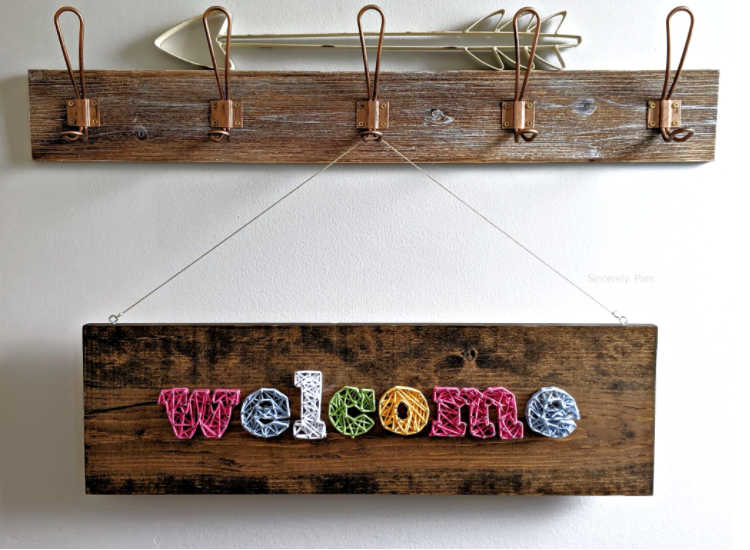
String Art, or Yarn Art is so much fun! When the 4 co-founders of Get Creative With Us decided to start things off with projects to use up our scrap yarn, I knew that this was EXACTLY what I was going to do!
>>> CLICK HERE TO SIGN UP FOR THE SINCERELY, PAM WEEKLY NEWSLETTER! <<<
Now, back to String Art! See that board I’m using? When we were renovating our old house, my husband was about to discard this piece of off-cut wood from one of our home renovations. I immediately pounced screaming that “IT’S PERFECT!!! You HAVE to save it for a craft!!!”. My sweet husband put it aside and made me promise I wouldn’t just hoard it like all the other “stuff” I save for crafts just to eventually forget about. Ummm… I don’t do that… do I? Ha! Well, I swore this time I wouldn’t. I promised it was the exact size I wanted for a string art project I wanted to try for my office. He even was so sweet as to stain it for me. Love that beautiful walnut color he used? Me too!
Fast forward one year later. Sigh. I hate it when he’s right. The ladies and I at GCWU started this new community and I finally got the kick in the butt I needed to move forward with this project! So, I guess that means he was only half right, right?
Ready to start? Here is what you will need!
This post contains affiliate links to products we recommend. We may receive a commission for purchases made through these links.
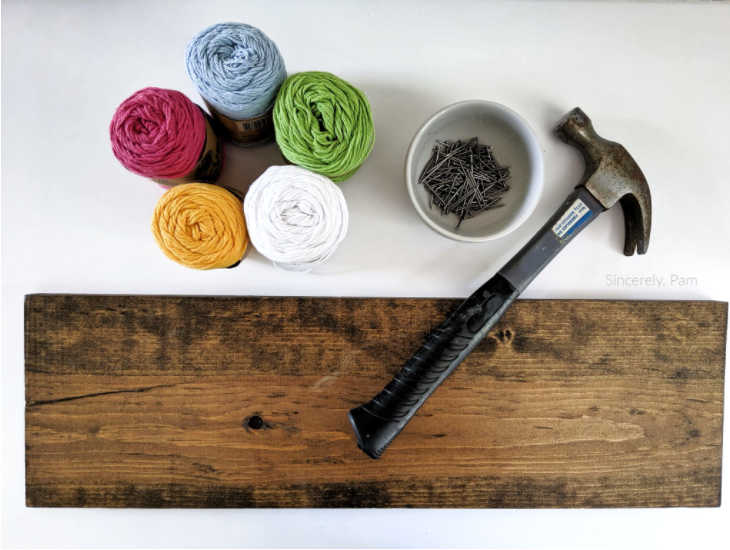
SUPPLIES NEEDED
- Wood.
– Any size you like. Mine is approximately 24″ long x 7.25″ tall x 3/4″ thick. I wouldn’t go any thinner than this since you don’t want your nails to go through to the other side. You also want the wood thick enough to be able to hold the nails in firm.
- Finishing nails.
– Grab a whole box from the hardware store. Maybe 2, depending on the complexity of your design. I used 181 (1.25″) nails for my Welcome sign. I would use anywhere from 1″-1.5″ nails. Shorter than that might be too small to work the yarn around, longer would have your nails stick out too far.
- Hammer.
- Yarn.
– Any yarn you like! I used Lion Brand Re-Up for my Welcome sign. I wouldn’t use thicker than a Worsted Weight #4 yarn, but I will definitely try thinner as well for a different look!
OPTIONAL SUPPLIES
These supplies are not neccessary to do String Art, but I highly recommend them to make it easier.
- Paper and pencil to draw out your design.
- Painter’s tape.
- Eye hooks to hang your art.
- Tweezers to remove bits of paper.
Ready to begin?
When working on this tutorial I went back and forth, wondering what design to offer all of you. I really have no idea what words you would want to use, where you would be hanging your art, or if you would be making this for a gift. So, I finally settled on a way to make this as user friendly as accessible as possible! This tutorial allows you to to choose whatever words or designs YOU want! Here is how to do it.

- The first thing I did was decide on a word. I wanted to make a Welcome sign for the front of my house. I went to the Picmonkey website and played around with different fonts and graphics until I settled on the one you see above.
- I then took a piece of white paper and cut it to the size I wanted the word to be, using the wood as a guide. I had to tape two pieces of paper together due to the size of the board.
- I increased the size of the text on my computer until it matched the size of the paper I was using. I taped the paper to the screen using painter’s tape and very lightly traced the letters with a pencil as not to damage my screen. If you are having a hard time seeing the graphic through the paper, try turning off any lights that you have on. The darker the room, the easier it is to see through the paper.
- I then centered and taped the paper to the board.
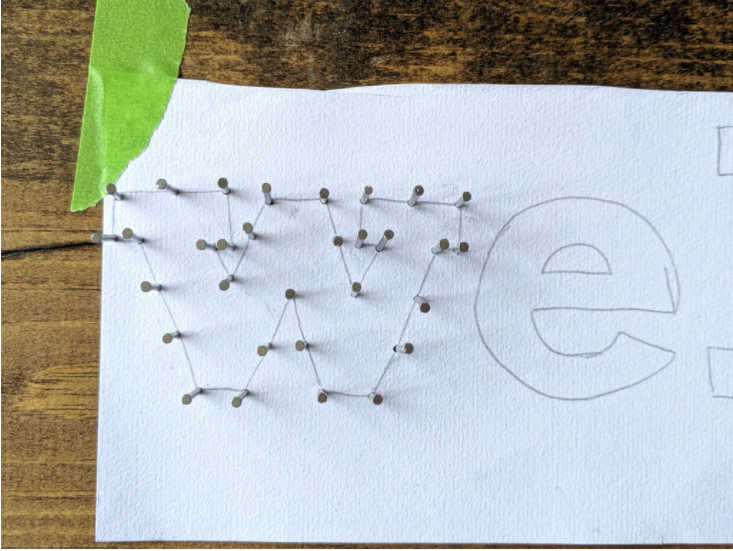
6. Now is the fun part, HAMMER TIME! Make sure your board is placed on a sturdy surface that can take some damage. I ran out of 1.25″ nails and started using 1.5″. Those ones went too deep and they came out the other side. Thankfully I was hammering on my deck, so they didn’t damage my hardwood floors or table top. YIKES!
Starting in the corners of the letters, I hammered in the nails being careful not to go through to the other side. Once all the corners were done, I then filled in the sides, spacing them evenly. Be careful not to use too many, since you want your fingers to be able to easily fit between the nails to work the yarn.
7. Once you are done hammering, and BEFORE you start ripping out the paper, take a picture! It will be great to have in case you need to reference it later on. Trust me 😉

7. Another lesson learned. Originally, I had wrapped the yarn around the “w” before removing the paper. I wanted to make sure that the letter looked ok with the yarn I chose. Once I was satisfied, I started to rip out the paper. Oops. It was SO HARD to get the paper out at that point. After unravelling the yarn (thank goodness I had enough sense to try after only one), I started to again remove the paper. It was still a tough go since I ran out of computer paper and grabbed my son’s art paper to use. Do not use anything too thick, or you will have a tougher time getting the bits out around the nails.
8. Any big bits of paper left over can be remedied using a pair of tweezers, or needle nose pliers.
9. You will still have bits of paper left behind but no worries! I promise they will be hidden by your yarn!
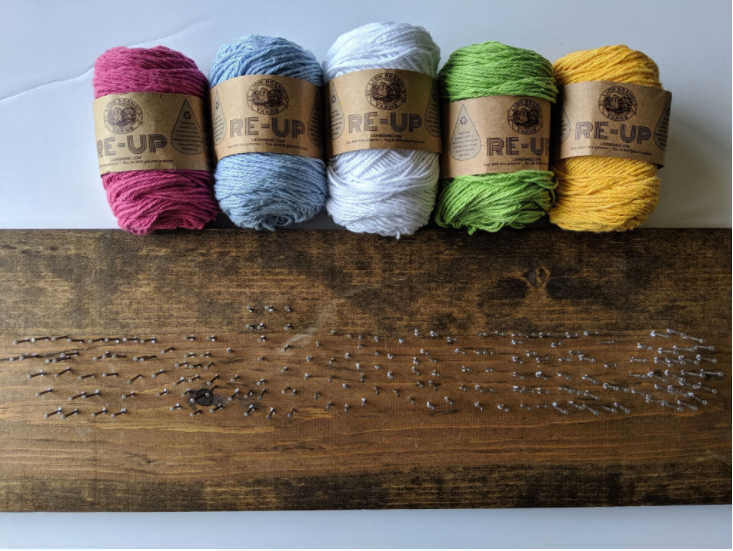
10. The picture above is what you will be left with. Aren’t you glad you took that picture in Step 7!? It is handy to refer to in order to make sure you are wrapping the yarn around the correct nails.

11: Now, on to the yarn! (or sting, or embroidery floss!)
Start by tying a simple knot in any corner nail.
12. Then, you will wrap the yarn around the outside of the letter, outlining it.
13. Then, have fun! Start zigzagging the inside of your letter, filling it in! I don’t have any real tips for this part. It’s mostly just using your artistic eye and trying to keep it all even. Play around and have fun! It is easy enough to unravel and start over if you aren’t happy with it.
14. Once you are happy with the inside of the letter, go back around the outside, outlining your letter again. I did this step twice to really make the letter pop!
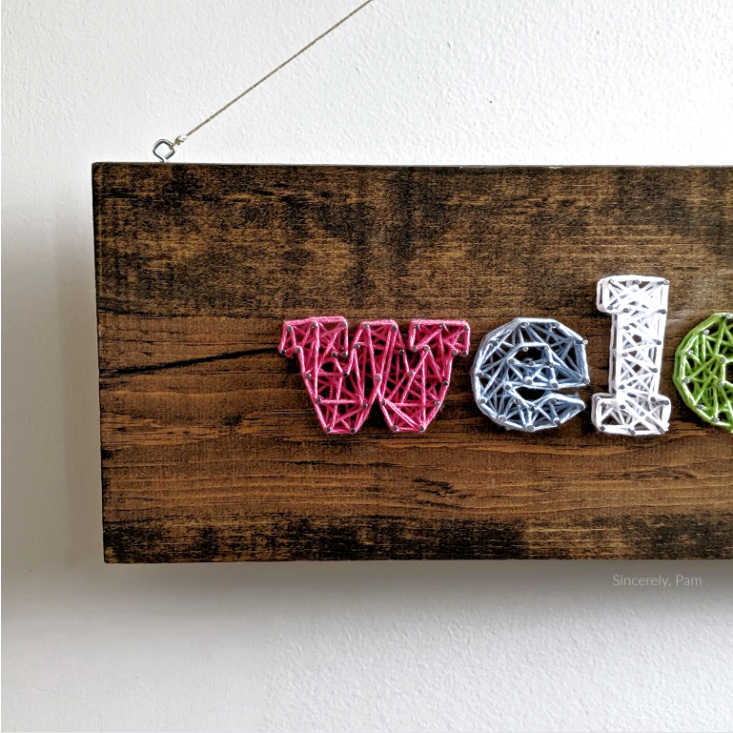
15. Finish in the corner you started, tying a knot to finish. Cut your yarn/string/floss.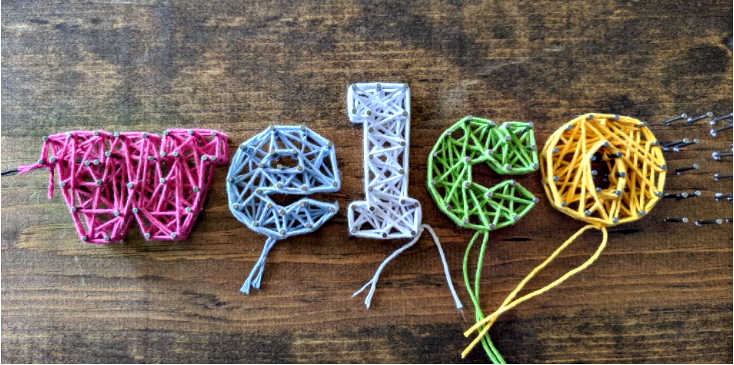 16. You can see what it looks like after cutting the yarn. Once I knew I was happy with my sign, I cut the ends a little shorter and tucked them into the letters.
17. At this point you are done! I added eye hooks and a length of yarn to the top of my sign so that I can hang it up in my entry. I am also thinking I want to add little hooks across the front so that we can hang our keys from them! What do you think? Will you be making a sign too? Keep scrolling for some other graphics I debated using for this sign.
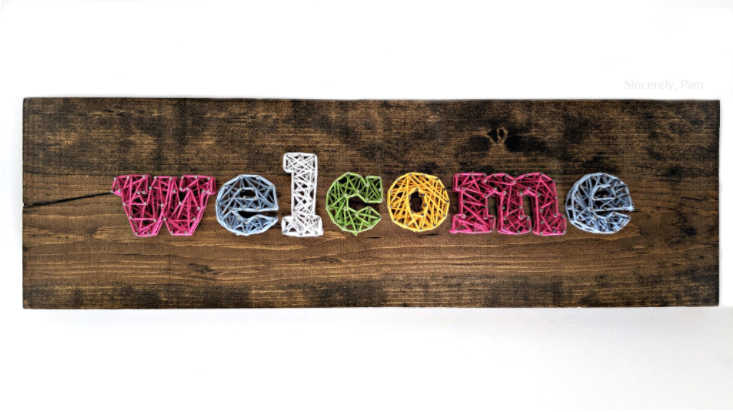
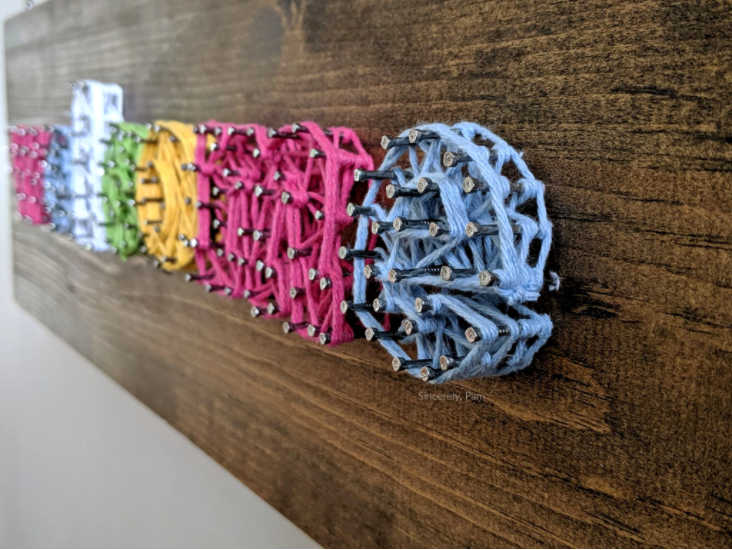
Here are some other samples I made. Feel free to use them for your own sign!
Don’t forget to join the GCWU Facebook Group for a live demonstration of this String Art project, and to be kept in the loop for all future GCWU Classes!


Leave a Reply