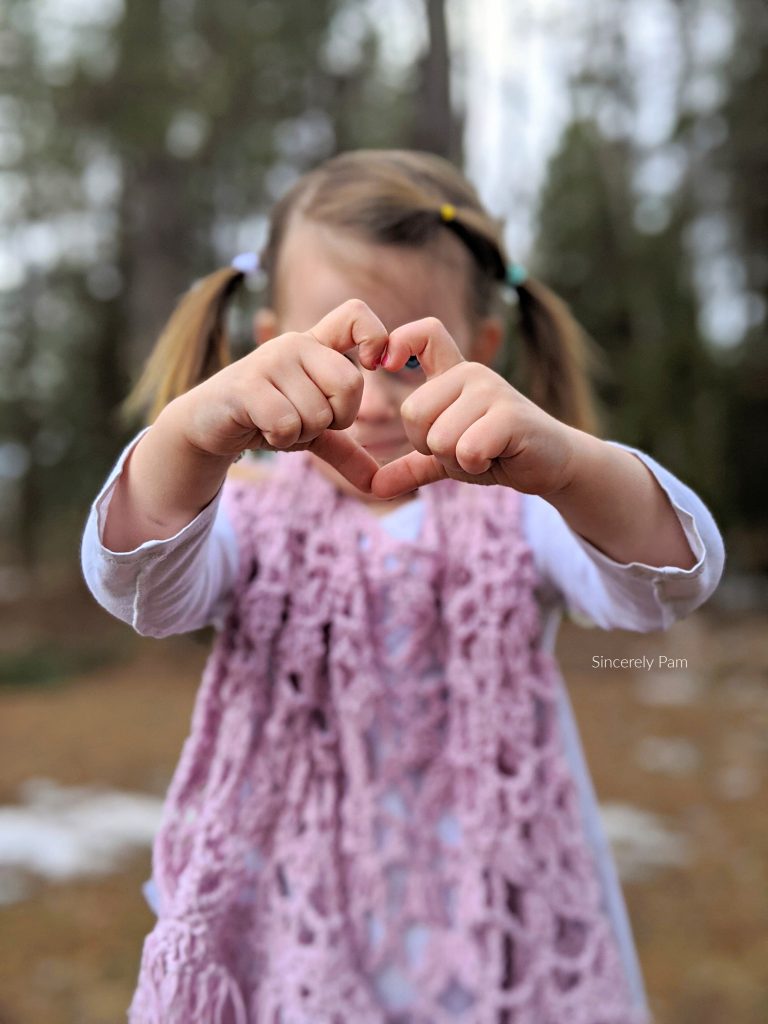
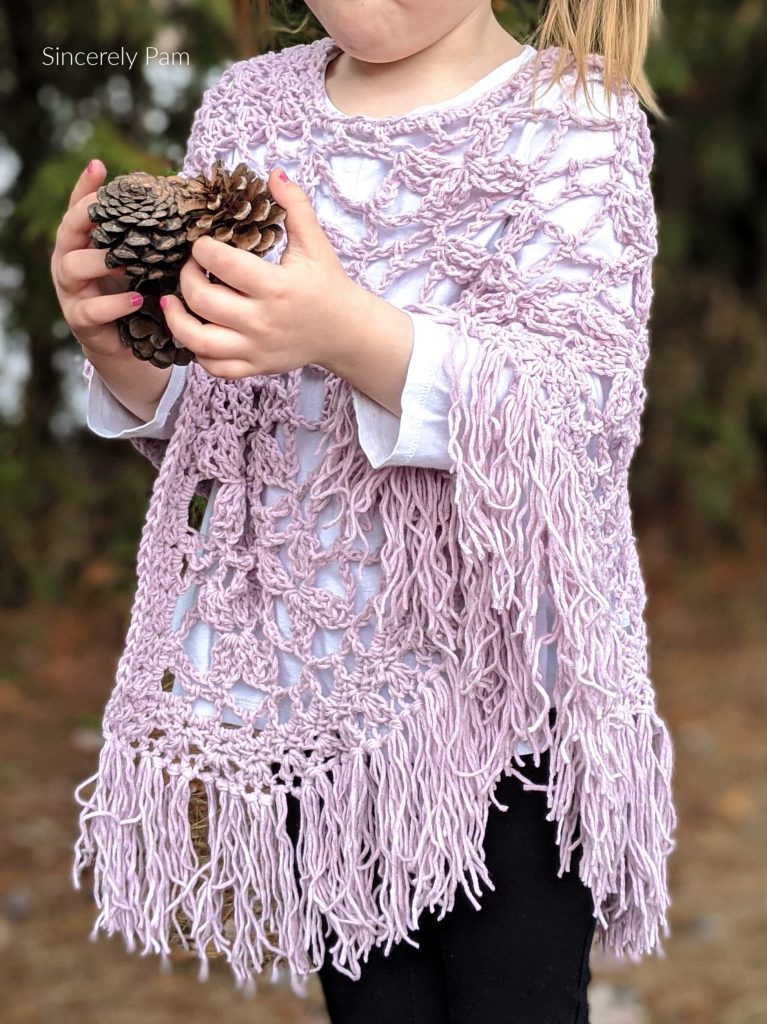
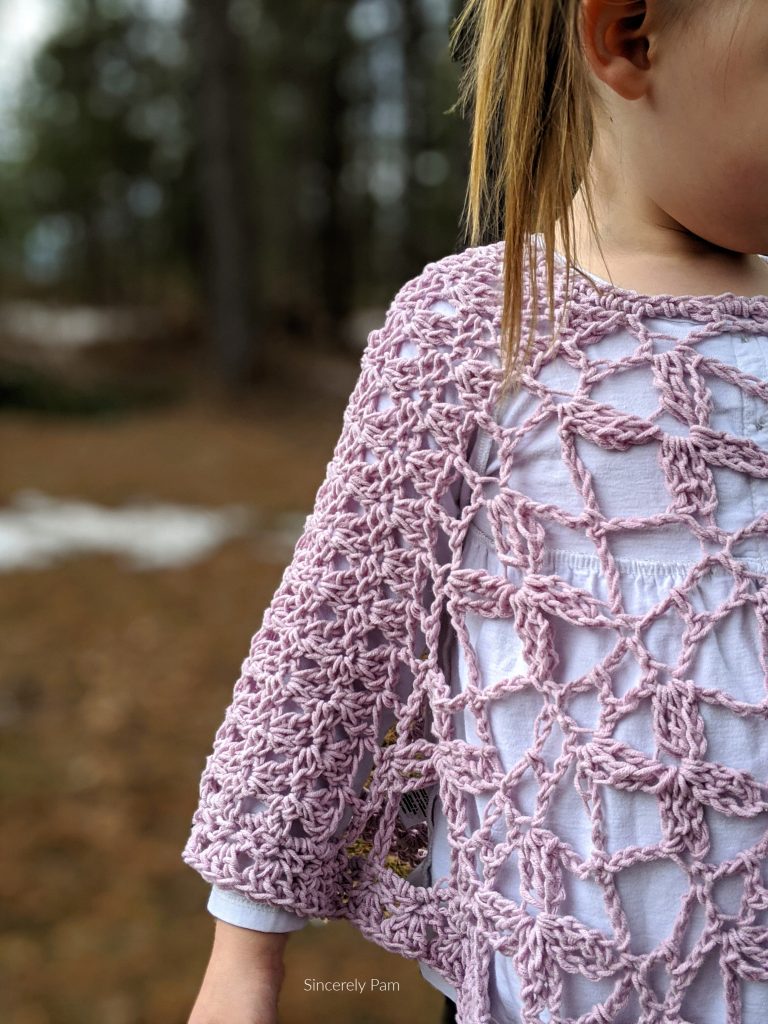
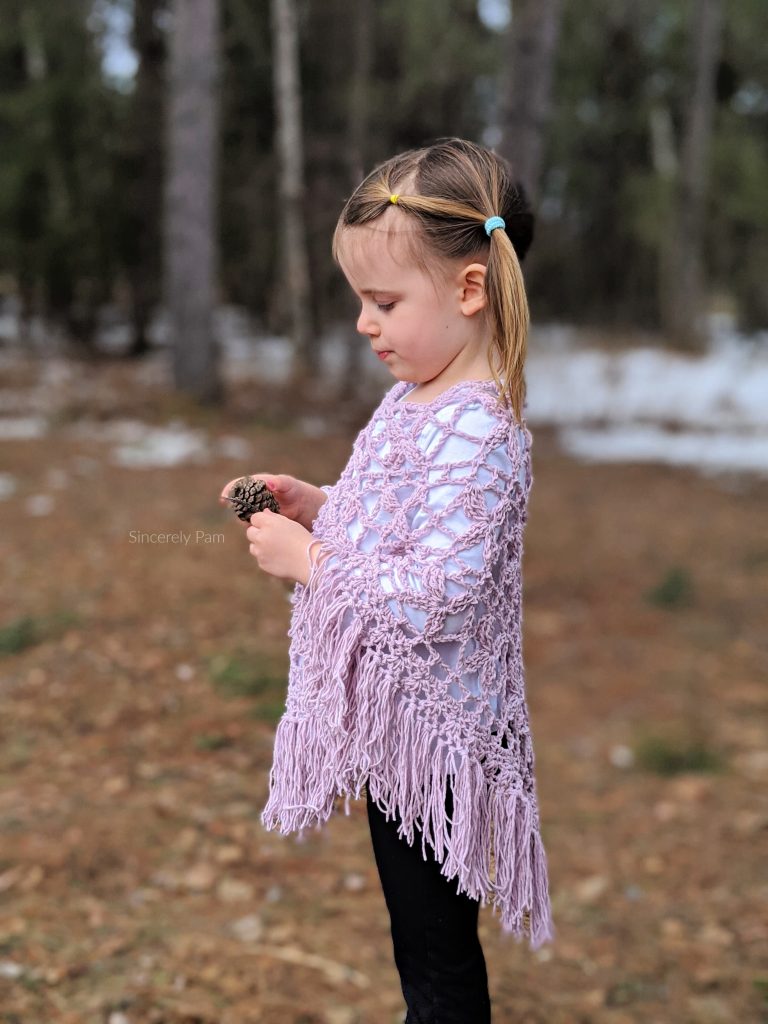
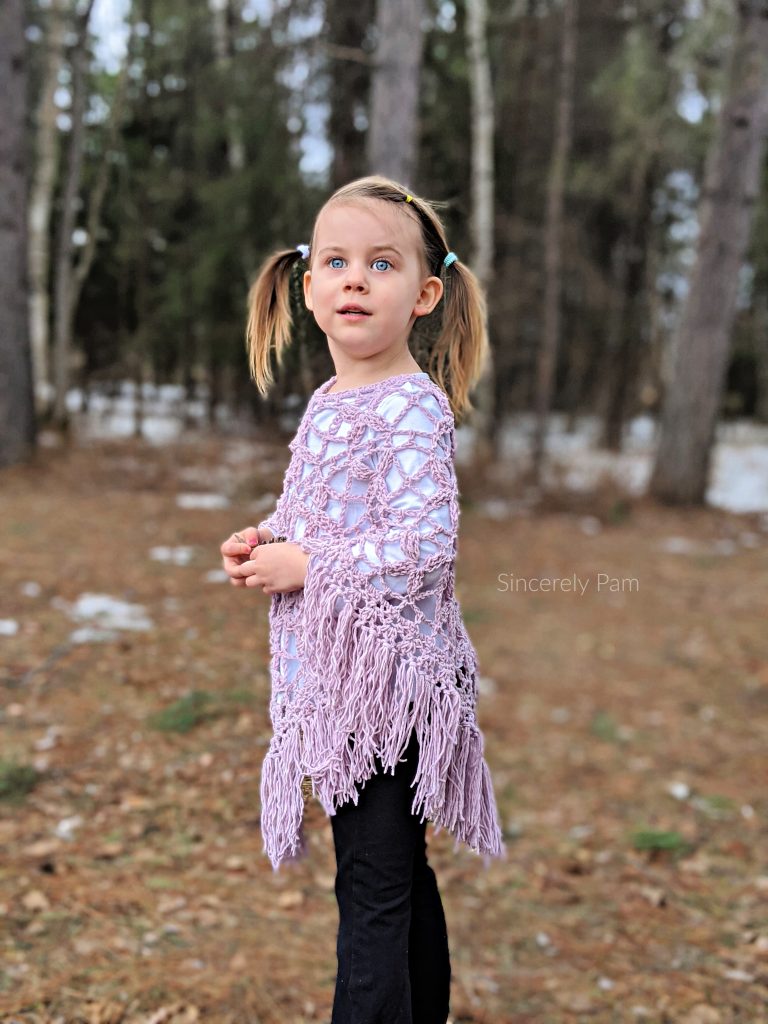
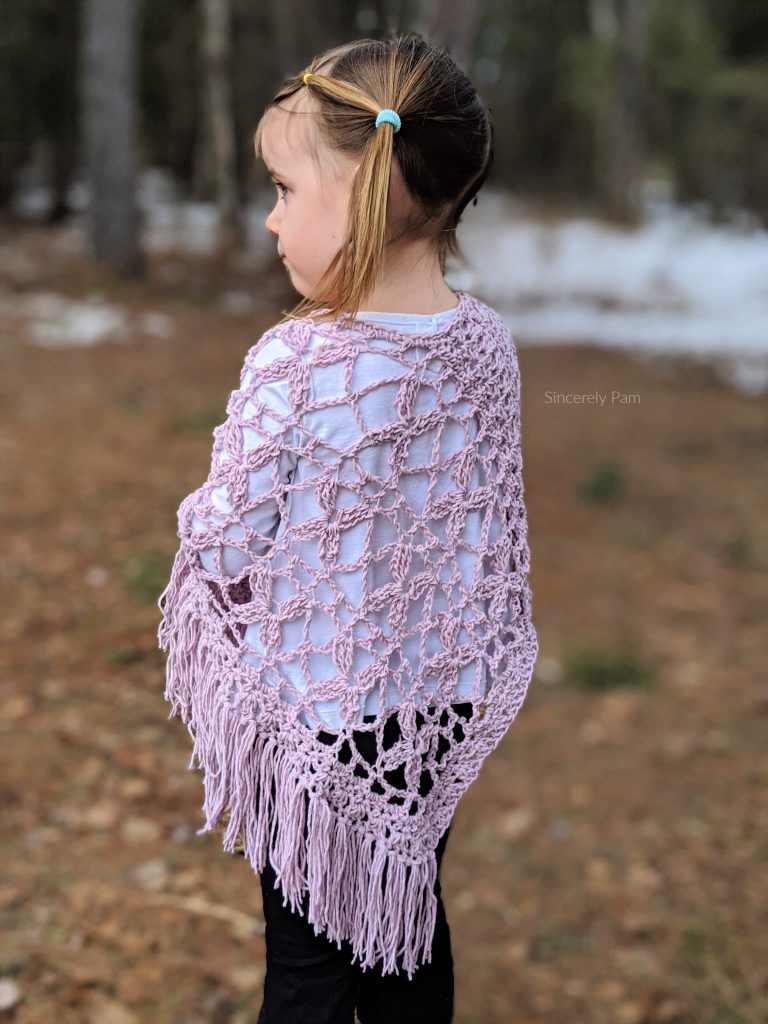
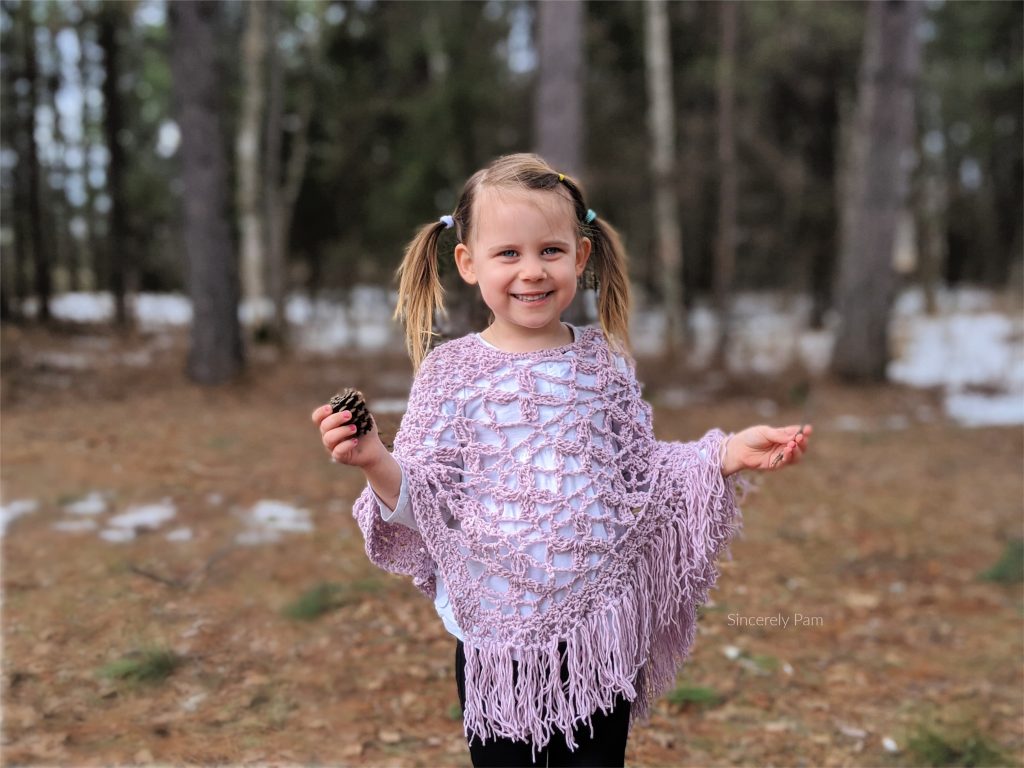
The Butterfly Breeze Poncho won the honor of being Best Crochet Pattern of 2014 as voted by Craftsy users, and it has now become a free crochet poncho pattern on the blog! My daughter loves going through my yarn and picking out colors that she loves. She asked me to make something for her using this really pretty lilac color and it was practically begging to be made into this poncho. Lilac not your color? No worries! Keep scrolling to the bottom of the post to see LOTS more color inspiration!

MOTHER’S DAY BLOG HOP
Marly Bird has done it again! She has gathered 14 of her Designer friends to bring you a total of 15 free knit and crochet patterns that you can make for your Mom or yourself! Each day you will have the chance to download one pdf. Make sure to check out Marly’s Blog post each day for the link to the newest pattern.
Although the FREE PDF DOWNLOAD of the Butterfly Breeze Poncho Crochet Pattern is no longer available, you can always read the pattern below!
This post contains affiliate links to products we recommend. We may receive a commision for purchases made through these links at no extra cost to you.
THE YARN
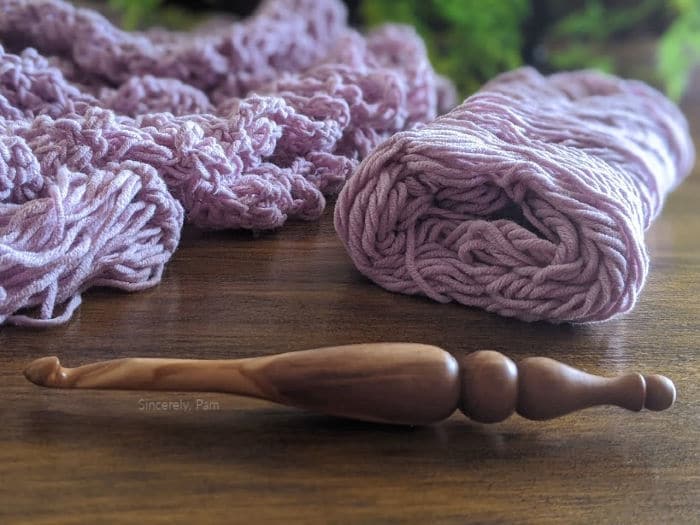
When I originally released the Butterfly Breeze Poncho six years ago I used Red Heart With Love. Although I absolutely loved the way the poncho worked up using that yarn, the Caron Cotton Cake couldn’t have been more beautiful to work with. The yarn is a 60/40 Cotton/Acrylic blend worsted weight yarn. The cake is huge with 530 yards/8.8 oz per cake. This yarn was available exclusively at Michaels and has since been discontinued.
For more ideas on yarns you can use, scroll down to the bottom of the post. Hook shown in photo is the Alpha Series hook by Furls Crochet.

Although you can use the free crochet poncho pattern in this blog post, you can also purchase the ad-free PDF in my Ravelry, Etsy, or LoveCrafts Shops by clicking the buttons below!
MATERIALS
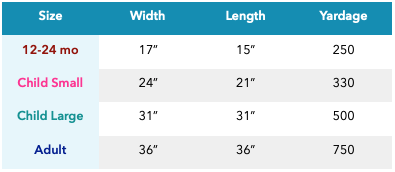
- Yarn: Worsted Weight #4 yarn. Sample made using a Caron Cotton Cake. See approximate yardage/size in the chart below.
- Hook: K (6.5mm)
- Tapestry Needle for weaving in ends
- Measuring Tape
SIZES
PATTERN KEY
- ch: chain
- st(s): stitch(es)
- sk: skip
- yo: yarn over
- slst: slip stitch
- sc: single crochet
- dc: double crochet
- tr: treble (or triple) crochet
- tr2tog: treble two stitches together
GAUGE
- 4″x4″ = 1 butterfly pattern repeat, after blocking
EXPERIENCE LEVEL
- Intermediate
SPECIAL PATTERN NOTES
This Poncho is worked in one piece from the top (decorative shoulder) down to the border.
When choosing colors for your Poncho, using the photo below as a guide, Color A will be your main color (beige) and Color B will be the accent color (I used 3 different shades of pink). You may choose to use as many different colors of B as you like, but I will only refer to one Color B in the pattern. Toddler size will have 2 sections, or stripes, of B, Child Small will have 3, Child Large will have 4 and Adult will have 5.
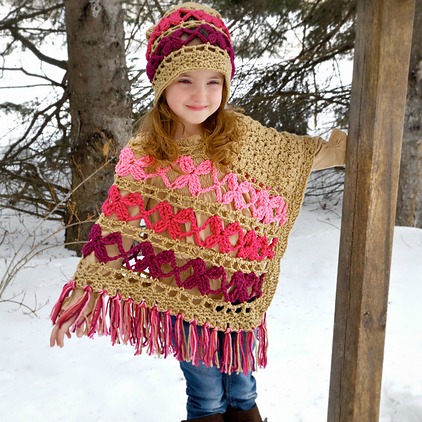
When you end a row of Color A, you do not have to fasten off, instead you can carry it loosely up the side of your work. If only using one color for B you can do the same. If you are using different colors for each stripe, fasten off when asked to switch back to Color A. I will have the color you need to use in () at the beginning of the row. If you do not see (), then you will continue with the color used in the previous row.
When following stitch counts at the end of each row, the numbers are in numerical order by size (12-24, ChildSM, ChildLG, Adult). I have highlighted each size a different color for you throughout the pattern for ease of use.
SPECIAL STITCHES
Tr: yo twice, pick up a loop in designated st, [yo, draw through 2 loops] three times.
Tr2tog: yo twice, pick up loop in designated st, [yo, draw through 2 loops] twice, yo twice, pick up a loop in SAME st, [yo, draw through 2 loops] twice, yo, draw through all 3 loops on hook.
COPYRIGHT NOTICE
You are free to sell what you make from this pattern, but you may not share, copy or reproduce this pattern in part or whole.
Photographs are also copyright protected and may not be used.
Please link back to one of my shops if selling your finished items online.
© Pam Dajczak 2014
Pattern Instructions
Decorative Shoulder
1: (A) Ch (30, 39, 54, 63), sc in 2nd ch from hook and across, TURN. (29, 38, 53, 62)
2: Ch1, turn, sc in first st, sk1st, (sc, ch2, sc) in next st, *sk2st, (sc, ch2, sc) in next st, repeat from * across, sk1st, sc in last st. (20, 26, 36, 42 sc)
3: Ch3 (counts as dc), turn, 3dc in each ch2-space across, dc in top of last sc,. (29, 38, 53, 62 dc)
Repeat Rows 2 and 3, (5, 6, 8, 8) more times.
4: Ch (22, 28, 34, 40), being careful not to twist your chain, join with a sc to the first chain in your original foundation row, sc across the rest of the foundation ch. (79, 103, 139, 163) This count includes the stitches from Row 3. It appears you will have 1 st less (Row 1 + chain + Row 3), however, your last ch becomes part of the next sc.

Body
1: You will work in both the stitches AND chains from the previous row, including your last repeat of Row 3. Ch3 (counts as dc), turn, *ch2, sk2sts, dc in next st, repeat from * across. (27, 35, 47, 55 dc)
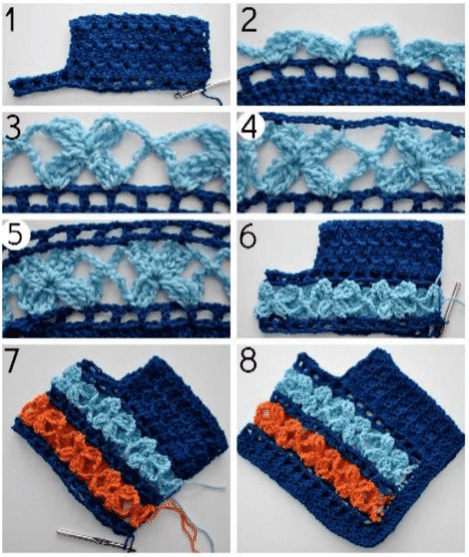
Refer to photo 1 above. ***Please note that the Poncho shown is 12-24 size and should not be used for stitch count reference.
2: (B) Ch1, turn, sc in first dc, ch9, skdc, *(sc, ch4, tr2tog) in next dc, skdc, (tr2tog, ch4, sc) in next dc, ch9, skdc, repeat from * across, sc in 3rd ch of turning ch. (7, 9, 12, 14 ch9 spaces)
Refer to photo 2 above.
3: Ch8, (counts as tr, ch4), turn, sc in next ch-9 loop, *ch4, (tr2tog, ch4, slst, ch4, tr2tog) in next tr2tog, ch4, sc in next ch-9 loop, repeat from * across to last ch-9 loop, ch4, tr in the last sc. (14, 18, 24, 28 ch4-spaces)
Refer to photo 3 above.
4: (A) Ch1, turn, sc in same as ch1, ch5, *sc in top of next tr2tog, ch5, repeat from * across, ending with last sc in 6th ch of turning ch. (14, 18, 24, 28 sc)
Refer to photo 4 above.
5: Ch5 (counts as dc, ch2), turn, dc in first ch-5 space, ch2, dc in next sc, *ch2, dc in next ch-5 space, ch2, dc in next sc, repeat from * across. (27, 35, 47, 55 dc)
Refer to photo 5 above.
Photo 6 shows what your work should look like now.
Repeat Rows 2-5, (1, 2, 3, 4) more times.
Refer to photo 7 in the tutorial above so see what your work will look like before moving on to Border Instructions.
Weave in ends of Color B.
Border Instructions
1: Working on the Right Side, ch1, (sc, ch2, sc) in same as ch1, *2sc in next ch-2 space, sc in next dc, repeat from * across, ending after a 2sc, (sc, ch2, sc) in the corner, join with a slst to first sc, slst over to first ch-2 space. Turn your work 90° so that you are now working up body of the Poncho.
Work sc sts evenly down this side of the Poncho. I placed 2 sc in each dc end row, 3 sc in each tr end row, 6sc in each ch-6 end row, and 1sc in each sc end row. Join with a slst in to the first ch2-space. DO NOT TURN.
You are now working in the Round.
2: Ch3 (counts as sc, ch2), sc in same space, skst, *(sc, ch2, sc) in next st, sk2sts, repeat from * across, until you have 1 sc left before the first (sc, ch2, sc) corner, skst, (sc, ch2, sc) in ch2-space, continuing on, repeat again from *, to each (sc, ch2, sc) corner, slst in beginning ch3-space.
3:Ch3 (counts as dc), 2dc in same space, 3dc in each ch2-space around, join to top of beginning ch3.
Fasten off, weave in ends.
Finishing Instructions
Reattach Color A along the neckline using a slst. I chose to do this where the decorative shoulder meets the body of the Poncho. Ch1, sc evenly around the neck opening, join to first sc.
Fasten off, weave in ends.
Refer to photo 8 above to see what your Poncho should look like after finishing.
Would you like to add fringe? Check out my FRINGE TUTORIAL.
Want another Free Crochet Poncho Pattern? Check out the Ragged Falls Poncho, or the Lucky Penny Poncho!
BUT WAIT! THERE’S MORE!
I promised you MORE inspiration. Check out these amazing tester and customer photos below.
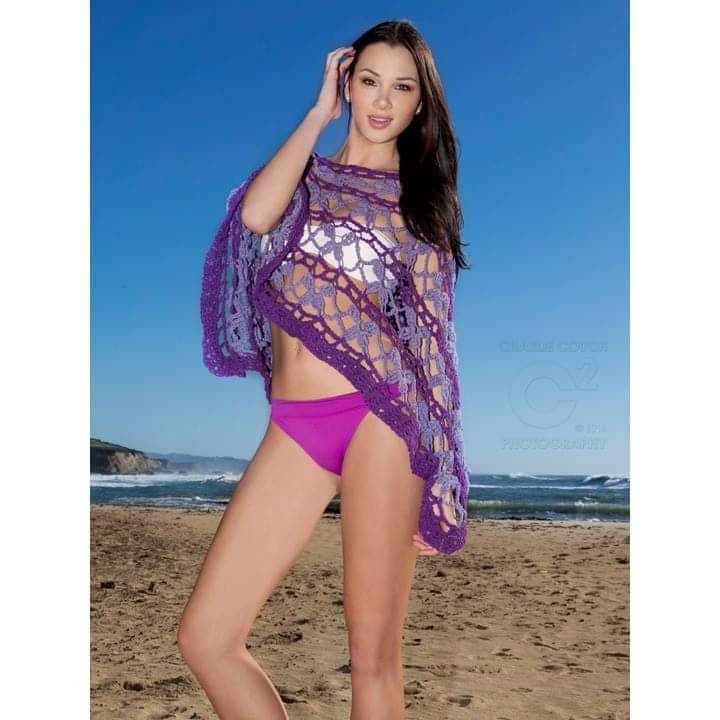
Cassie of Threads by Cass tested this poncho using Red Heart With Love and used it as a Beach Cover. How cute!
Danielle of Mamademics tested this pattern using Knit Picks Comfy Worsted in color Peony.
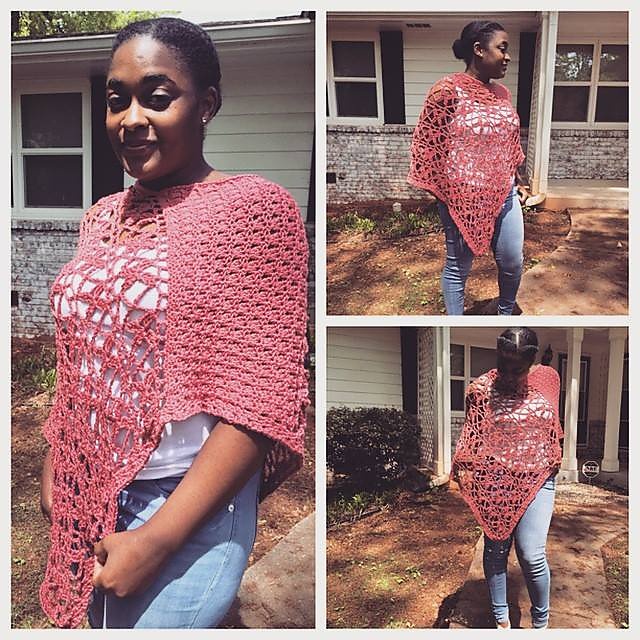
Crystal of Crystalized Designs made her poncho using Red Heart With Love.
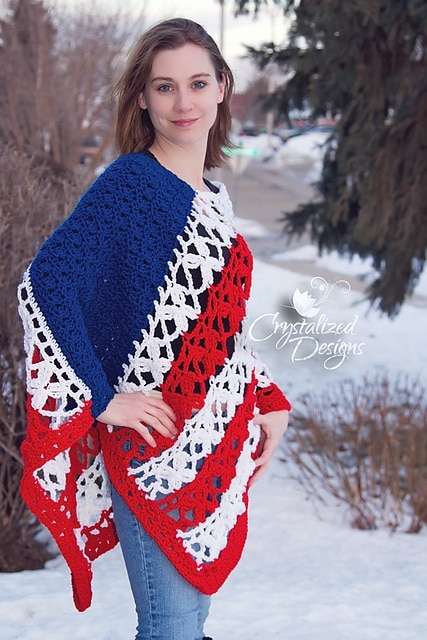
Sonya of Blackstone Designs made her daughter one using Red Heart With Love.
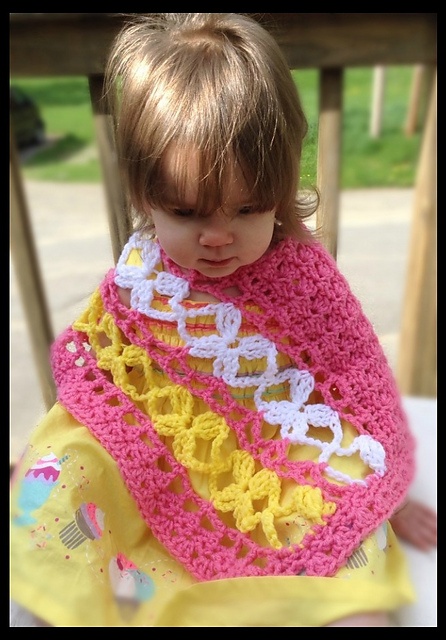
Laura made her daughter a poncho using Red Heart With Love in color Bluebell.
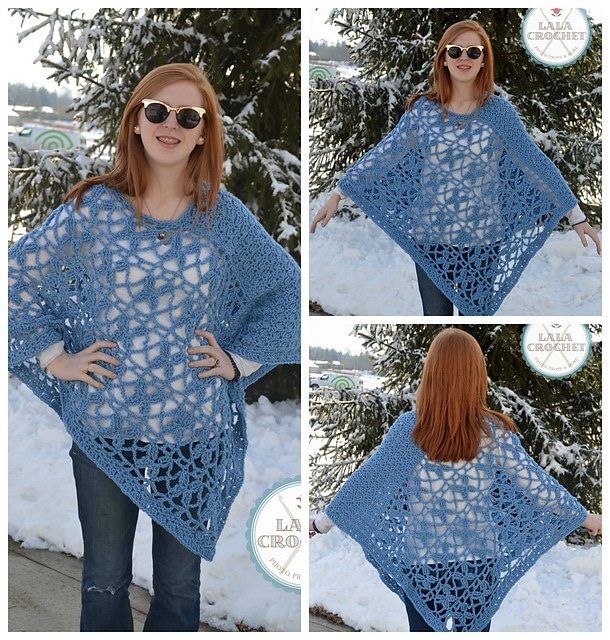
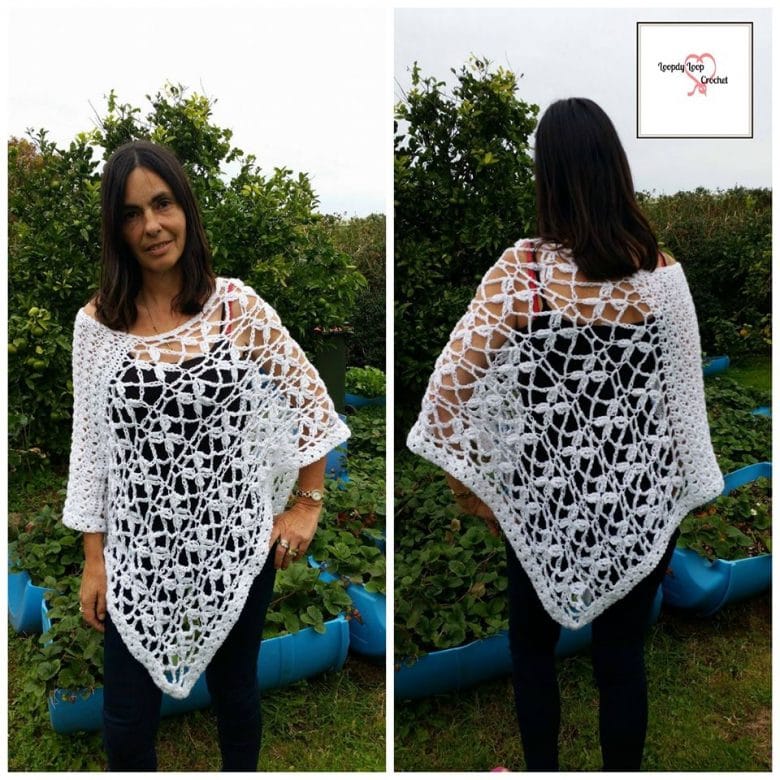
Lynette of Loopdy Loop Crochet did a beautiful job making her poncho using 4 Seasons Marvel 8 ply.
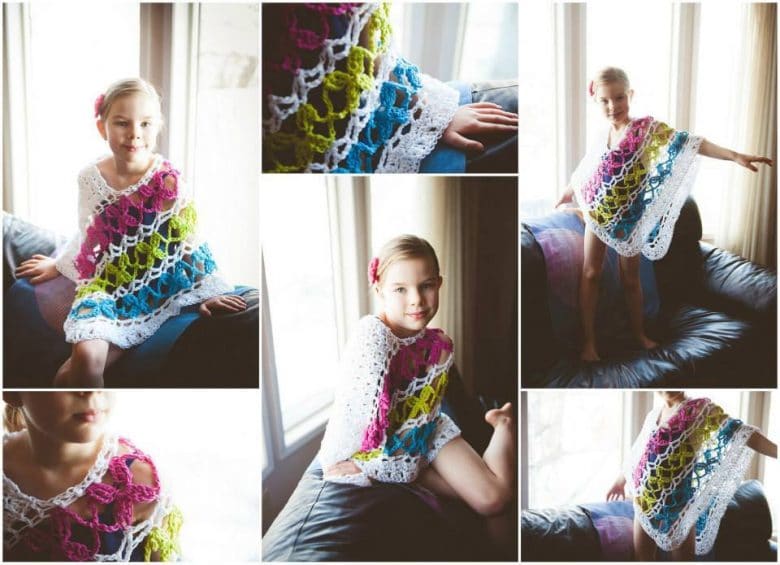
Penny tested the Butterfly Breeze Poncho for her granddaughter’s beach cover using Bernat Handicrafter Cotton.
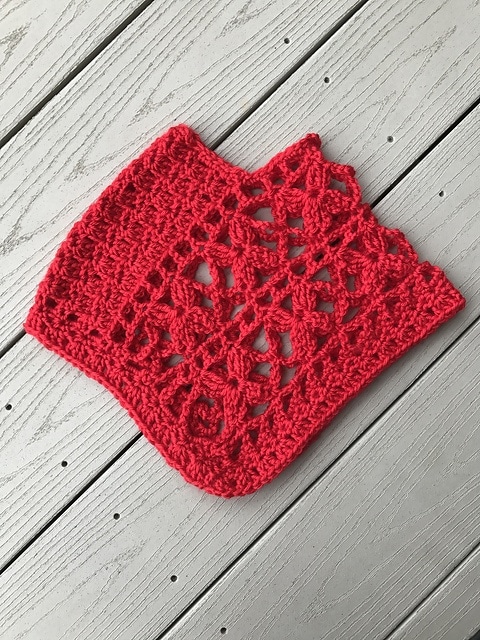
Katelyn made her poncho using Red Heart Soft in color Cherry Red.
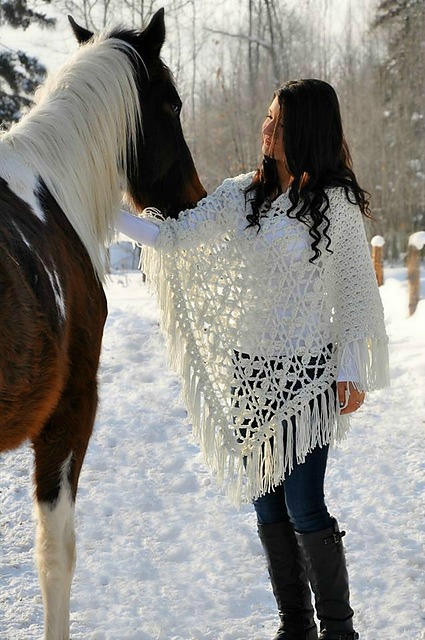
And here is the original Butterfly Breeze Poncho in Red Heart With Love.
Need more color inspiration for this free crochet poncho pattern? Check out the 50+ projects on Ravelry!



This is beautiful!!!!