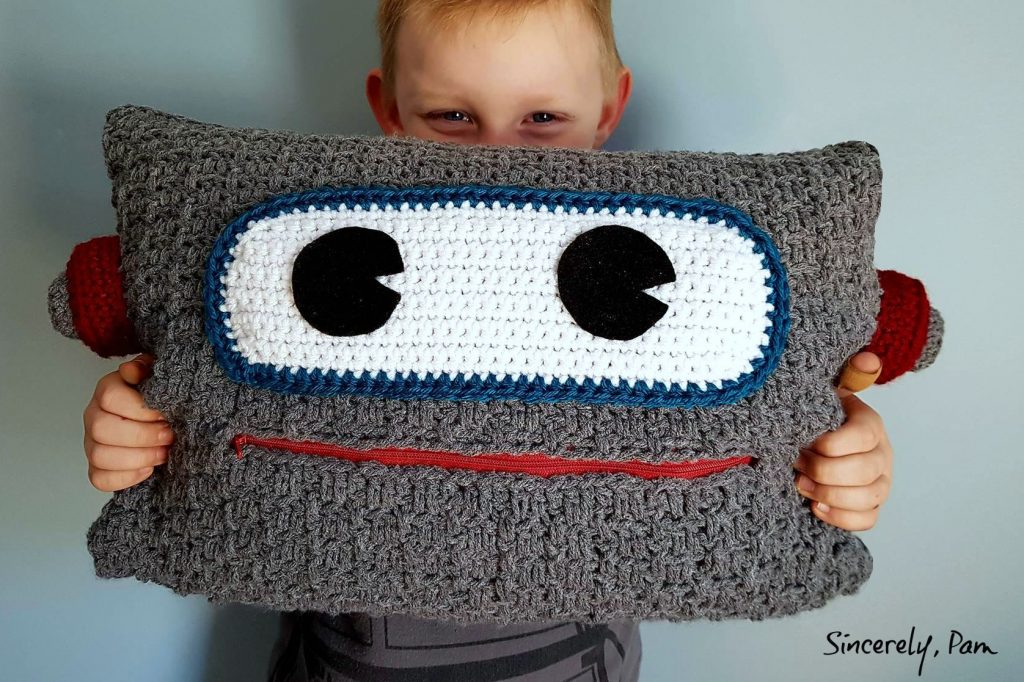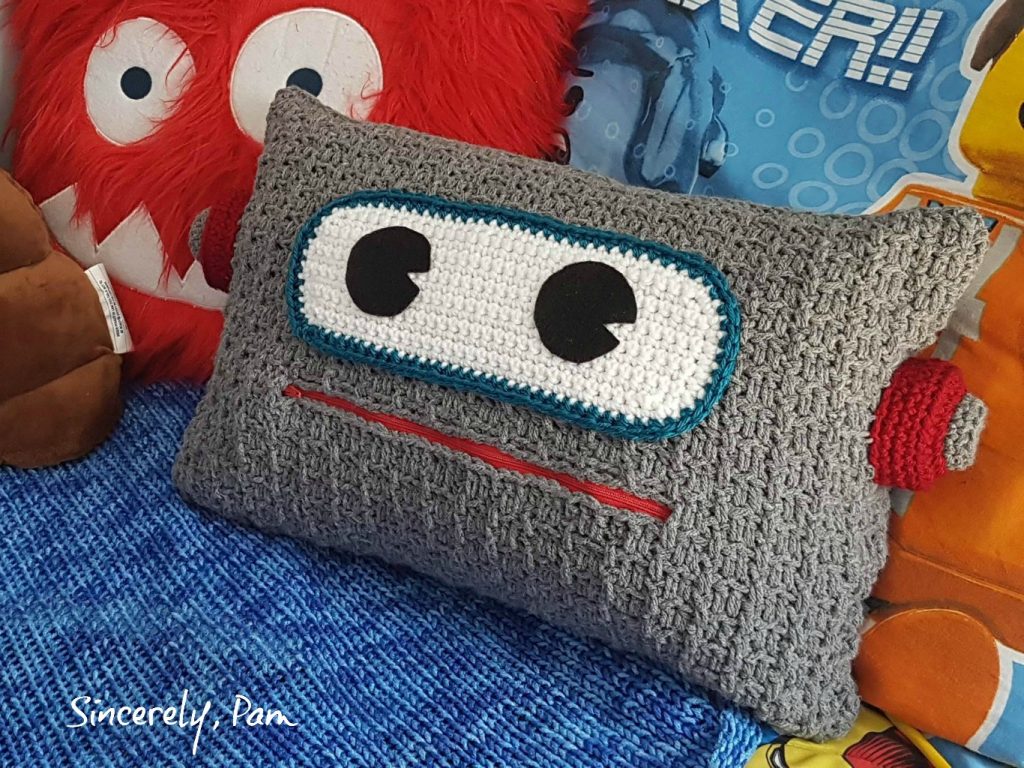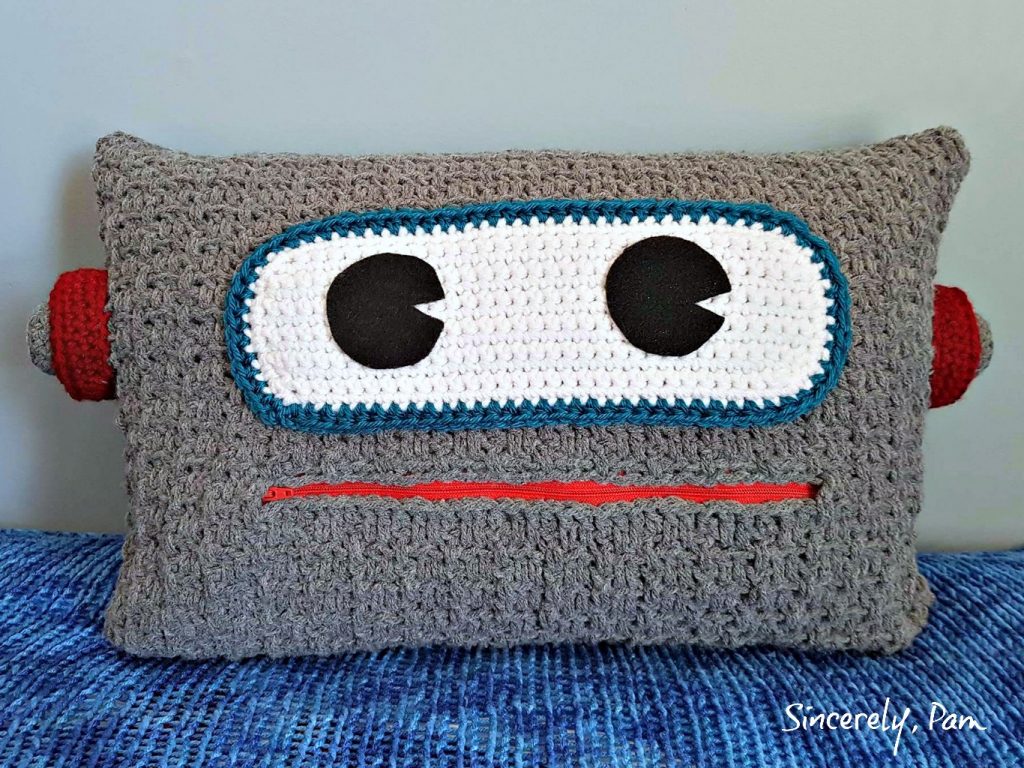
The Robot Pillow crochet pattern has been a favorite of my son’s for many years now. Originally released as a paid pattern in 2017, I am happy to be able to add it over here on the blog!

The Robot Pillow crochet pattern includes a cute zipper mouth that doubles as a way to insert the pillow form. The great thing about this feature is that it allows the pillow cover to be easily removed and laundered. This is always important especially in a kid’s room!

This post contains affiliate links to products we recommend. We may receive a commission for purchases made through these links.
Materials
Yarn: Worsted Weight #4.
Approximately 416 yards Grey, 31 yards White, 11 yards Teal and 20 yards Red.
Tapestry Needle for weaving in ends.
18” x 12” Pillow Form.
Small amount of Black Felt.
12” closed Red Zipper.
Pattern Key
- ch: chain
- st(s): stitch(es)
- sk: skip
- sp: space
- slst: slip stitch
- sc: single crochet
- hdc: half double crochet
- dc: double crochet
- Ldc: long double crochet
- BLO: back loops only
- FLO: front loops only
Special Stitches

Ldc: Long double crochet. The Ldc sts you will use in this pattern will be worked in the sts you skipped in the previous Round. The example below shows an item worked in Rows with 3 skipped sts, you will work in Rounds with 1 or 2 skipped sts, but the concept is the same. When asked to Ldc, you will yarn over, skip the ch from the previous Round and work your dc in the st 2 Rounds below (marked in the first photo with a black arrow). If you do not work the dc into that st, you will end up with holes in your fabric.
Experience Level
Intermediate.
Special Pattern Notes
This pattern is written in Rounds, but requires you to turn at the beginning of each Round. This is to ensure that your seam will run straight up the side of your Pillow and not on a slant.
Join at the end of each Round with a slst to the first st in the Round.
Beginning ch1 and 2 do NOT count as stitches. Place your first st in the same as the beginning ch.
This pattern is written from the bottom up, with features made, and added on after.
Gauge
Not essential for this project, however, 12 sts and 10 rounds in this pattern = 4”x4”
Copyright Notice
You are free to sell what you make from this pattern, but you may not share, copy or reproduce this pattern in part or whole.
Photographs are also copyright protected and may not be used.
Please link back to one of my shops if selling your finished items online.
(c) Pam Dajczak 2017

Robot Pillow Crochet Pattern Instructions
PILLOW COVER
1: Using Grey yarn, ch64, sc in 2nd ch from hook and across, turn to work on opposite side of the Foundation Chain, sc in each chain across, join. (126 here and throughout)
2: Ch2,*dc, ch2, sk2sts, repeat from * around, join.
Starting in Round 3, you will be working your dc sts in the st 2 Rounds below the one you are working in. See the photo tutorial on Page 4.
3: Working in the BLO, ch2, turn, *Ldc in 2 sts you skipped in previous Round, ch1, sk1st, repeat from * around, join.
4: Working in both loops, ch2, turn, *Ldc in the st you skipped in previous Round, ch2, sk2sts, repeat from * around, join.
4: Working in both loops, ch2, turn, *Ldc in the st you skipped in previous Round, ch2, sk2sts, repeat from * around, join.
Repeat 3 and 4 until Pillow measures 4”, ending on a repeat of Round 4.
5: Working in the BLO, ch2, turn, [Ldc in 2 sts you skipped in previous Round, ch1, sk1st] 5 times, [Ldc in next 2, hdc in next st] 10 times, *Ldc in next 2, ch1, sk1st, repeat from * around, join.
6: Working in both loops, ch2, turn, [Ldc in the st you skipped in previous Round, ch2, sk2sts], 27 times, hdc in next, ch26, sk26sts (mouth opening made), hdc in last hdc, ch2, sk2sts, *Ldc in next, ch2, sk2sts, repeat from * around, join.
7: Working in the BLO, ch2, turn, [Ldc in next 2, ch1, sk1st] 6 times, dc in first 2 ch, ch1, sk1ch, [dc in next 2, ch1, sk1ch] 9 times, *Ldc in next 2, ch1, sk1st, repeat from * around, join.
Repeat Round 3 and 4 until Pillow measures 11.5”, ending on a repeat of Round 4.
8: Working in the BLO, ch2, turn, Ldc in first 2 sts you skipped in previous Round, hdc in next, *Ldc in next 2, hdc in next, repeat from * around, join.
Fasten off and weave in ends. With the Wrong Side out, and using a long piece of yarn and tapestry needle, sew the top closed. Flip Right Side out through the mouth opening.
Continue on to Face.
FACE
1: Using White yarn, ch31, sc in 2nd and across. (30)
2: Ch1, turn, 2sc, sc across to last, 2sc. (32)
3: Repeat 2. (34)
4-9: Ch1, turn, sc across. (34)
10: Ch1, turn, sc2tog, sc to last 2 sts, sc2tog. (32)
11: Ch1, turn, sc around entire Face, join.
Fasten off White, join with Teal.
12: Ch1, sc around entire Face, join.
Fasten off and weave in all ends.
BOLTS (MAKE 2)
1: With Grey, start with a Magic Circle, ch1, sc 7 in circle, without joining, pull gently to close. (7)
2: 2sc around. (14)
3: Working in the BLO, sc around. (14)
4: Sc around. (14)
Fasten off Grey, join with Red.
5: Working in the FLO, 2sc around. (28)
6: Sc around. (28)
7: Working in the BLO, sc around. (28)
8-9: Sc around.
Fasten off leaving a tail for attaching to Pillow Cover. Weave in all other ends.
PUTTING IT ALL TOGETHER
Line up the Face approximately 1” above the Mouth. With a Tapestry Needle and coordinating yarn, attach the Face to the Pillow.
Sew the Red Zipper into the Mouth with a Tapestry Needle and Grey yarn. I used THIS ZIPPER TUTORIAL.
To add the Bolts, I find it easiest to put the Pillow Form inside the Pillow Cover first. That way you know they will line up properly once it’s on. I gently stuffed mine with scrap yarn to help them keep their shape. You could also use some polyfill stuffing, or something similar. Using a Tapestry Needle and the long tail, sew on the Bolts, using the picture on Page 1 as a guide for placement. Mine are approximately 3” down from the top corners.
Cut 2 circles out of the Black Felt, 2” in diameter. Cut a small triangle shape out of each one to add some detail. Using either a needle and thread, or fabric glue (what I used), attach the Eyes 2” from each edge of the Face.
FABRIC GLUE NOTE: Three years later, many washes, and the eyes are still stuck on tight!
Did you enjoy the Robot Pillow crochet pattern? Check out my other FREE Crochet Pillow Patterns!


Leave a Reply