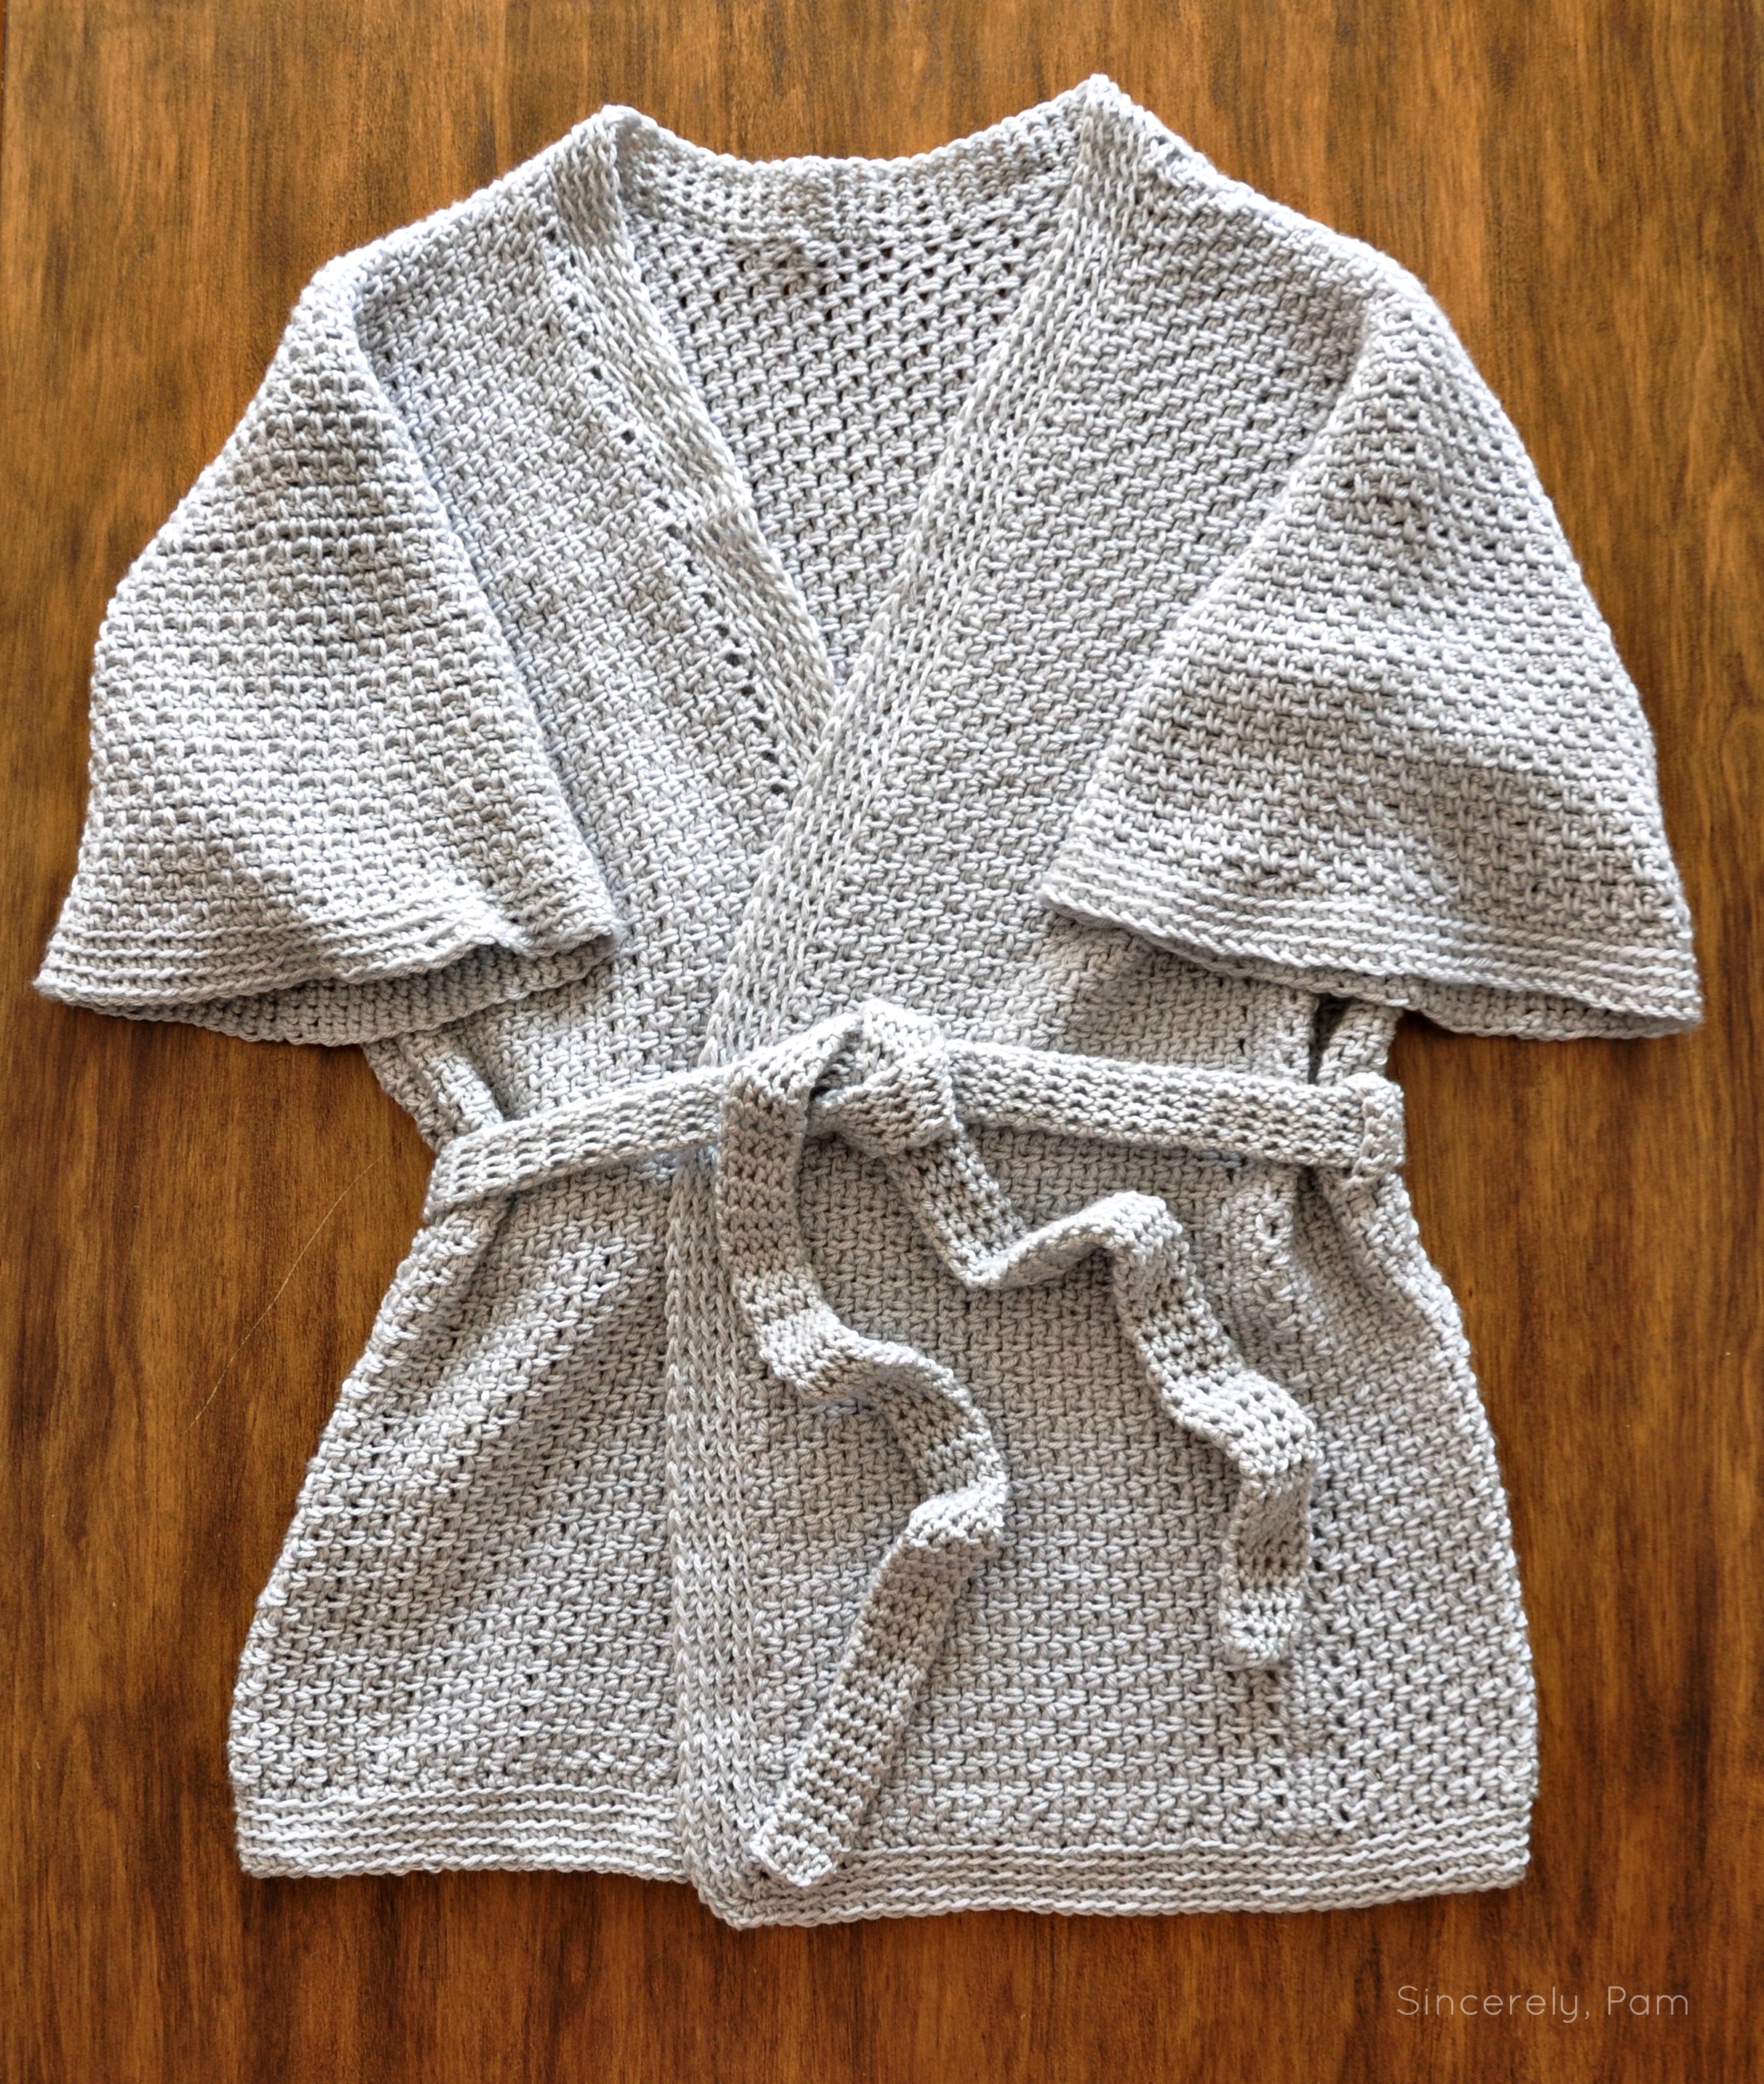
 Every project needs that finishing touch. Sometimes it’s a pompom on top of a hat. Sometimes it’s fringe on a poncho, or buttons on a sweater. Maybe it’s just some great blocking on an afghan. And sometimes, it’s a belt! For the Cambridge Cardigan, I knew that style called for something to tie around the waist, and a belt was the perfect fit. The only thing missing were some belt loops to allow me to wear the Cardigan open, or closed, depending on how I was feeling at any given moment. Here I will show you, in just 4 easy steps, an incredibly simple way to add a belt and belt loops to any item you feel might needs them!
>> Click HERE to sign up to receive our Newsletter! <<
This post contains affiliate links.
>>> ADD IT TO YOUR RAVELRY FAVORITES AND QUEUE! <<<
Materials Needed:
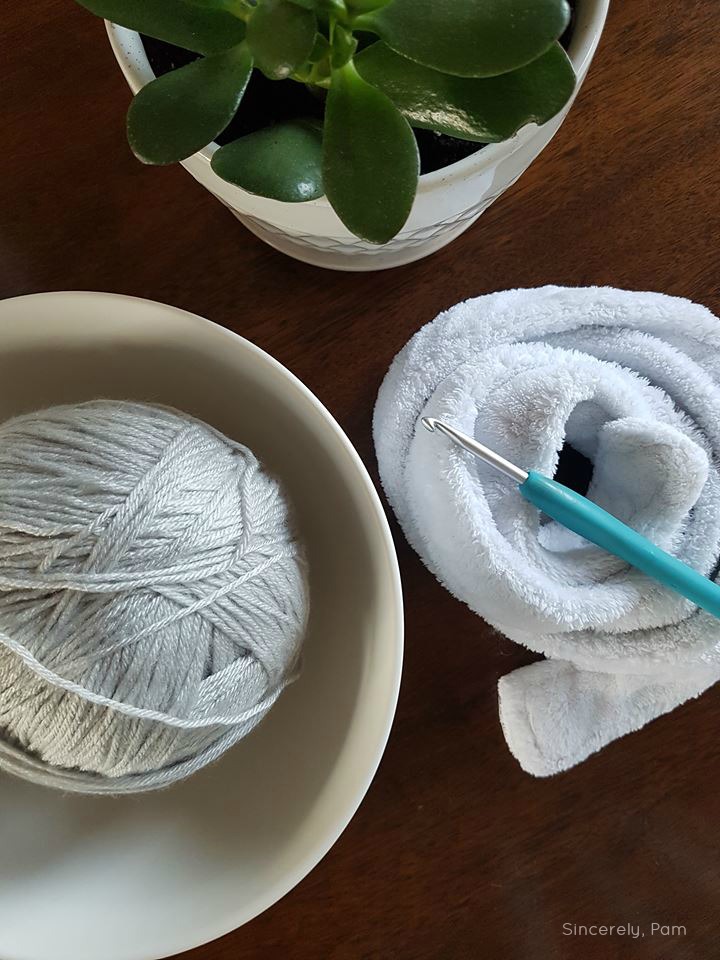
- A small amount of yarn to match your project. I used Loops & Threads Joy DK to match my Cardigan.
- H (5 mm) hook or size recommended on yarn label.
- Measuring tape.
- Tapestry needle.
- Scissors.
- Stitch Markers.
- The item you are adding Belt Loops to.
Instructions for Belt:
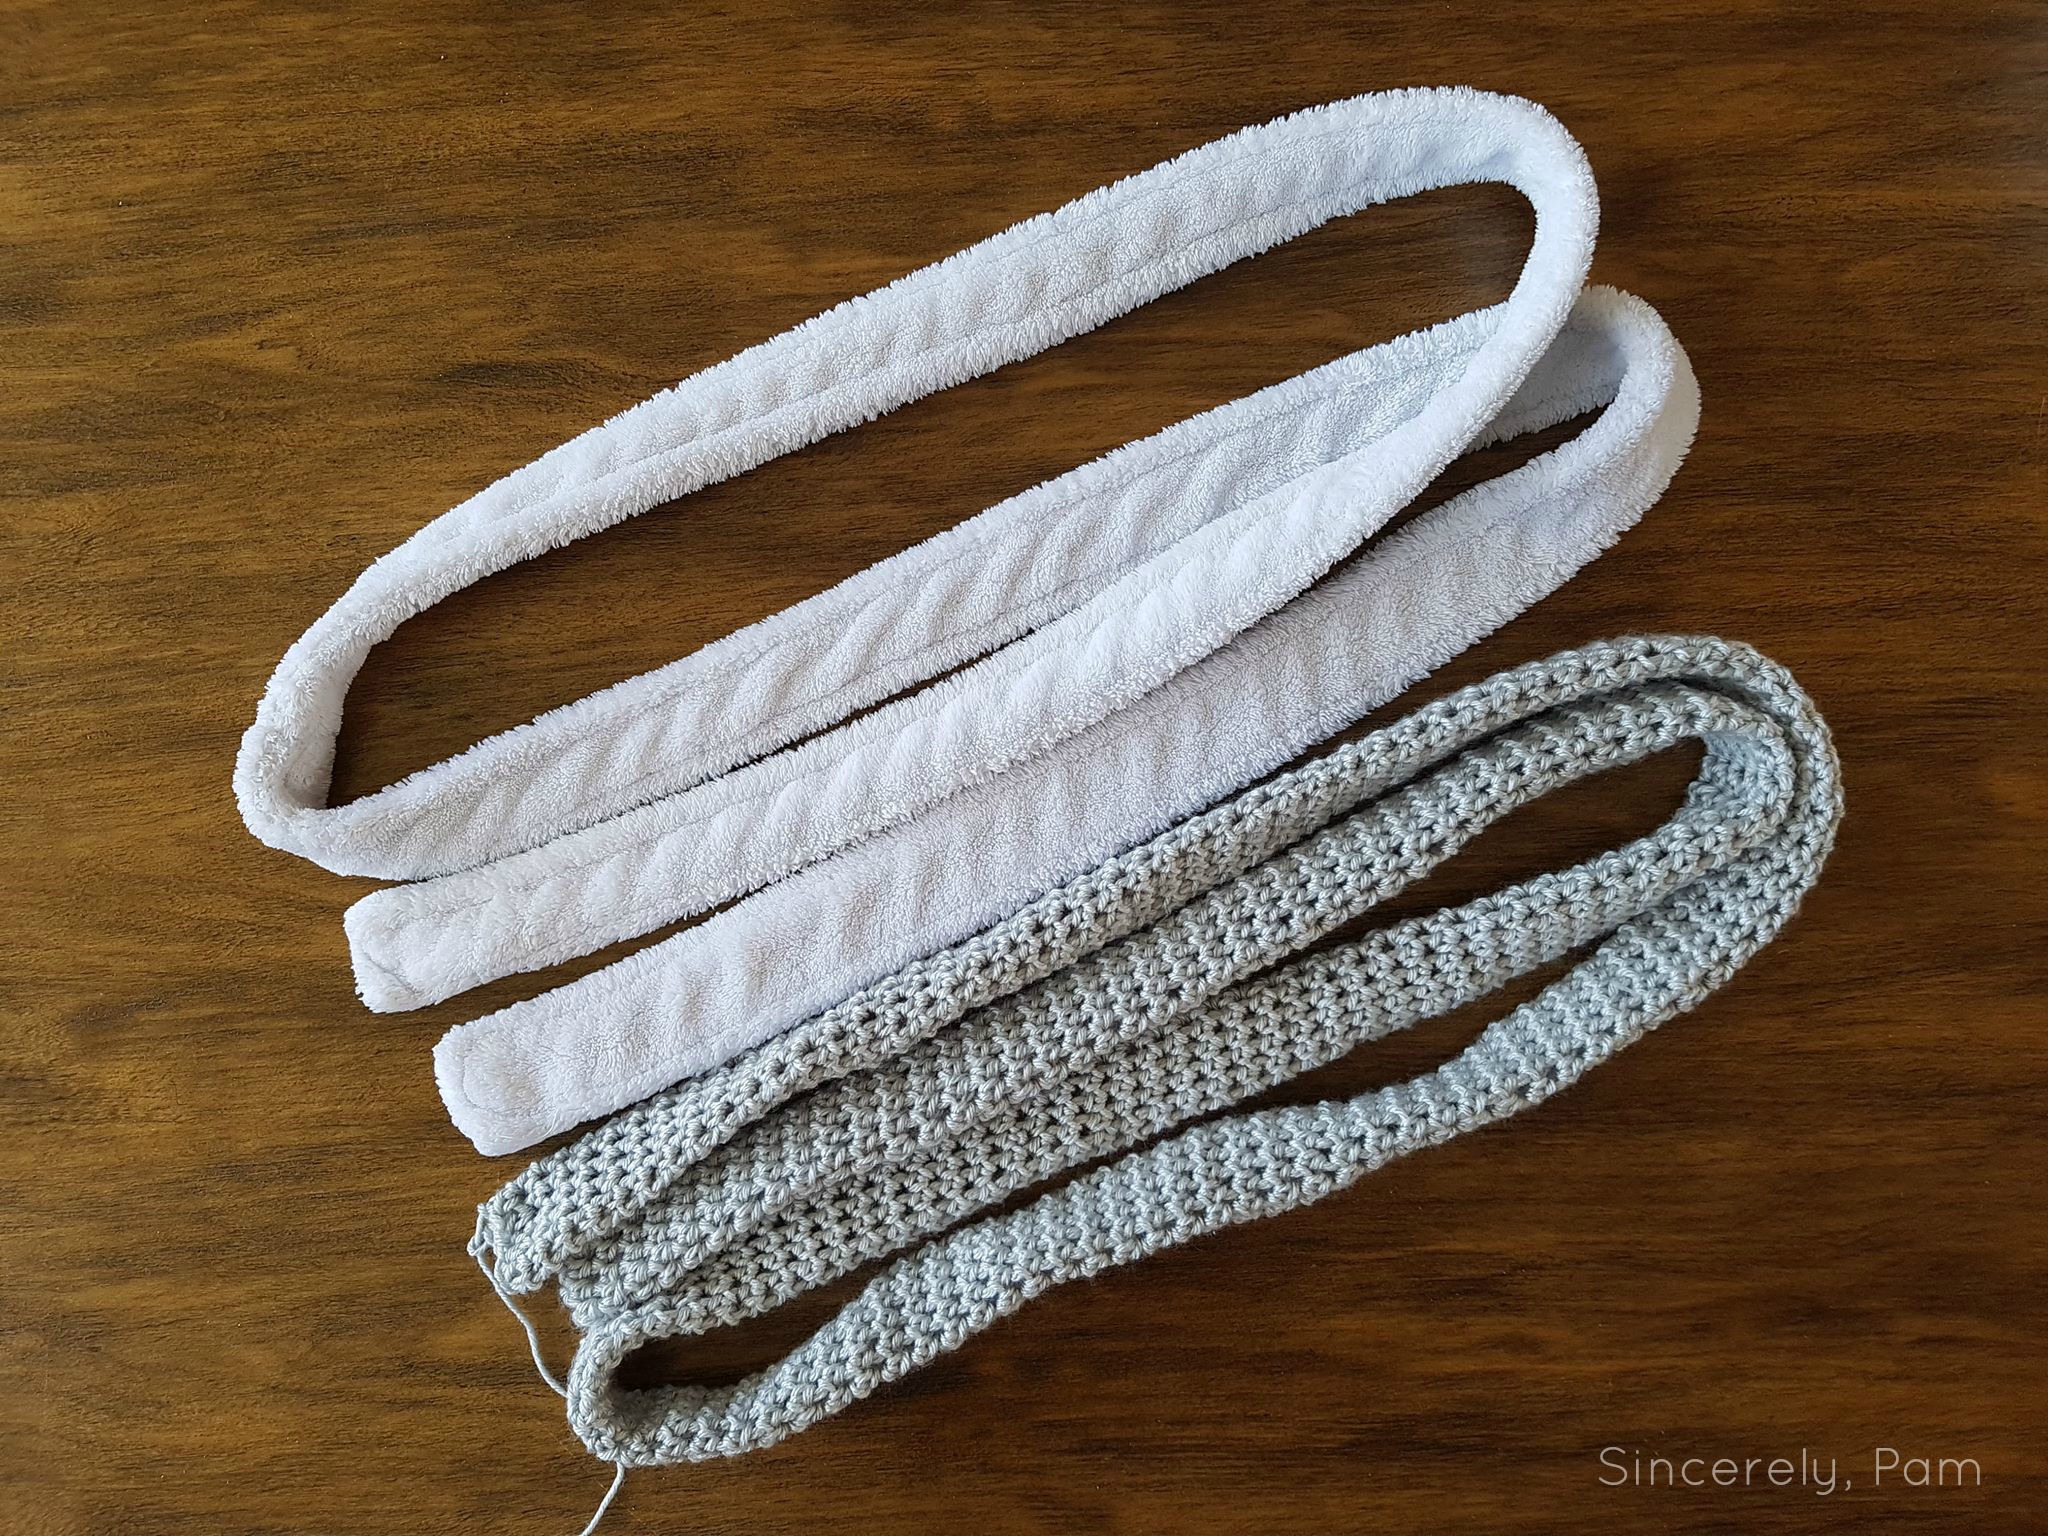
I took my favorite bathrobe belt to use as a guide for how long to make my crocheted belt. Mine was 78″ for a size medium cardigan.
Step 1: Ch6, hdc in 2nd chain and across, turn to work back along the remaining loops in the foundation chain, hdc across (this will form the beginning of a “tube”). Without joining, continue to hdc in a continuous circle until you have reached the desired length of belt. Fasten off and sew the tube closed. Belt made.
Instructions for Belt Loops:
Step 2: With yarn and hook, leaving a 6″ tail, ch8, sc in 2nd and across. (7)
*** If you are using a belt other than the one described above, chain enough sts to fit comfortably over your belt.***
Step 3: Ch1, turn, sc across. (7)
Fasten off leaving a 6″ tail.
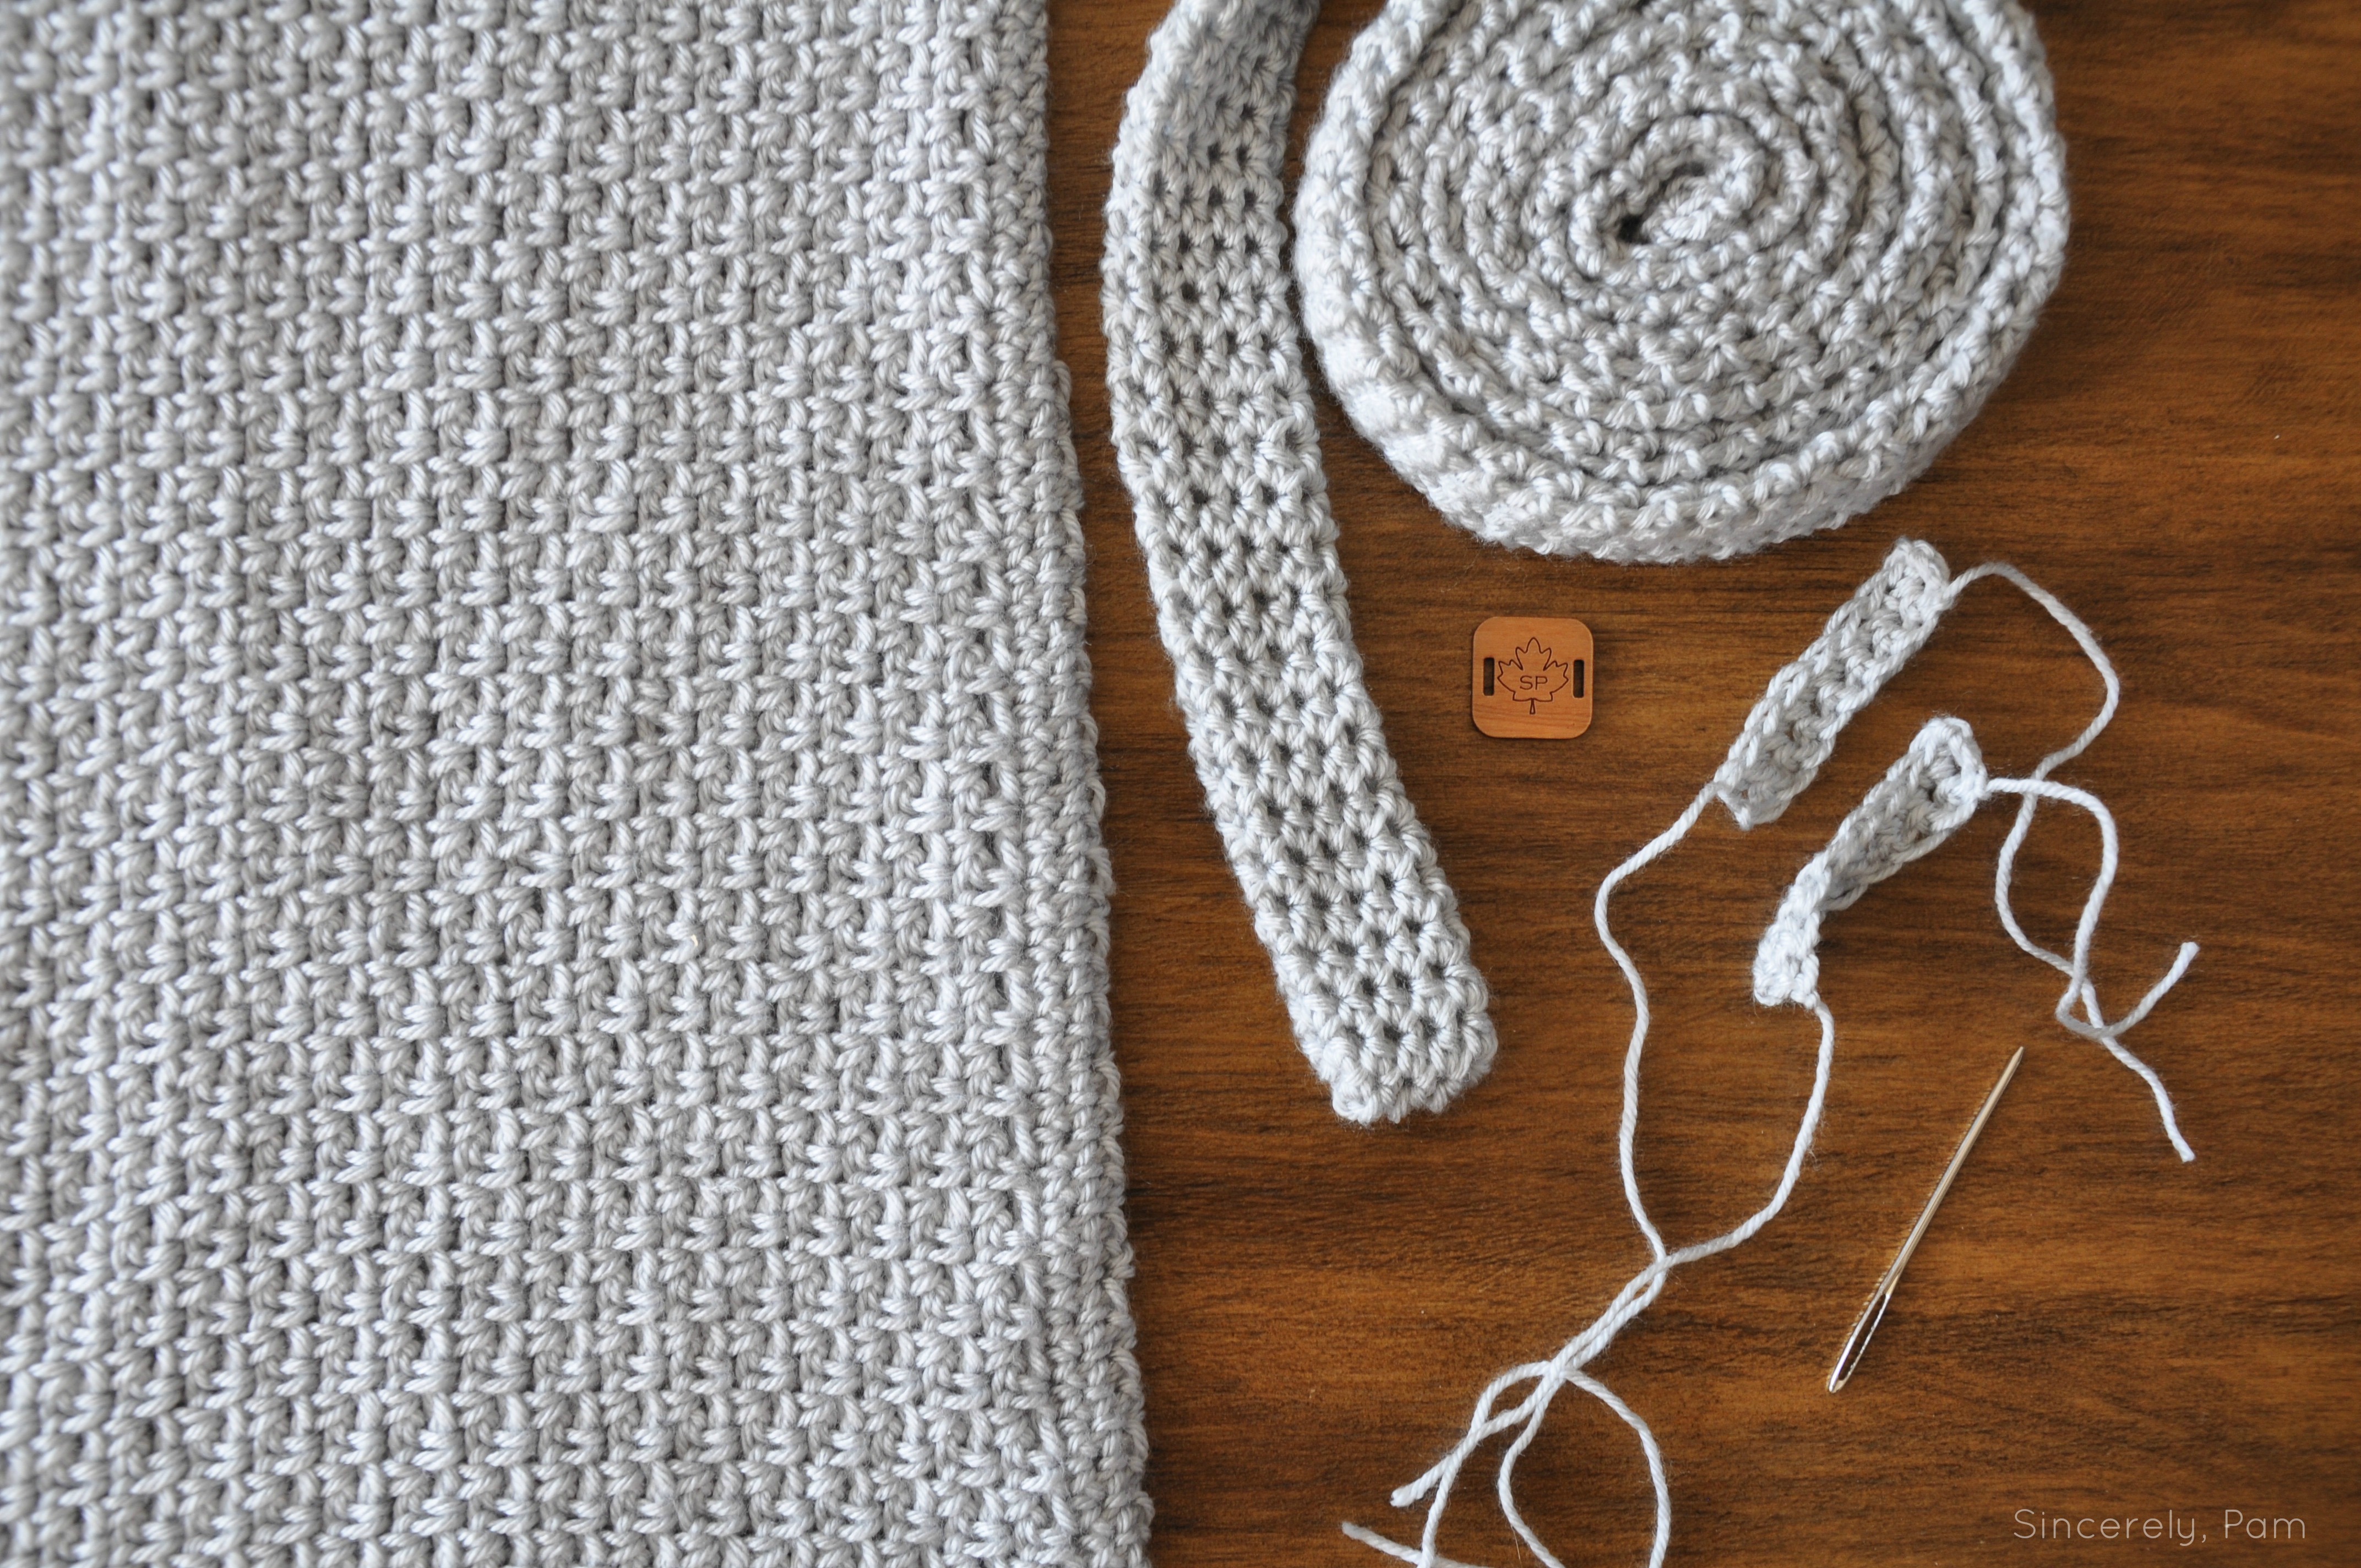
Step 4: Try the Garment on and tie the belt around your waist. Mark where you want your Belt Loops to go with the Stitch Markers, or a small scrap of yarn. I liked mine 10″ up from the bottom of my cardigan, and 3.25″ back from the side seam. This way once the cardigan was closed, the loops were at my sides and not pulled toward the front. Alternatively, you can measure with a measuring tape the distance from your underarm to your waist. Make sure your Stitch Markers are evenly spaced.
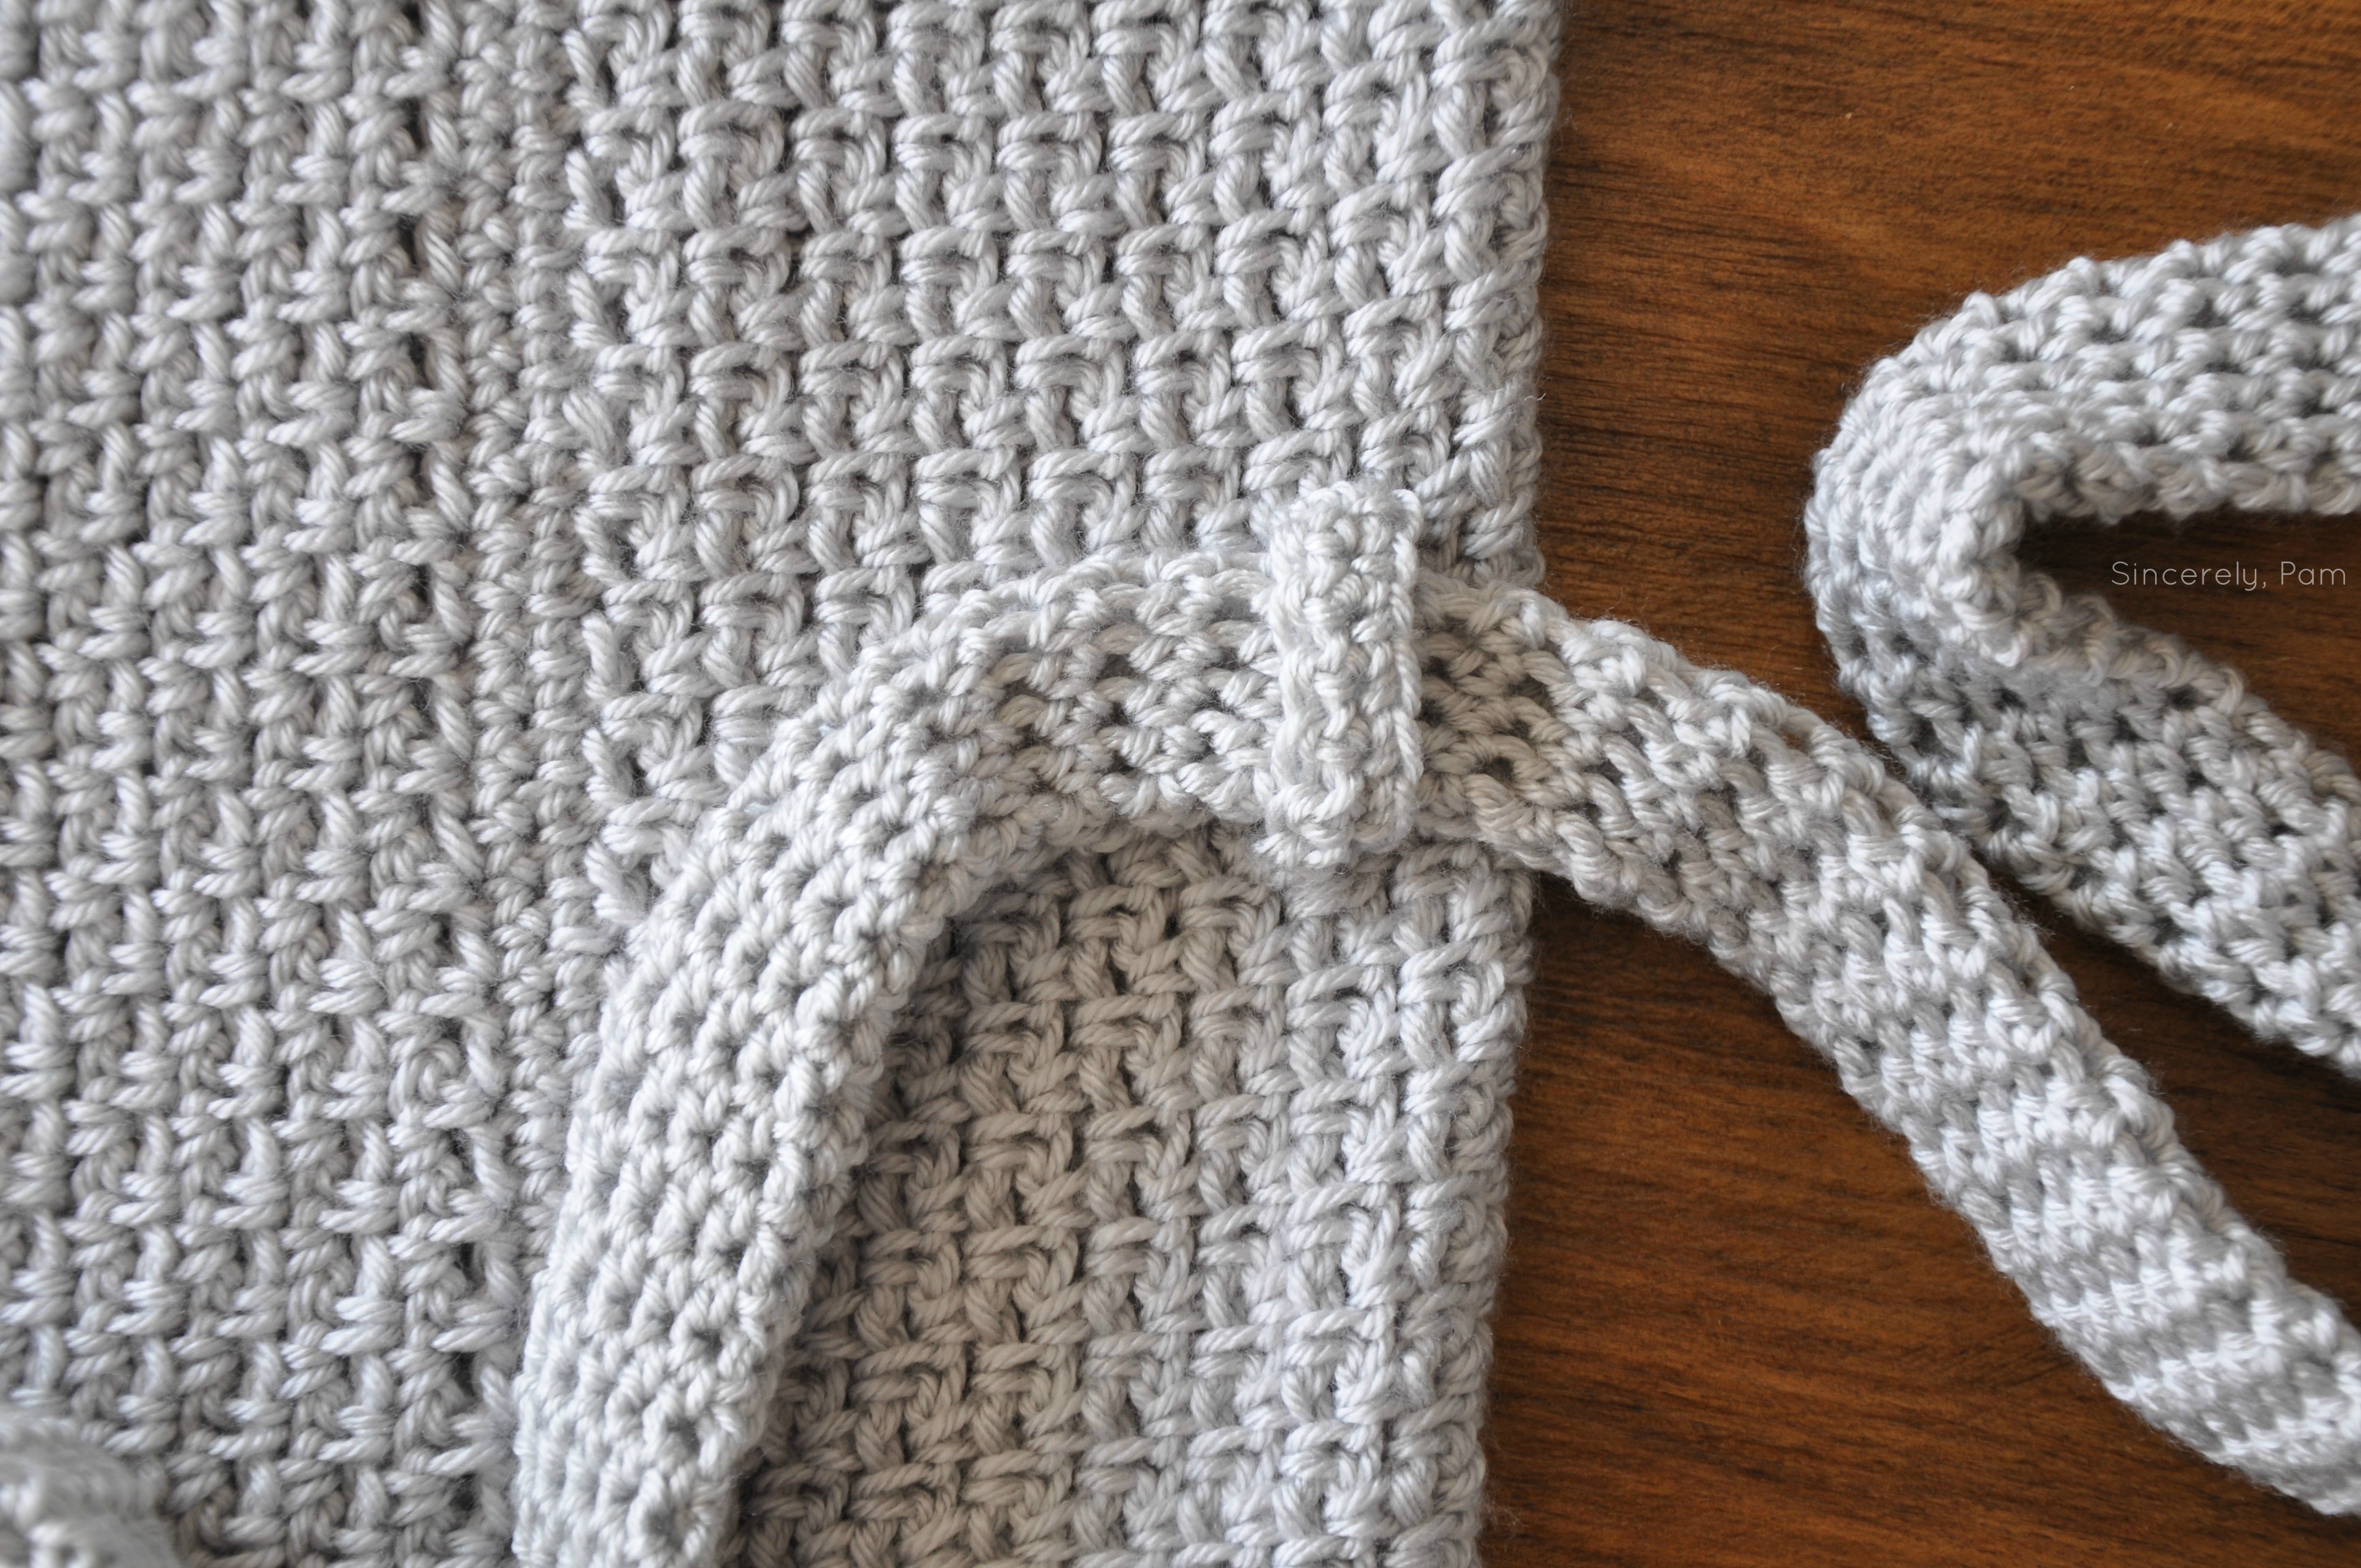
With the Tapestry Needle and tails, stitch the Belt Loops on, making sure to leave space between the Belt Loops and the Garment so that the Belt slides through easily. Do not weave in your ends! Once your Belt Loops are attached, try the Garment on with the belt. Make sure they are evenly spaced, and comfortable. Once you are satisfied, weave in all the ends. Enjoy!
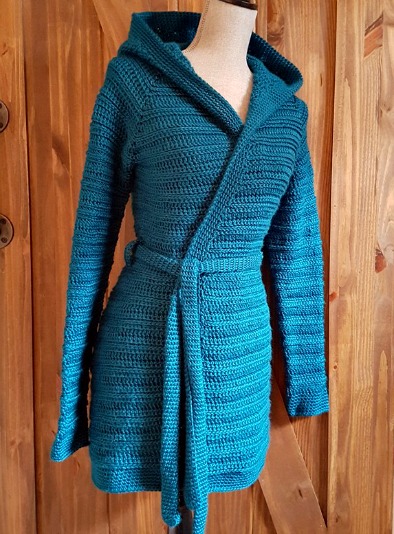
A belt with loops would also look great on the Danielle Cardigan!
Leave a Reply