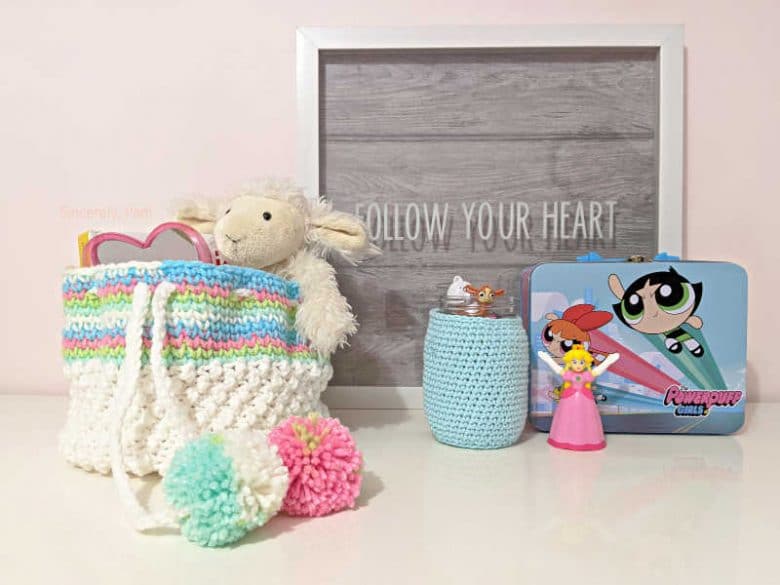
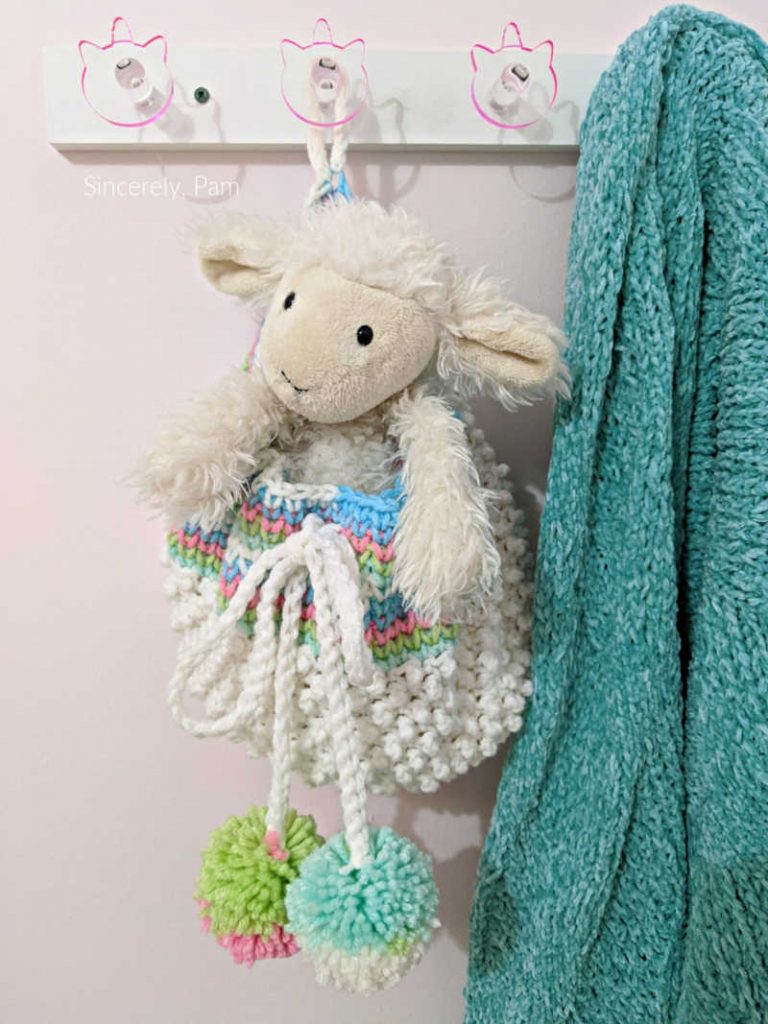
Let’s make tidying as easy as possible! This Drawstring Basket crochet pattern allows kids of all ages to put their belongings inside, and then pull the drawstring to keep it all contained! I have even added a handy hook to keep it all up and off the floor. The bright colours, fun texture, and fluffy pompoms have made this a popular decor item in our home.
This post contains affiliate links to products we recommend. We may receive a commission for purchases made through these links.

Joy of Motion Crochet, Counting Crafty Sheep, Salty Pearl Crochet and Knitting With Chopsticks are hosting a super fun Spring Color blog hop! Every day in February, they are featuring a new designer who has a Spring Colored inspired design to share with all of you!
You can read all the details HERE!
This means that you can get a FREE PDF DOWNLOAD of the Drawstring Basket Crochet Pattern on Ravelry for a limited time! Scroll down below the Materials list, and click on the DOWNLOAD THE FREE PDF ON RAVLERY button.
Promotion ends Wednesday, February 19, 2020 at 8am PST.
THE YARN
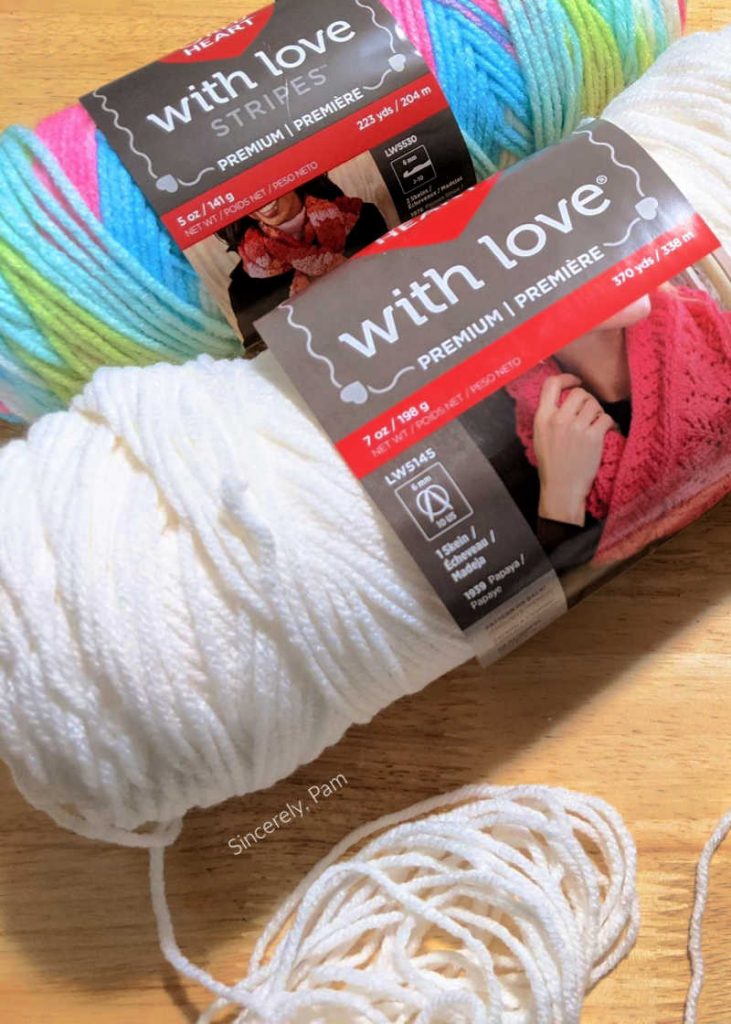
For this design I knew I wanted to find something that matched the colours in my daughter’s newly renovated room. Her walls are a soft peachy-pink, and her accessories and bedding are all white with bright pops of raspberry, mint, coral, and turquoise. I was super excited when I saw the Red Heart Yarns With Love Stripes in colour Candy Stripe. It was perfect, and the Red Heart Yarn With Love in solid white was the perfect compliment.
This 100% premium acrylic yarn comes in over 50 beautiful solid, variegated and self-striping shades. Each skein of With Love comes in a 198g (7oz), 370 yds (338 m) size. Each skein of With Love Stripes comes in a 141g (5oz), 223 yds (204 m) size.
You can purchase the ad-free pdf in my Ravelry, Etsy, or LoveCrafts Shops by clicking the buttons below!
Materials
- Yarn: 135 yards Red Heart With Love Stripes in Candy Stripe. 155 yards Red Heart With Love in White.
- Optional PomPom Maker.
- Optional Plastic Canvas
- Hook: I (5.5 mm).
- Tapestry Needle for weaving in ends.
- Measuring Tape.
- Optional plastic canvas.
Pattern Key
- ch: chain
- st(s): stitch(es)
- slst: slip stich
- sc: single crochet
- dc: double crochet
- tr: treble crochet
- splsc: split single crochet
Gauge
- First 4 rounds = 5”
Experience Level
Special Pattern Notes
This basket is made from the bottom up. Two bottoms are made, then crocheted together to make a thicker base. Then the rest of the basket is crocheted. Afterwards, ties and pompoms are added.
Beginning chains do not count as a stitch throughout.
Worsted weight yarns similar in fiber content and weight can be substituted.
Copyright Notice
You are free to sell what you make from this pattern, but you may not share, copy or reproduce this pattern in part or whole.
Photographs are also copyright protected and may not be used. Please link back to one of my shops if selling your finished items online.
© Pam Dajczak 2020
Special Stitches
Splsc: Split single crochet. Insert hook between the legs of the next st, yarn over, pull up a loop, yarn over, and pull through both loops on hook.
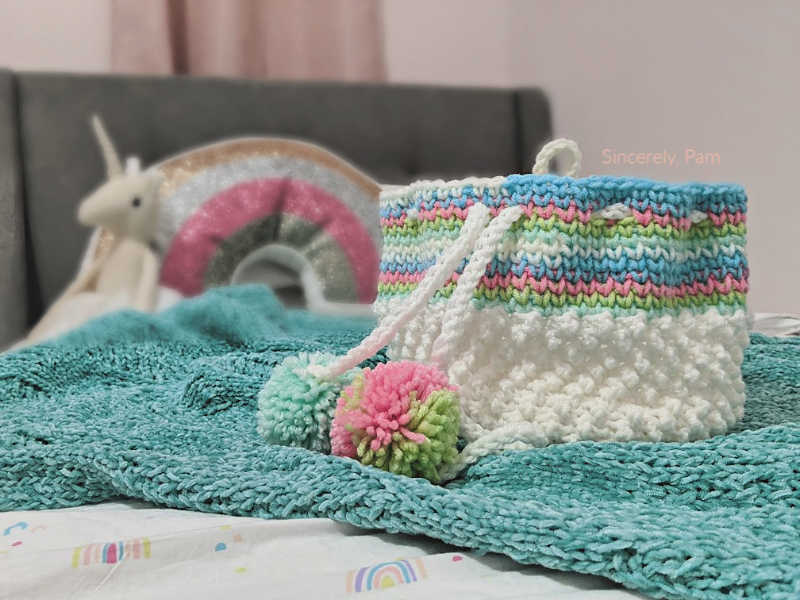
Drawstring Basket Crochet Pattern Instructions
Bottom (Make 2)
1: With White yarn and starting with an adjustable ring, ch2, 12dc in ring, join. Pull tightly to close. (12)
2: Ch2, 2dc in each st around, join. (24)
3: Ch2, dc in first, 2dc in next, *dc in next, 2dc in next, repeat from * around, join. (36) Circle should measure 5” across if following gauge.
4: Ch2, dc in first 2, 2dc in next, *dc in next 2, 2dc in next, repeat from * around, join. (48)
5: Ch2, dc in first 3, 2dc in next, *dc in next 3, 2dc in next, repeat from * around, join. (60)
6: Ch2, dc in first 4, 2dc in next, *dc in next 4, 2dc in next, repeat from * around, join. (72) Circle should measure 7.5” across if following gauge.
Fasten off the first circle, weave in ends. Make a second circle. Do not fasten off after making second circle.
7: Lay the two circles on top of each other, wrong sides facing together. Ch1, attach the two circles together by sc through both layers around. This is now the Right Side. See photo below.
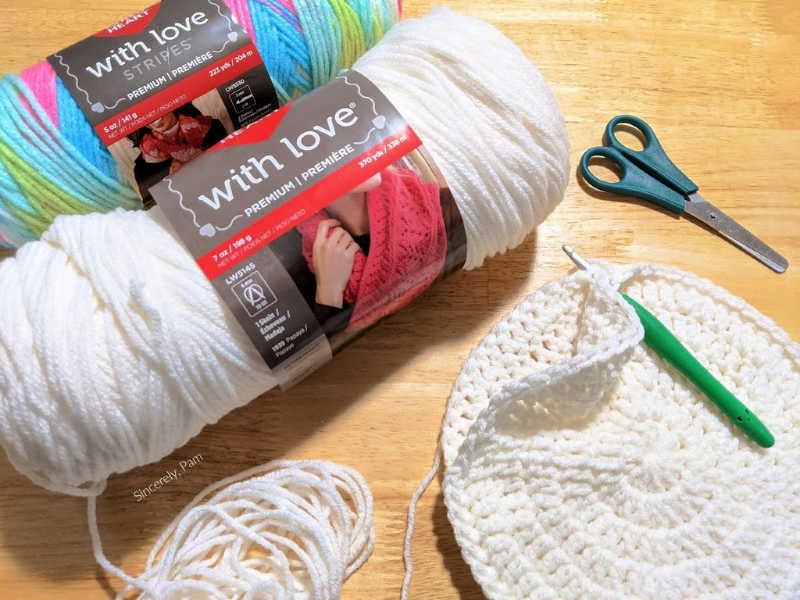
NOTE: If you would like a more rigid bottom to your basket, cut a circle out of a piece of plastic canvas and place between the two circles before you sc together.
Basket
You will work the first part of the basket on the Wrong Side so that your tr sts will pop out on the Right Side, giving the basket texture.
8: Ch2, tr in first, sc in next, *tr in next, sc in next, repeat from * around, join. (72)
9: Ch1, sc in first, tr in next, *sc in next, tr in next, repeat from * around, join. (72)
10-16: Repeat Rounds 8 and 9, ending on a repeat of 8.
Your basket should now be approximately 3.5” tall.
Switch to Candy Stripe yarn. Turn to now work on the Right Side of the basket.
17: Ch1, sc around, join. (72)
18:-24: Ch1, splsc around, join. (72)
25: Ch1, splsc in first, *splsc in next 4, ch1, sk1st, splsc in next, ch1, sk1st, repeat from * around, splsc in last, join. (52)
26: Ch1, splsc in each st and sc in each ch1 space around, join. (72)
27: Ch1, splsc around, join. (72)
To make the Loop to hang the basket, ch12, slst to the same st as ch12, turn, slst in each ch in beginning ch12, join again to same st as ch12.
Fasten off and weave in all ends.
Ties and Pompoms
Ch126, slst in 2nd chain from hook and across. Fasten off and weave in ends. (125)
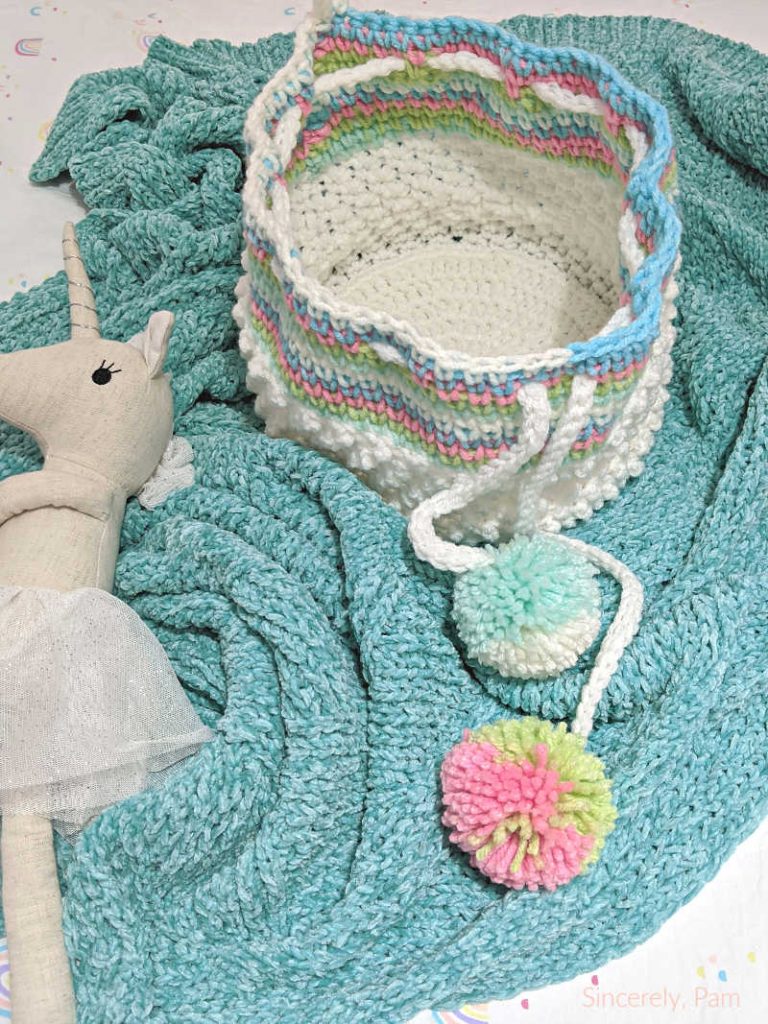
Weave the tie in and out of the chain spaces in Round 25, making sure the ties begin and end halfway around the basket. See photo below.
Using a pompom maker add a pom to the end of each tie.
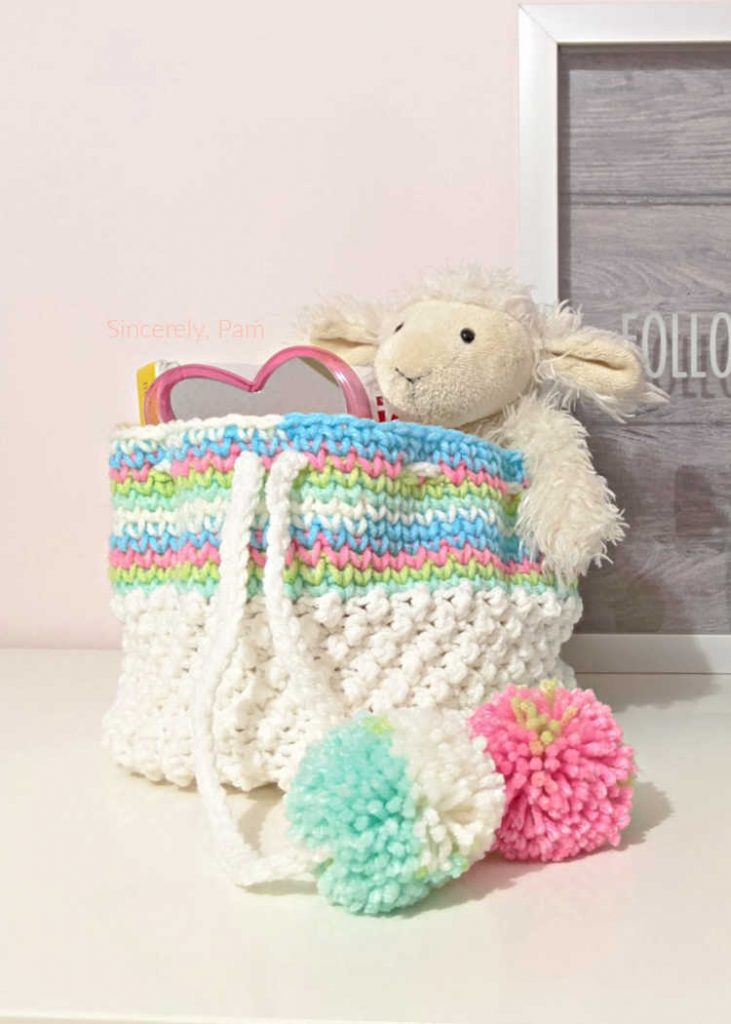
If you liked the Drawstring Basket Crochet Pattern, make sure to check out all my other FREE crochet patterns HERE!


Leave a Reply