It’s a Haunted Hop featuring free Hallowe’en Crochet Patterns from Blackstone Designs, A Crocheted Simplicity, Crystalized Designs, and Sincerely, Pam!
I love Hallowe’en. It could be that the cooler weather is finally here. It could be the smells of Autumn. Or, it could even be the anticipation of dozens of kids coming to my door all dressed up in their incredibly adorable costumes. Yep. I think that’s what it is. I honestly cannot think of a better way to spend an evening than watching the neighbourhood kids giggling and knocking on doors. The grownups pretending to be scared when we see little witches and zombies shout “Boo”! Oh! Except for the movies!! Hocus Pocus, Nightmare Before Christmas, Little Monsters, It’s The Great Pumpkin, Charlie Brown. I could go on. I guess it’s a bit of everything. The whole event. It’s the holiday that doesn’t come with the added pressure of finding the perfect gift, hosting a big meal, or planning for months in advance. Well, unless you want to.
>>> CLICK HERE TO SIGN UP FOR THE SINCERELY, PAM WEEKLY NEWSLETTER! <<<
This year, I wanted to do something to celebrate with all of you. When I was chatting with Jennifer, Sonya, and Crystal, I suggested that we get together and do a fun little CAL/Blog Hop to really bring in the season! That is where the #hauntedhop started. Here is a run-down of how it works. Each Designer wrote an original Hallowe’en crochet pattern which can be found on their blog. We are all hosting a mini CAL in our Facebook Community Groups that will last one week (Oct 1-7th, 2018). When you finish one of the patterns, you can post a picture of your completed project in the corresponding Community Group for a chance to win a free pattern from that Designer. You can also create a project of your finished item on Ravelry to be entered to win a $25 Amazon Gift Card. The more projects you complete, the greater your chance of winning! Don’t forget to tag your WIPS and projects on social media using #hauntedhop so we can all follow along! Here is the pattern to my Hypnotic Pillow Pattern. Keep reading for a link to the next Designer’s pattern.
This post contains affiliate links to products we recommend. We may receive a commission for purchases made through these links.
Materials Needed:
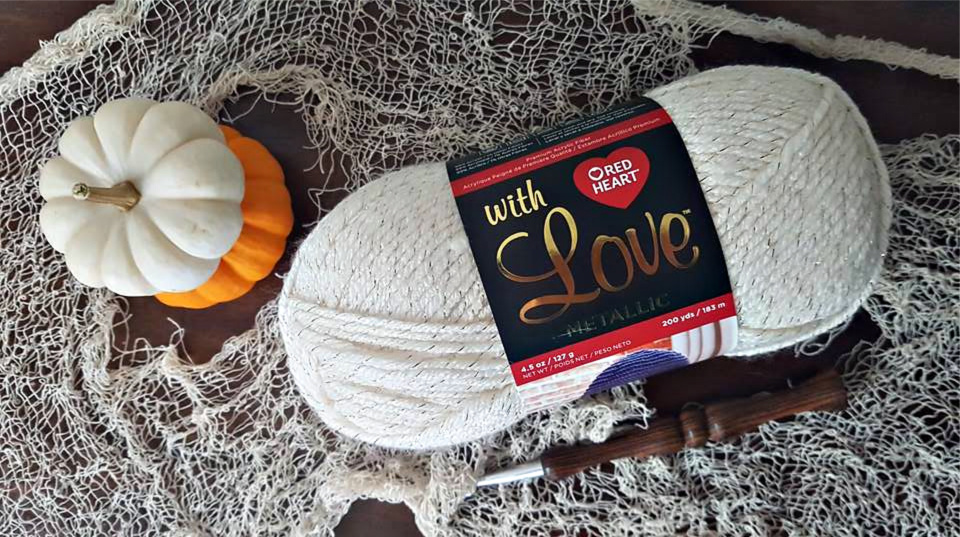
- 2 skeins Red Heart With Love Metallic (1 in Aran and 1 in Black).
- K hook by Leither Co. (Use code SINCERELYPAM to get 10% off your hook order!)
- 14″ Round Pillow Insert.
- Stitch Marker.
- Tapestry Needle.
- Scissors.
Gauge:
- first 4 rounds of pattern is 4″ in diameter.
Pattern Instructions:
Make 2.
Start by making the black circles that will form the pillow cover.
1: Starting with Black yarn and a Magic Circle, ch1, 3sc, 3hdc, 4dc in circle, pull firmly to close circle, do not join. (10 sts) Mark the last stitch in each round with a stitch marker, moving the marker up as you complete each round.
2: 2dc in each st around. (20 dc)
3: *Dc in next, 2dc in next, repeat from * around. (30 dc)
4: *Dc in next 2, 2dc in next, repeat from * around. (40 dc)
5: *Dc in next 3, 2dc in next, repeat from * around. (50 dc)
6: *Dc in next 4, 2dc in next, repeat from * around. (60 dc)
7: *Dc in next 5, 2dc in next, repeat from * around. (70 dc)
8: *Dc in next 6, 2dc in next, repeat from * around. (80 dc)
9: *Dc in next 7, 2dc in next, repeat from * around. (90 dc)
10: *Dc in next 8, 2dc in next, repeat from * around. (100 dc)
11: *Dc in next 9, 2dc in next, repeat from * around. (110 dc)
12: Dc in each st around. (110 dc)
13: Hdc in next, sc in next, slst in next to join. (3 sts)
Fasten off and weave in ends.
To make the Hypnotic spiral, use surface crochet and “trace” around the natural spiral created from each round. Make sure your tension isn’t too tight or you will end up creating a cone for a pillow. Not that I would know from experience or anything. ?
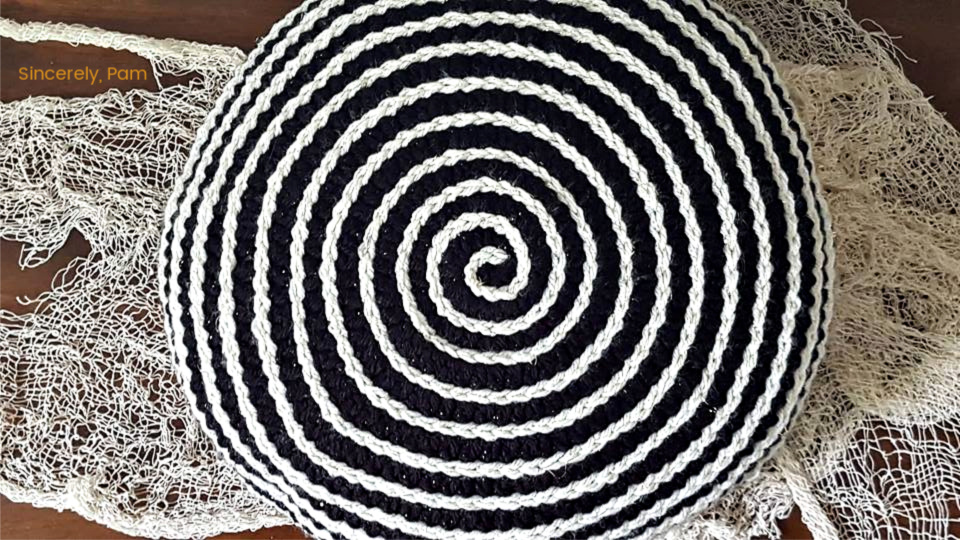
Never surface crocheted before? No problem! Both Jenn and Crystal have fantastic tutorials on this simple technique! Read Jenn’s HERE. Read Crystal’s HERE.
You can repeat this technique on both black circles, or only one. Totally up to you.
Once you are finished with the surface crochet, place the pillow insert between the two black circles. Make sure the surface crochet sides are facing up.
With black yarn and your hook, sc the two circles together all the way around the pillow insert. Fasten off and weave in ends.
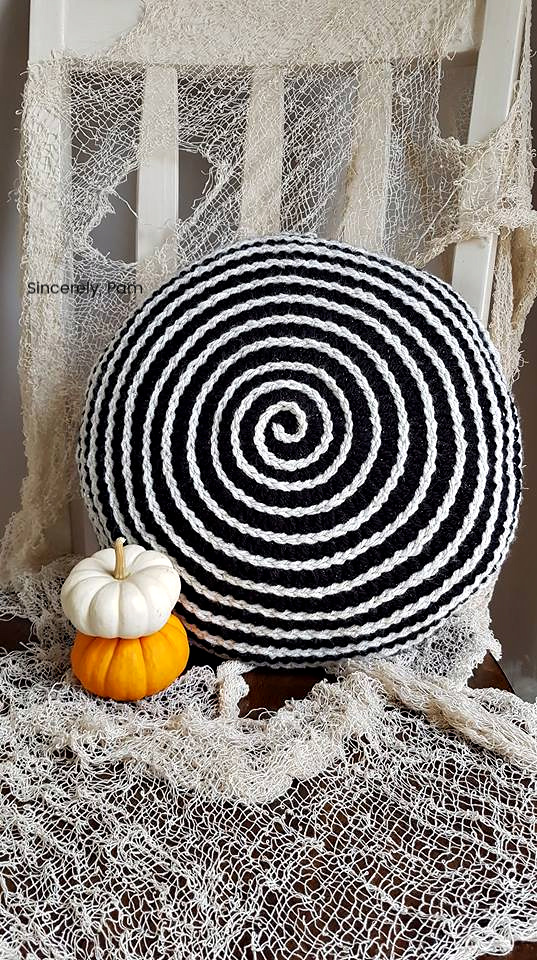
Don’t forget to join our Facebook groups to enter to win some patterns! When you finish the Hypnotic Pillow, add your photo to the applicable post in my group, and then on Ravelry. Then, head on over to Blackstone Designs for the next pattern!
Join my Facebook Group HERE.
Join Blackstone Designs’ Facebook Group HERE.
Join A Crocheted Simplicity’s Facebook Group HERE.
Join Crystalized Designs’ Facebook Group HERE.
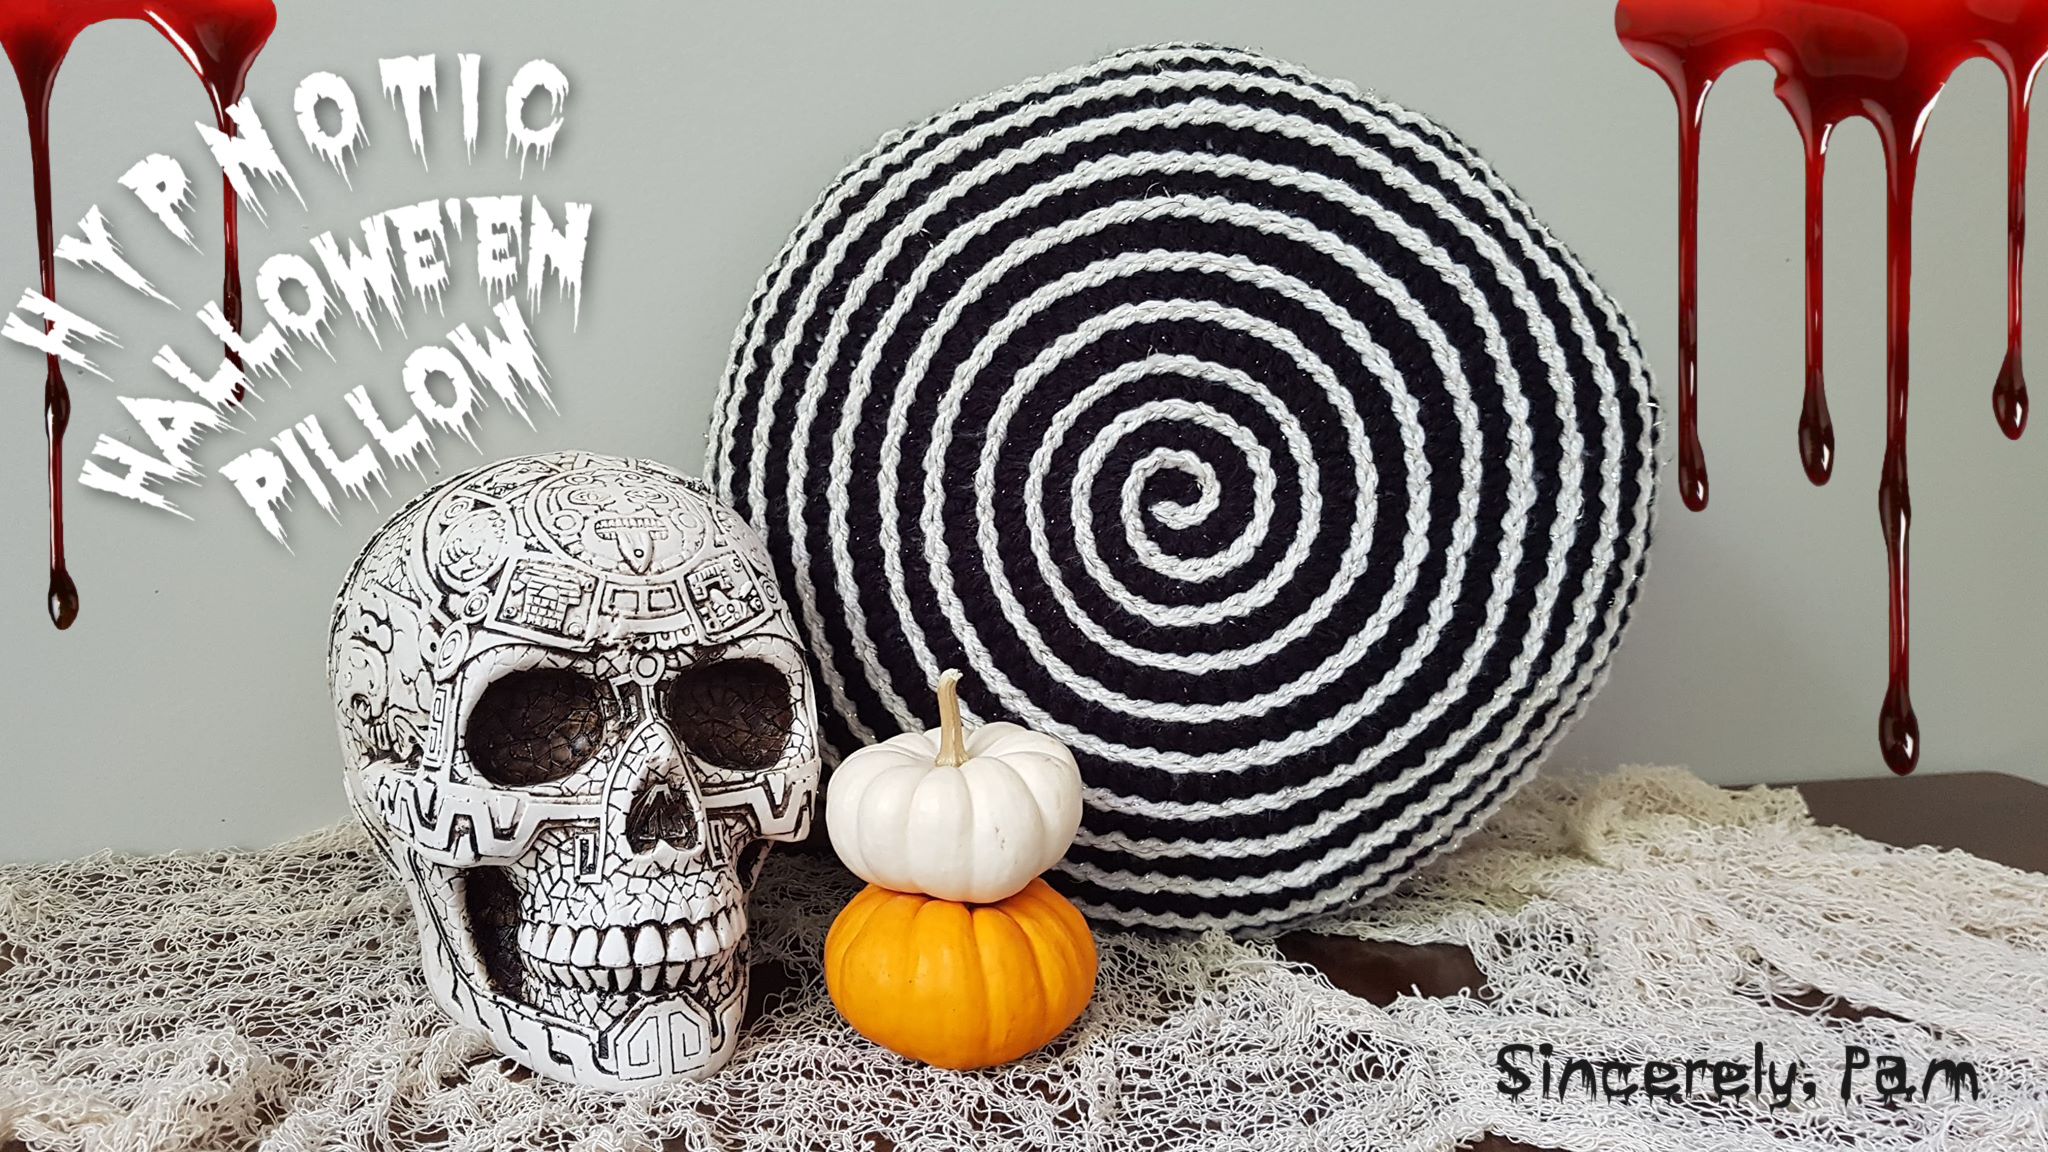
I love the hypnotic look of this pillow!
Thank you!