How is your Stocking coming along? I’ll be honest, I forgot. I’m making another Stocking along side all of you to be able to add more progress pics in the blog post and this past week just ended up being a blur, and I realized this afternoon that I didn’t have any photos to show you! Oops.
So, I buckled down and was in a race against the setting sun haha!
You will see in one of the last photos that it was taken on my dining room floor. It was 9:30pm and the sun was all but gone. It was the last spot in the house that had any kind of natural light.
>>> Add it to your Ravelry Favorites or Queue HERE <<<
>>> Pin It for later! <<<
Last week we worked on the toe and heel of the Stocking. Have you posted your progress pics on Ravelry yet?
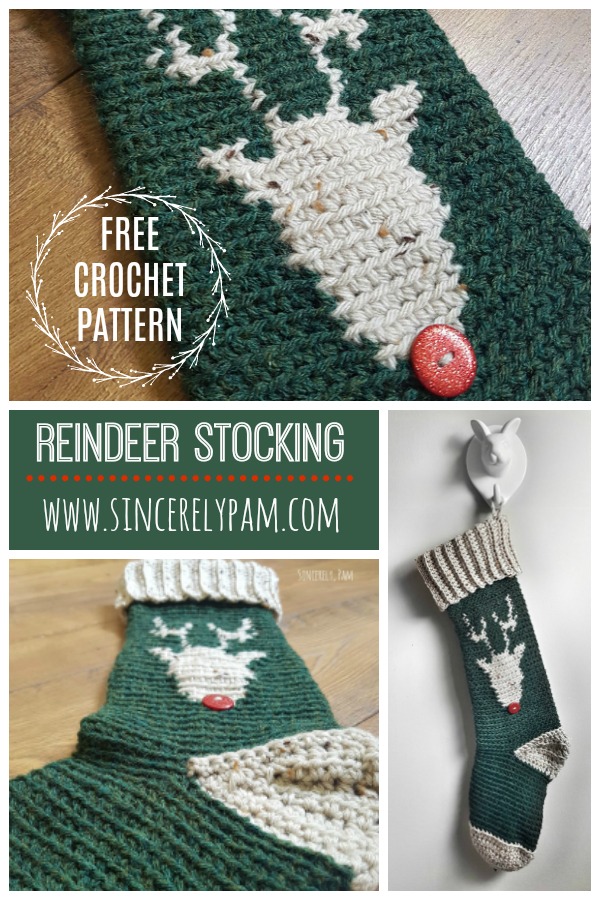
The Reindeer Stocking pattern will be released on the blog in 4 parts.
Week 1 – Materials and Gauge
Week 2 – Toe and Heel
Week 3 – Reindeer (released below!)
Week 4 – Cuff and Finishing
If you don’t feel like waiting 4 weeks for the full pattern, you can purchase an ad-free copy of the full pattern HERE.
Ready to start Part 3? Read on below!
LEG
You will now work the rest of the Stocking in the BLO.
32: Reattach with (A) in same st as join, ch1, working on the Right Side, BLO, sc around, join. (42 now and throughout)
33-37: (A) Ch1, sc around, join.
***
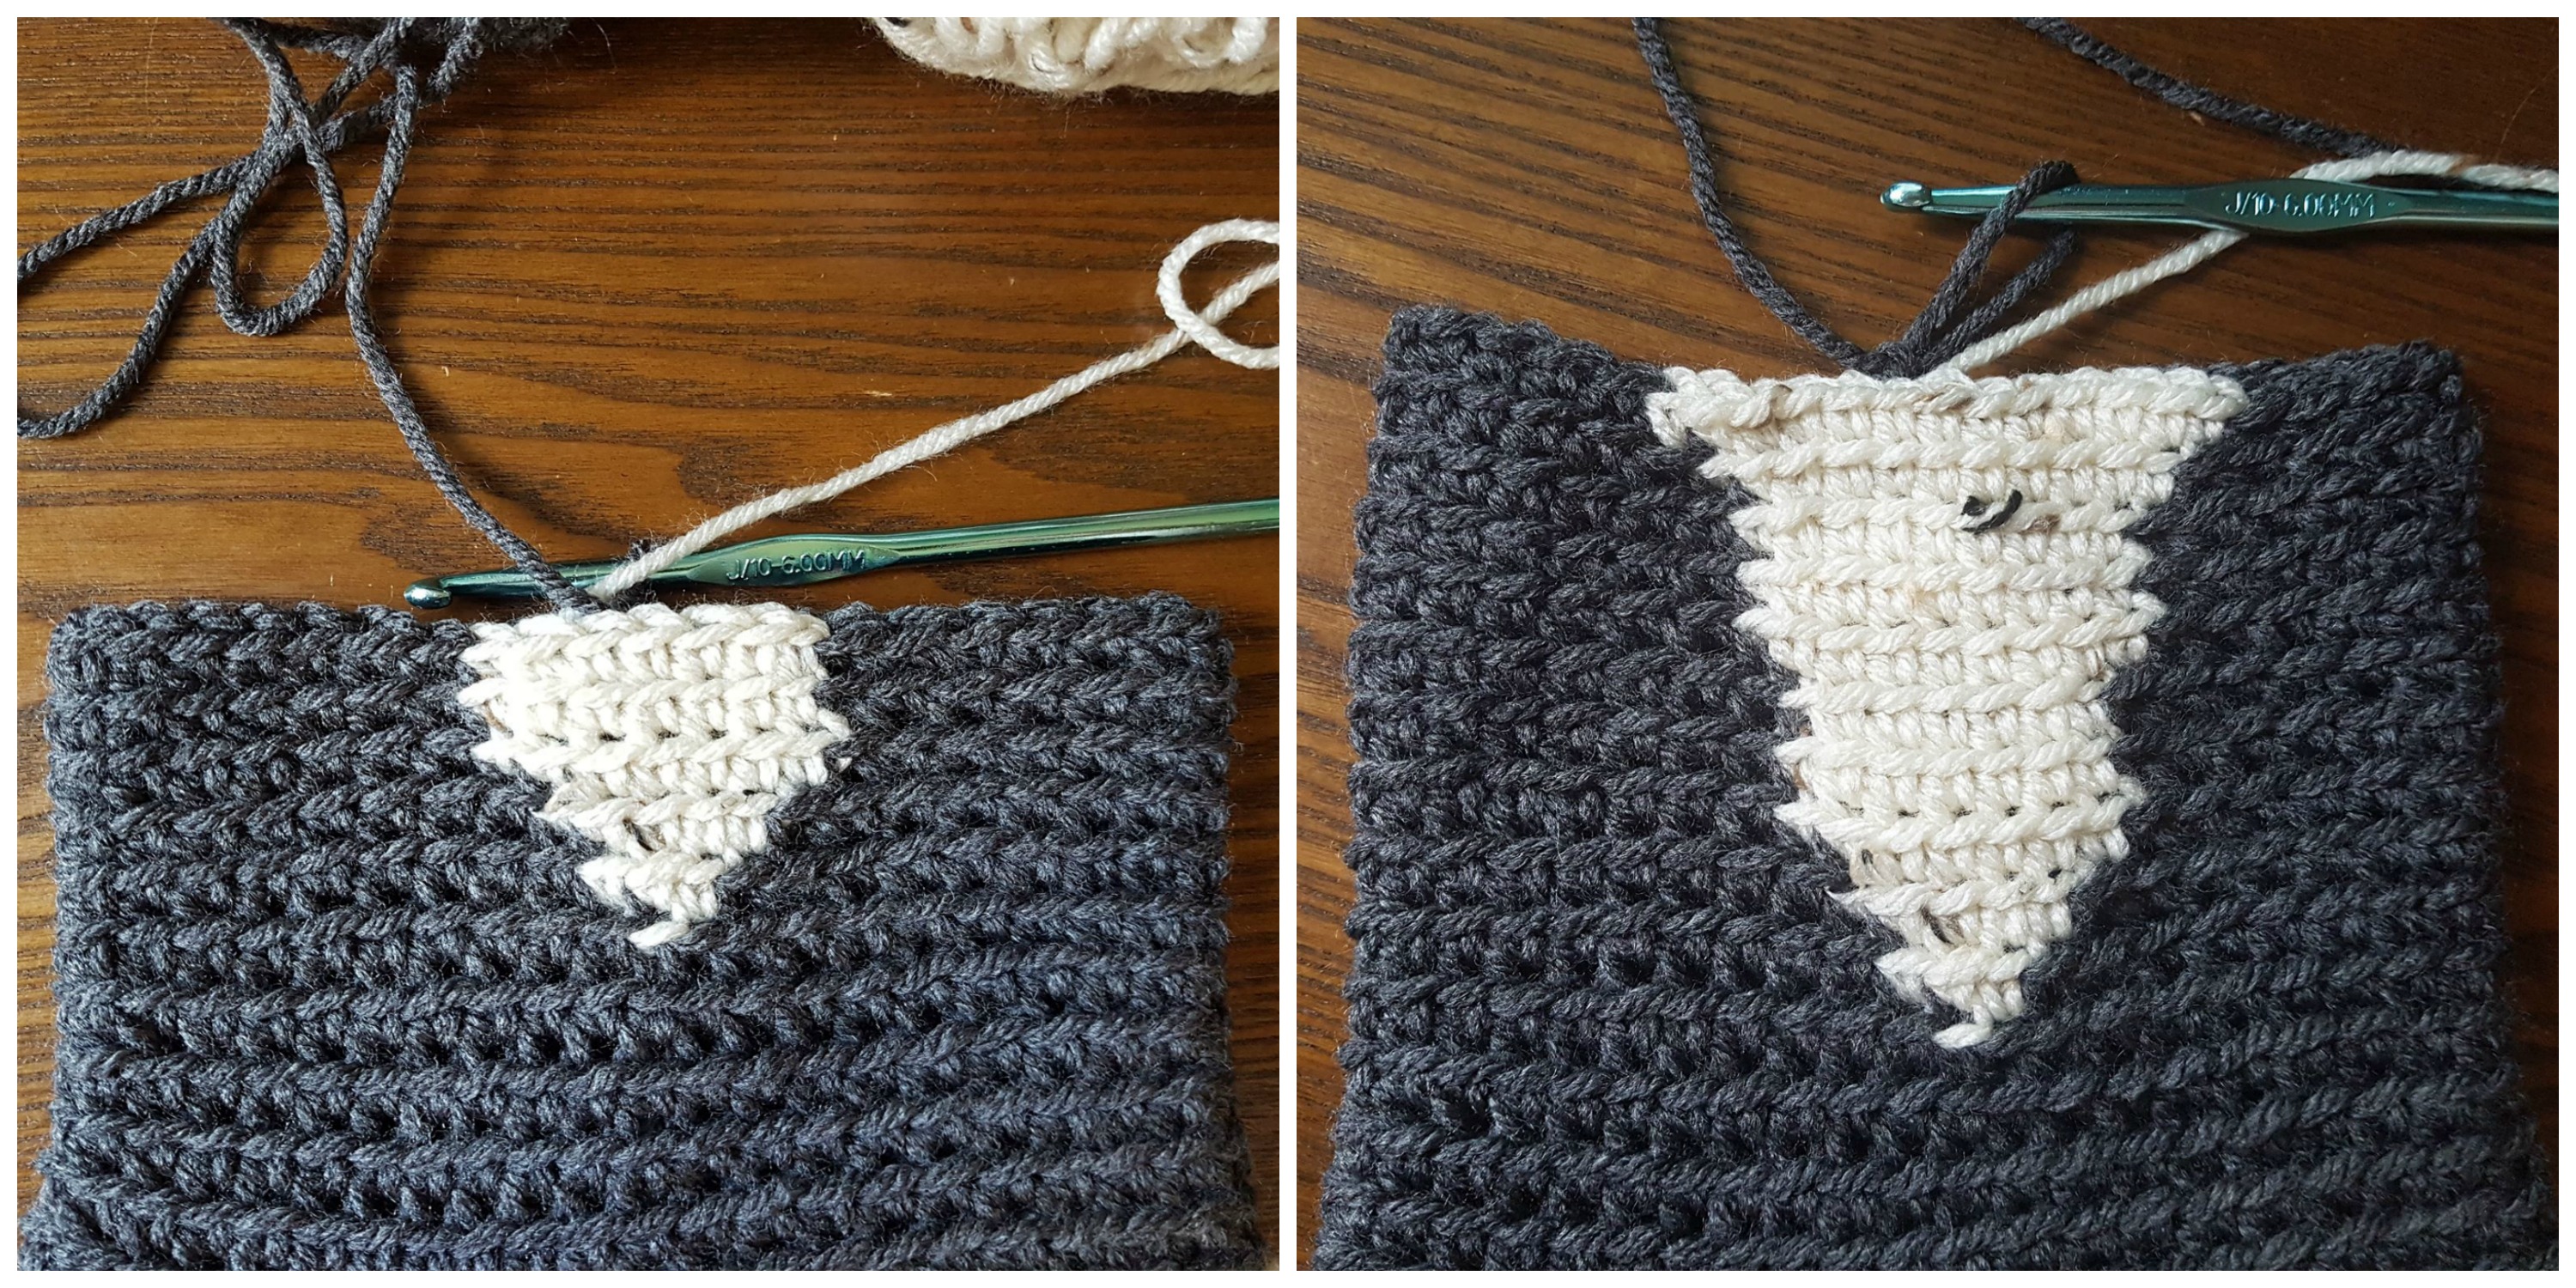
When working the different colors of the Stocking, the instructions will refer to them only as (A) for Green and (B) for Taupe before the number of sts you need to work in that particular color. For example, (A) 2, (B) 1, means to sc 2 sts in color Green, then sc 1 st in color Taupe. You may carry or float the colors behind one another when working the color changes, or cut the yarn at each color change and weave in ends. This is personal preference depending on how it affects tension and gauge. If color changes are pulled too tightly, the Deer will pucker.
***
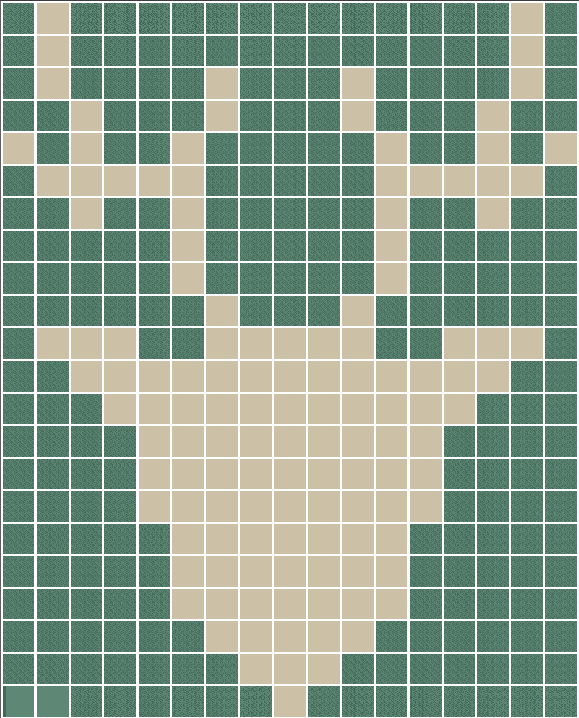 38: Ch1, (A) 21, (B) 1, (A) 20, join.
39: Ch1, (A) 20, (B) 3, (A) 19, join.
40: Ch1, (A) 19, (B) 5, (A) 18, join.
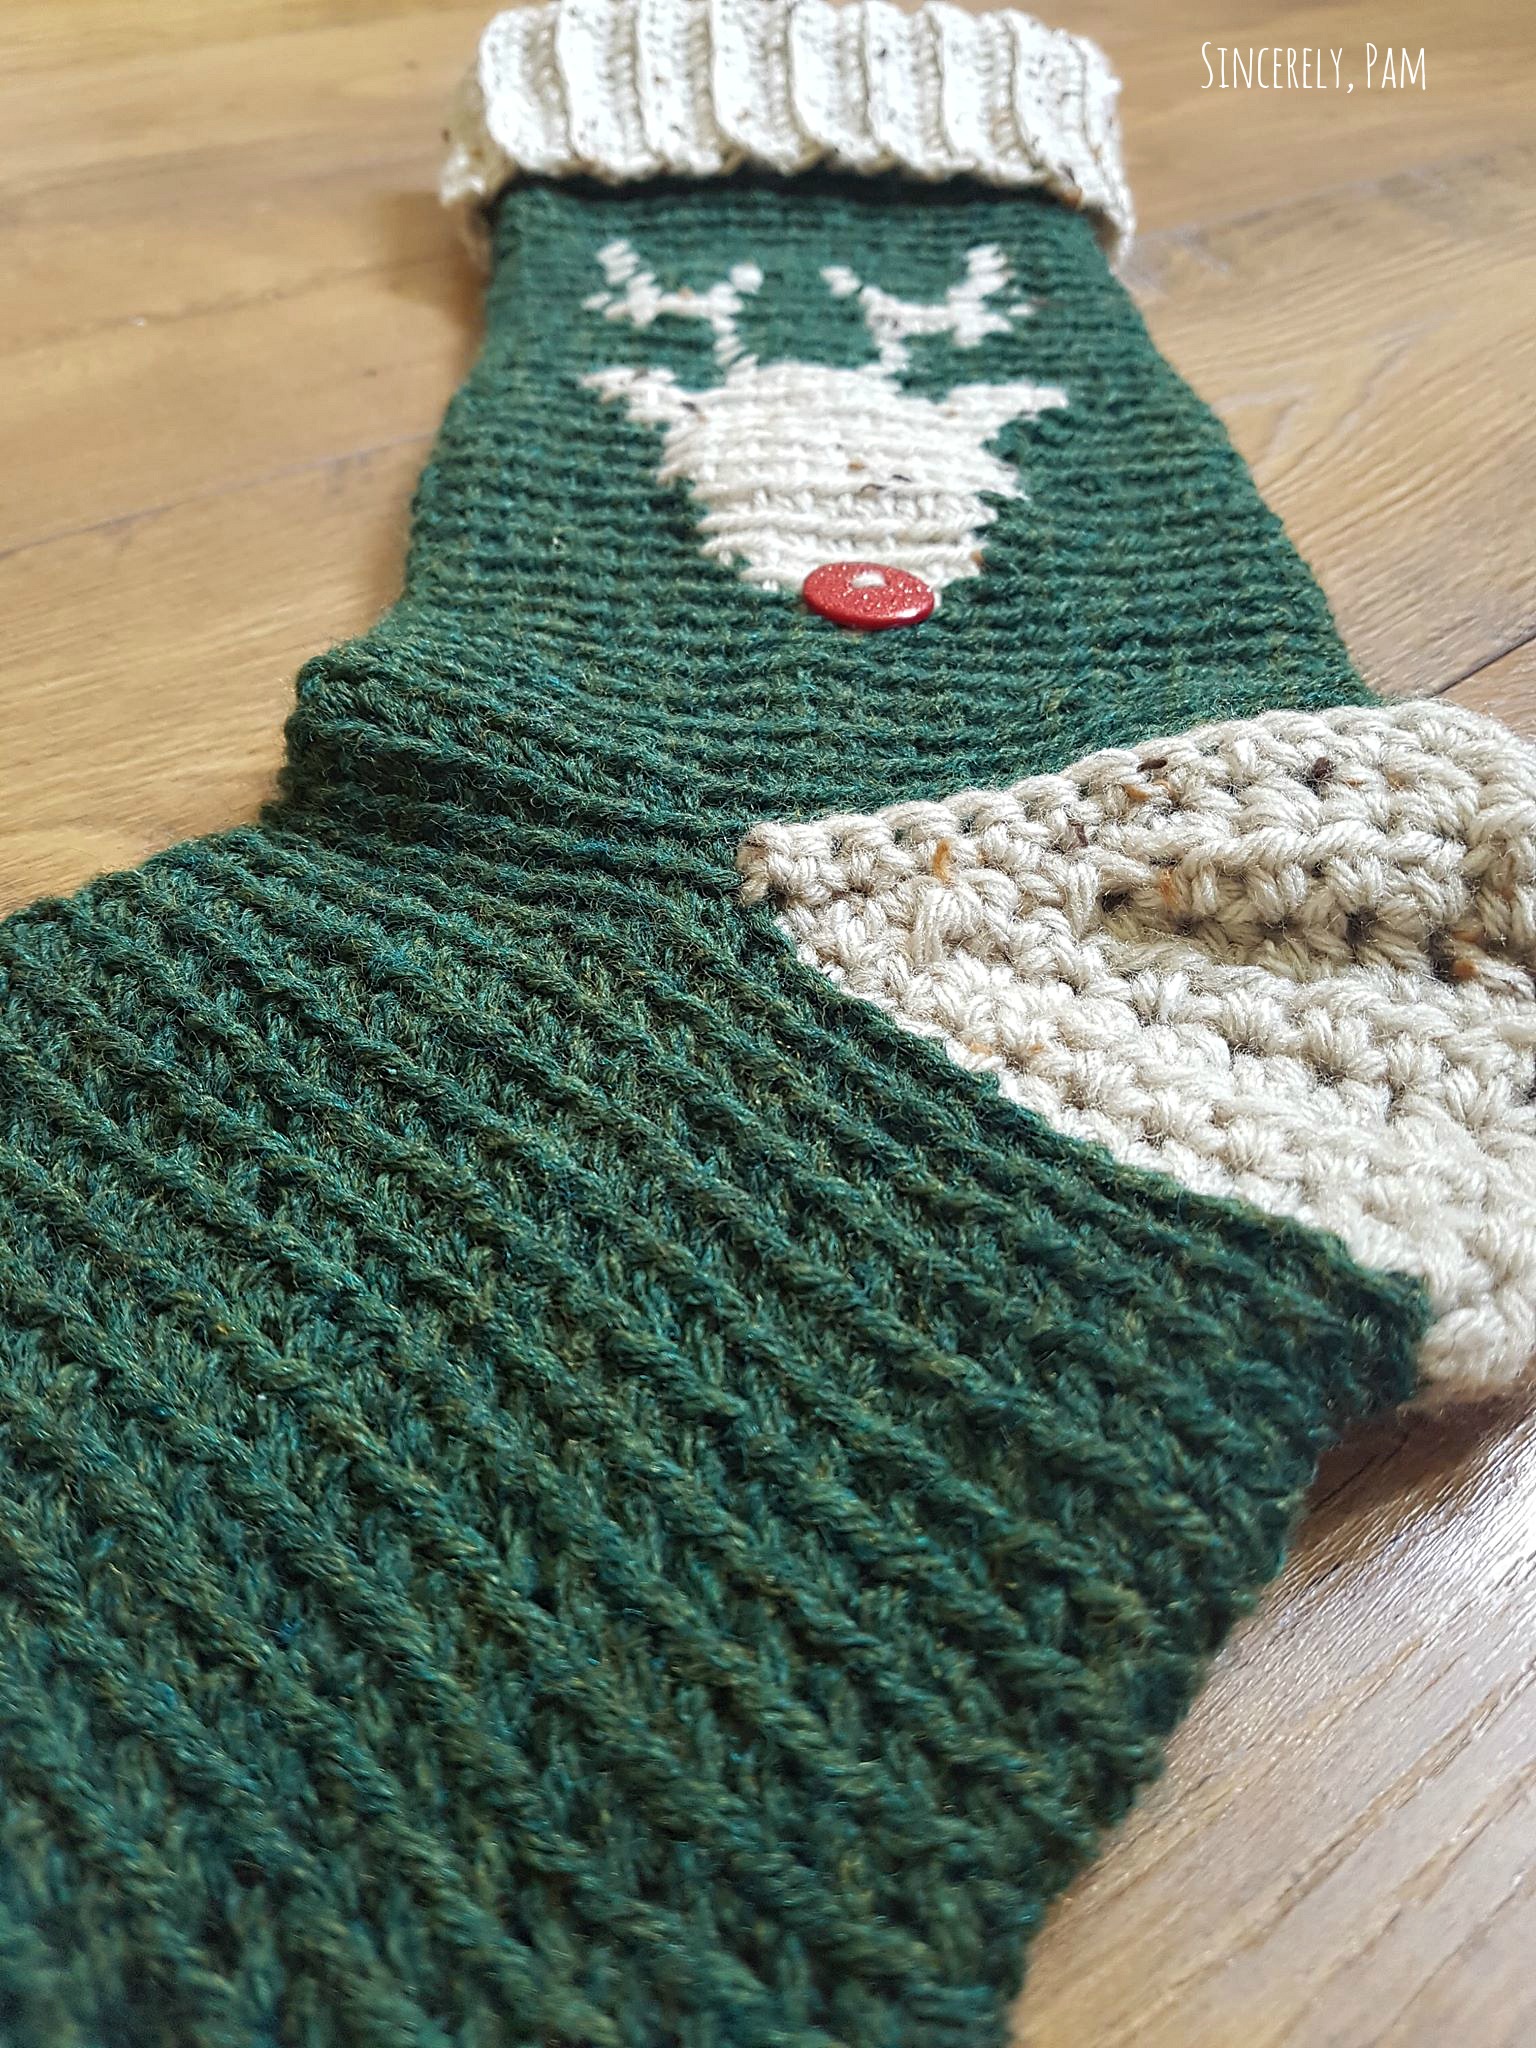
41-43: Ch1, (A) 18, (B) 7, (A) 17, join. See first pic below.
44-46: Ch1, (A) 17, (B) 9, (A) 16, join.
47: Ch1, (A) 16, (B) 11, (A) 15, join.
48: Ch1, (A) 15, (B) 13, (A) 14, join. See second pic below.
49: Ch1, (A) 14, (B) 3, (A) 2, (B) 5, (A) 2, (B) 3, (A) 13, join.
50: Ch1, (A) 19, (B) 1, (A) 3, (B) 1, (A) 18, join.
51-52: Ch1, (A) 18, (B) 1, (A) 5, (B) 1, (A) 17, join.
53: Ch1, (A) 15, (B) 1, (A) 2, (B) 1, (A) 5, (B) 1, (A) 2, (B) 1, (A) 14, join.
54: Ch1, (A) 14, (B) 5, (A) 5, (B) 5, (A) 13, join.
55: Ch1, (A) 13, (B) 1, (A) 1, (B) 1, (A) 2, (B) 1, (A) 5, (B) 1, (A) 2, (B) 1, (A) 1, (B) 1, (A) 12, join.
56: Ch1, (A) 15, (B) 1, (A) 3, (B) 1, (A) 3, (B) 1, (A) 3, (B) 1, (A) 14, join.
57: Ch1, (A) 14, (B) 1, (A) 4, (B) 1, (A) 3, (B) 1, (A) 4, (B) 1 (A) 13, join.
58:-59: Ch1, (A) 14, (B) 1, (A) 13, (B) 1, (A) 13, join. Fasten off (B).
60-68: (A) Ch1, BLO, sc around, join. Switch to (B), fasten off (A)
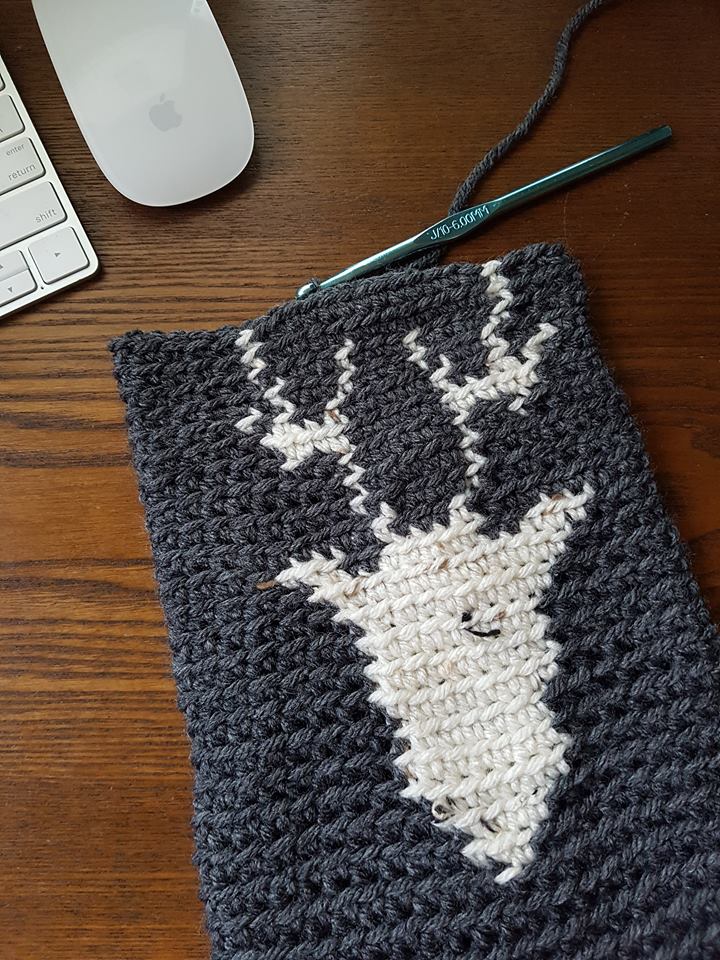
The photo below shows what your Stocking should look like at the end of Part 3. You will also notice how badly my floors need to be refinished ?.

That’s it! Part 3 is finished. Can I just say how much I’m loving this color combo!?
Don’t forget to skip to PART 4 to get the Cuff Instructions. I can’t wait to see your work!
See you next time!
***Update! Lindsey of Winding Road Crochet remixed this pattern with my permission to swap out the Reindeer for a super cute fox! Check out her instructions HERE!
[…] Week 3 – Reindeer […]