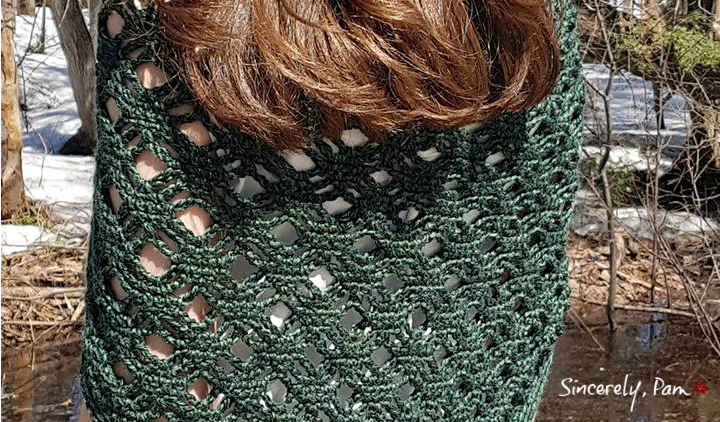
Blocking. Ugh. Am I right!?
This post contains affiliate links.
Here’s the thing. Blocking is a necessary evil. Actually, evil is a little harsh. Until I actually blocked an item I just assumed it was too difficult, a little annoying and possibly unnecessary. I was also a bit afraid that I would damage all the hard work I had just completed. Let’s just say, I’ve learned my lesson. See the photo below? That is the Ally Scarf. I released the pattern in 2014. These photos could have been so beautiful, but I never blocked the scarf. Pretty obvious, right?
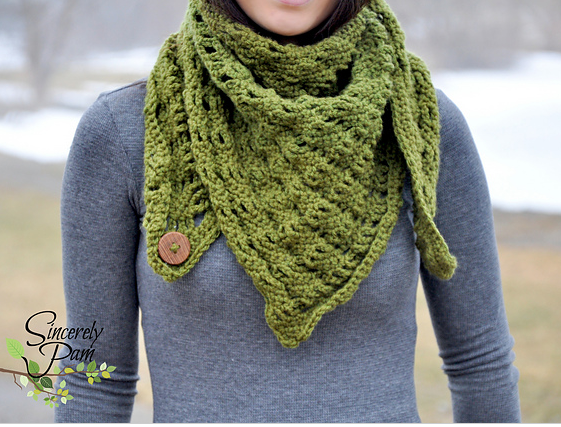
This picture has haunted me for 4 years. Sounds overdramatic, but I cringe every time I look at it. So, on the 4 year anniversary of this pattern’s release, I made a new scarf. And I blocked it. Oooooh, did I block it! And I have to say, the difference is amazing, don’t you think? Scarf #1 is lumpy, curly, and awkward. The update is smooth, flat and has gorgeous stitch definition!
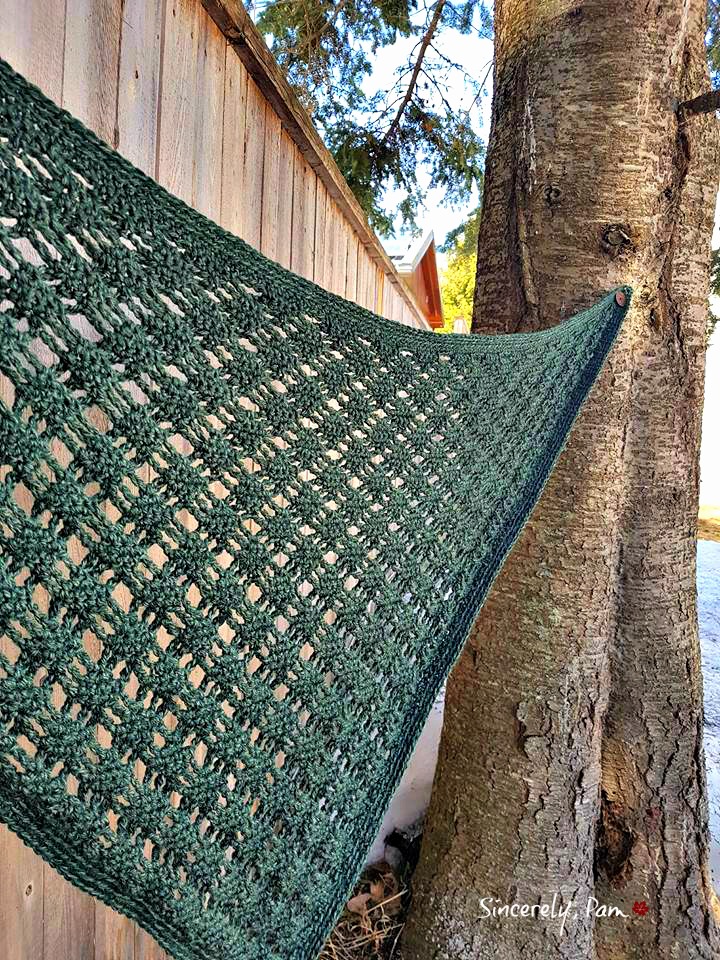
Although I used different yarn (the original was made with Lion Brand Yarn Vanna’s Choice and the update uses Lion Brand Yarn Heartland), they are both worsted weight acrylics. Please check your yarn label prior to blocking to ensure that your finished item can withstand being submerged in water! Now that you see the difference blocking makes, let me show you exactly what I did.
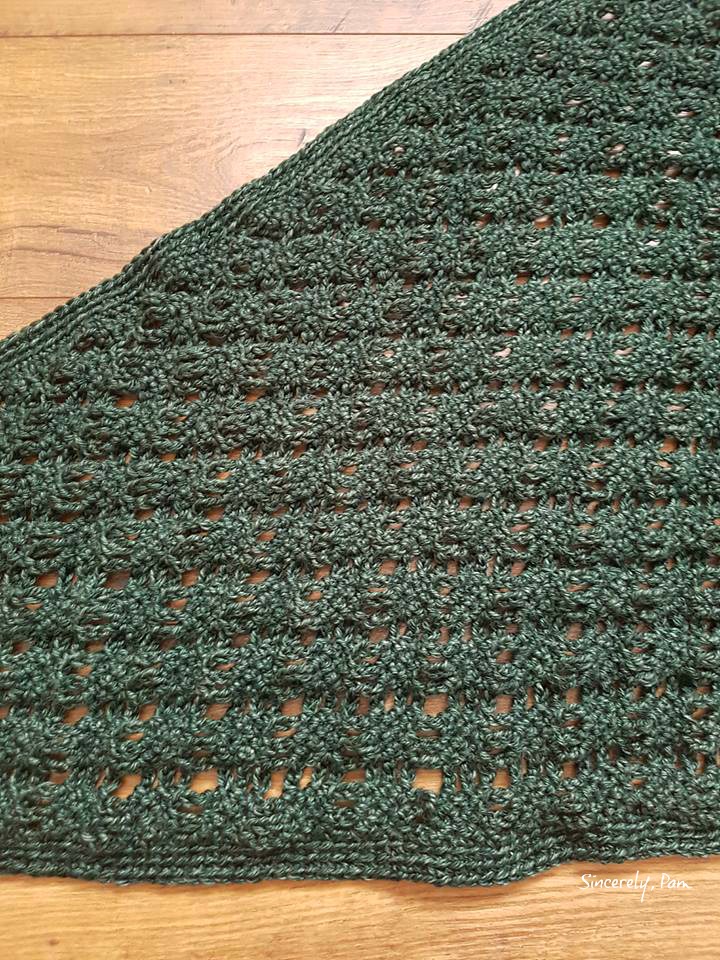
The photo above shows the Ally Scarf laying flat once I finished weaving in ends. First, I grabbed a large container (this one is for my salad spinner), filled it with warm water and added a drop or two of baby shampoo. You can also use a special wool wash but I didn’t have any on hand. This gives your item a gentle fragrance and helps lift away any dirt or oils that your yarn may have picked up.
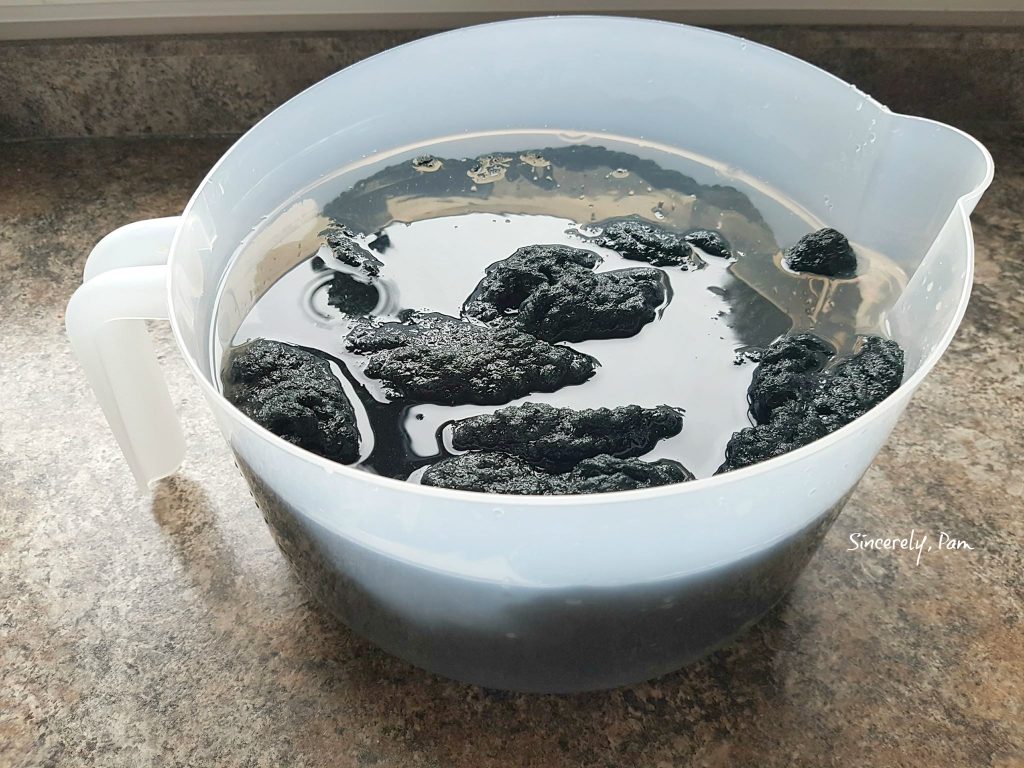
Once your bowl is full, completely submerge your scarf. You will see bubbles rise to the top of the water surface. Keep your item in there until all the air bubbles have emerged to ensure that all the fibres are completely wet. Once this is complete, take out the scarf and gently squeeze out the excess water without wringing. You want to be careful not to stretch out, or damage the yarn in any way. I will admit, I was tempted to take the salad spinner out for a test drive but I managed to keep my impulses in check.
With the yarn still wet, I laid it flat on a thick towel and rolled it up.
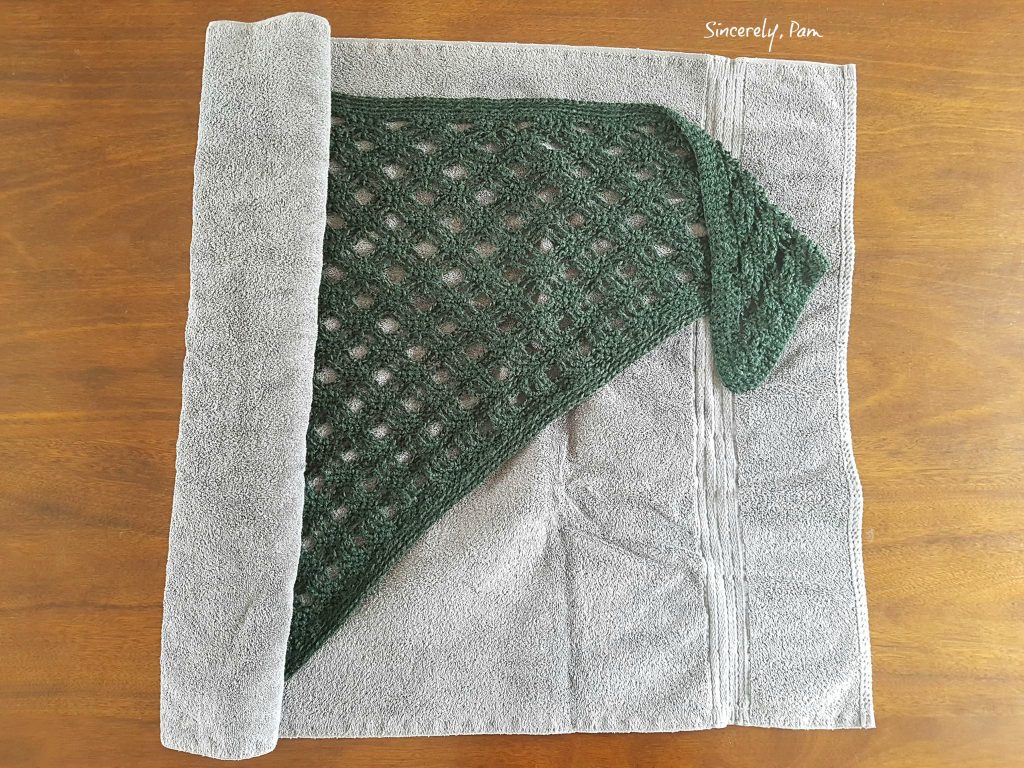
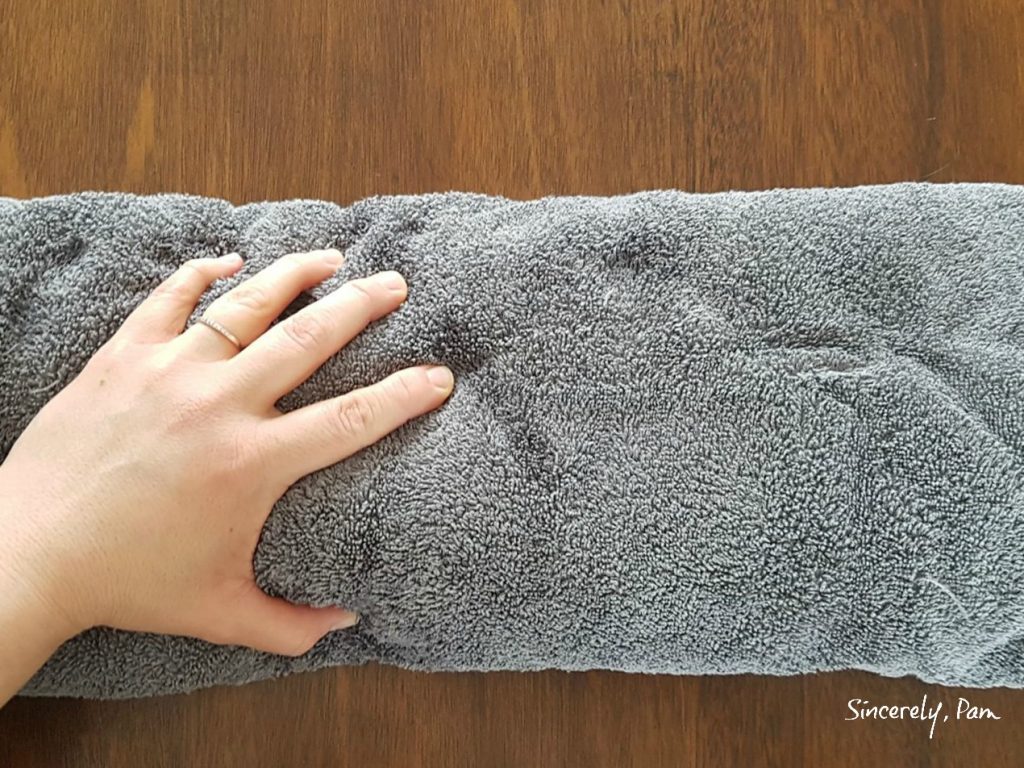
Gently squeeze out the excess water. You want the scarf to still be wet, just not dripping.
Once unrolled, place the item to be blocked on a blocking mat, mattress, or other soft, clean surface. Using T-Pins, or other stainless steel pins, block out the item to the pattern’s specified measurements.
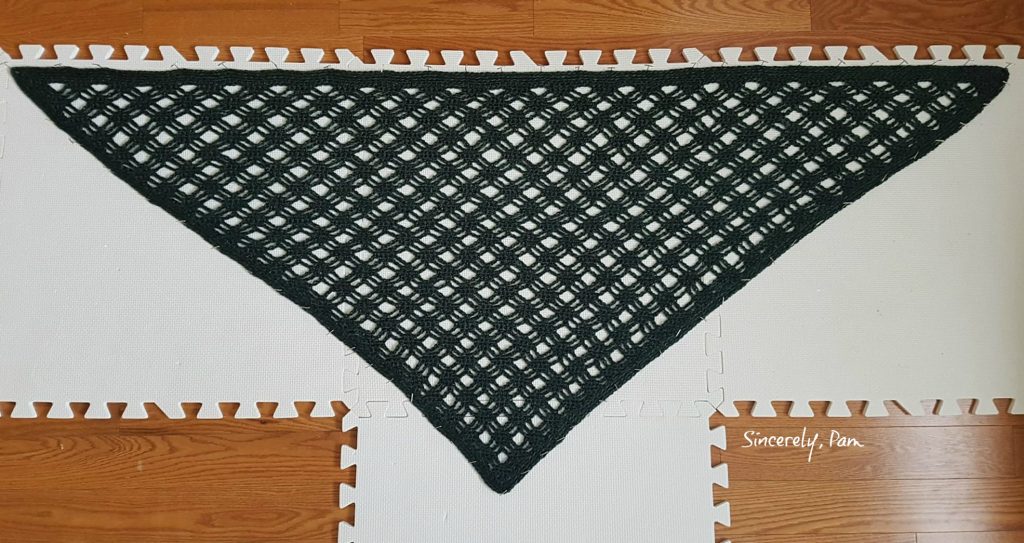
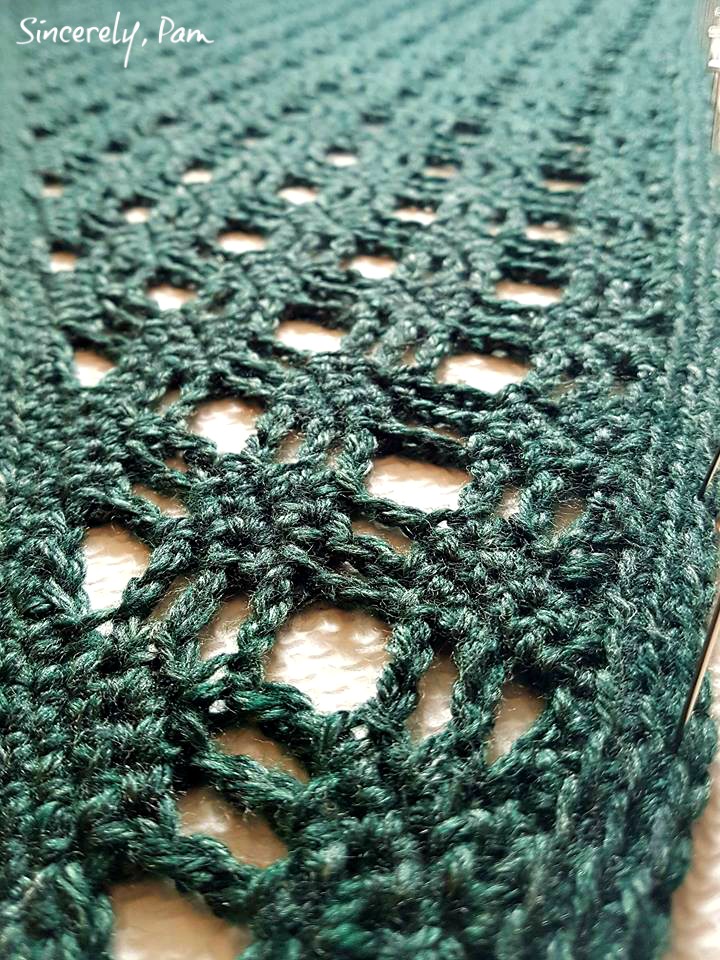
Once the item is dry (which can take a day or two), remove all the pins and enjoy!
When I finally decided to try blocking for the first time, I was honestly AMAZED at how simple it really was!
What are your thoughts? Is this something you already do?
Until next time!
Sincerely, Pam
[…] Click HERE for my Blocking Tutorial […]