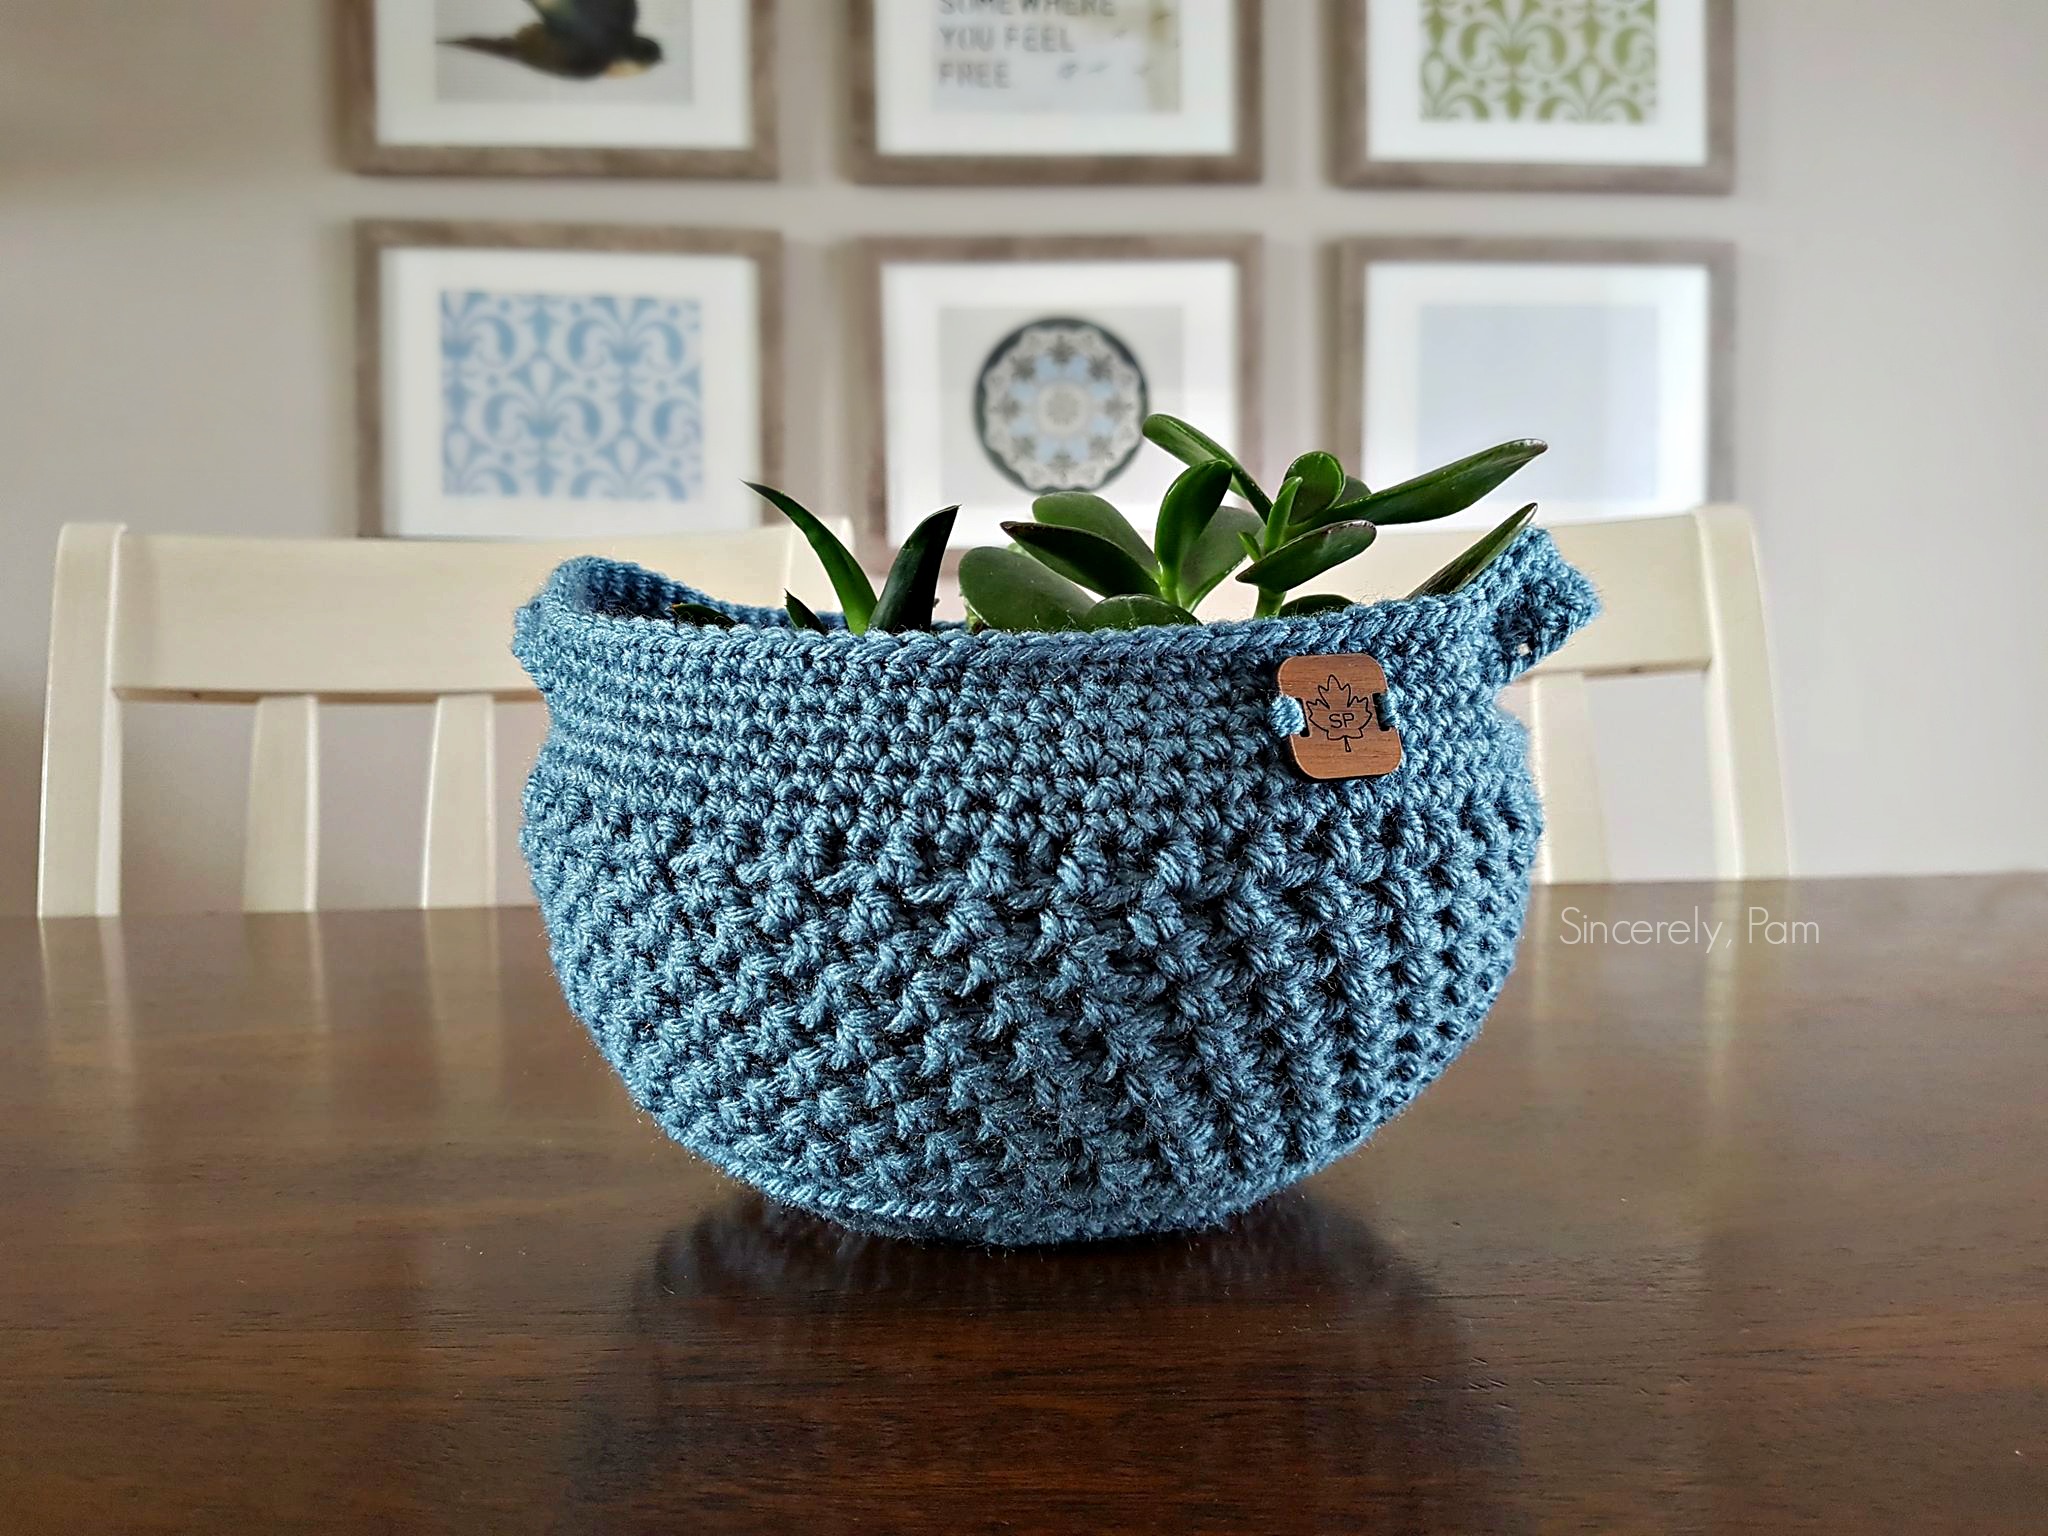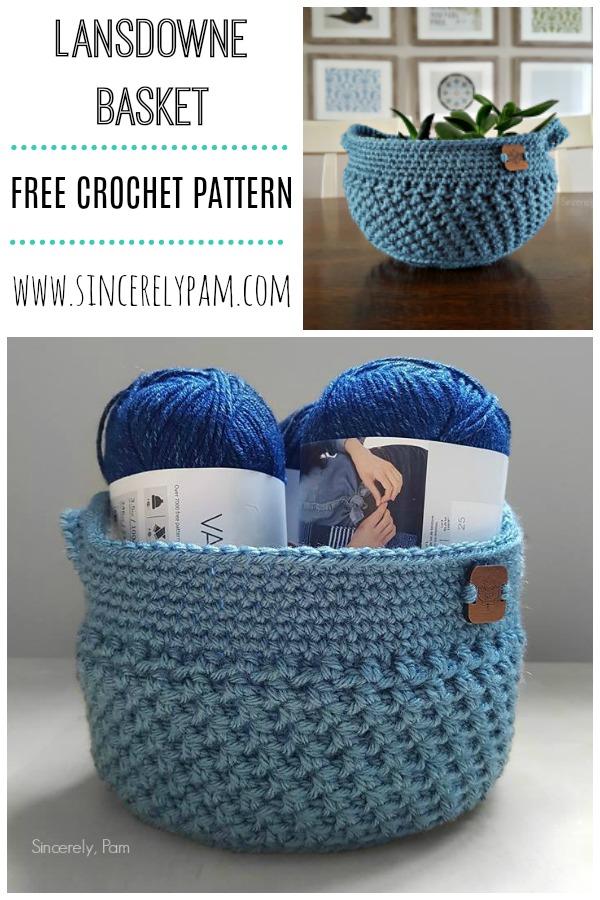
I have been officially nicknamed the “Crazy Plant Lady” on Facebook. It is a badge I wear with honor. I keep buying them, and I keep needing new baskets to put them in. It’s a tough life ?. So here we go. Some new succulents, and a new Lansdowne Basket crochet pattern to match!
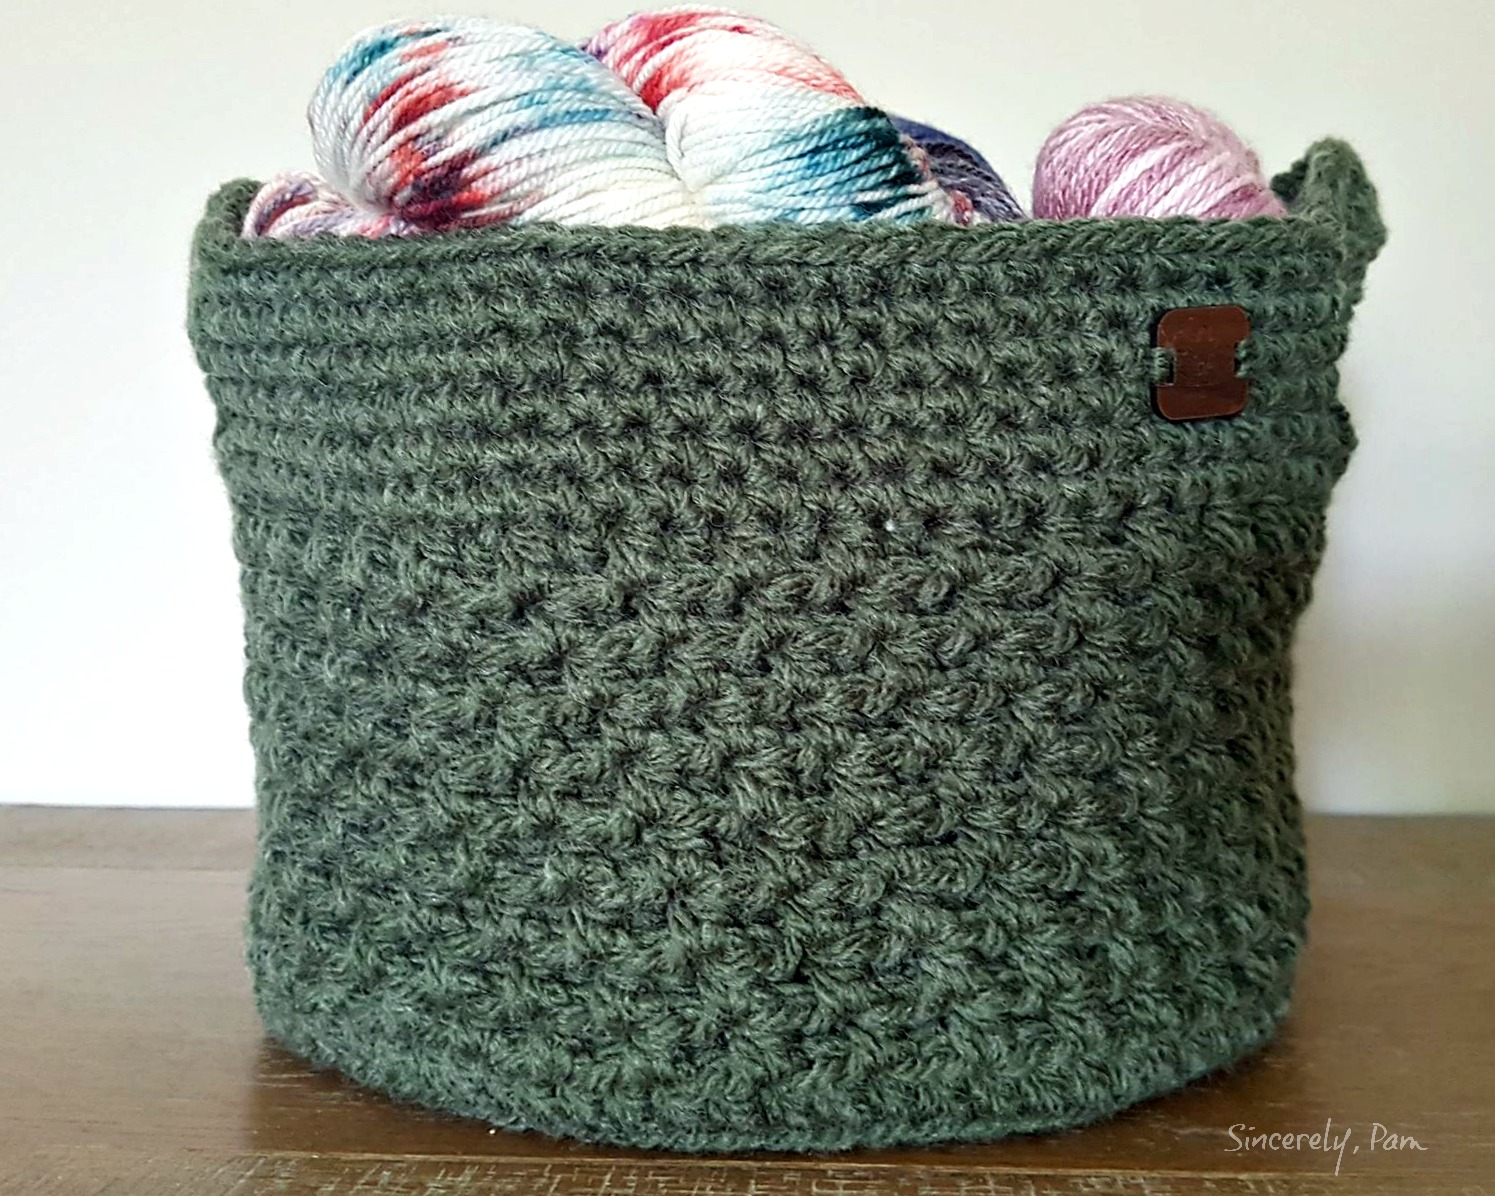
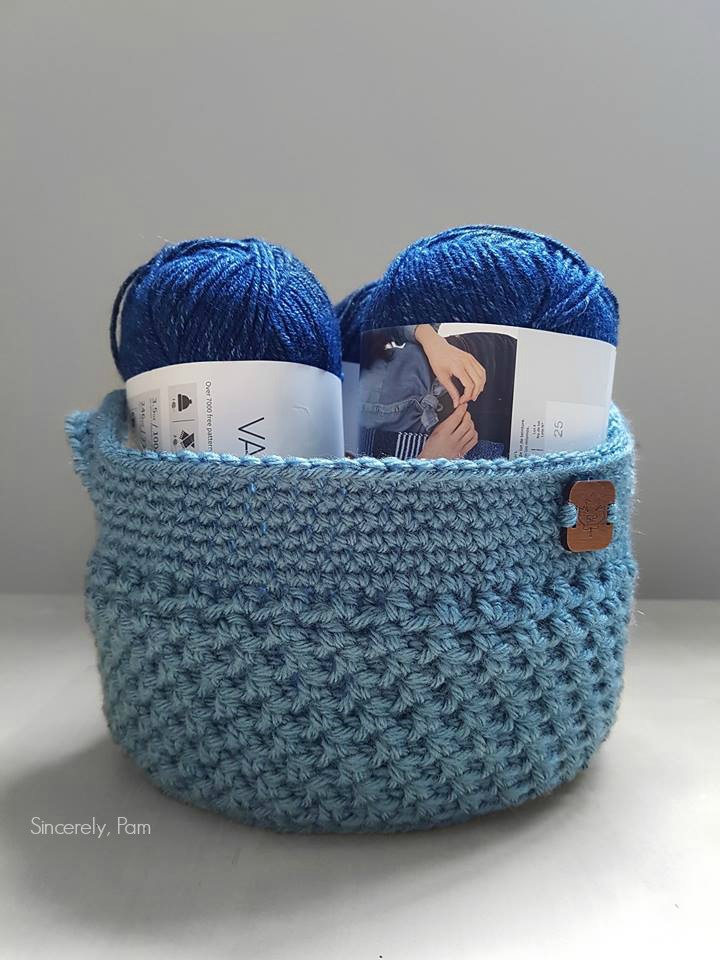
This pattern is such a fun one! It uses the humble hdc stitch to make this incredible texture and the size is easily customizable. I made these samples using the exact same pattern and got two different results! The worsted weight yarn and G hook gave me the Dusty Blue you saw in the first photo. Perfect to hold my plant dish. It also holds 4 skeins of yarn really nicely! For the second one I made, I used super bulky yarn and a J hook. This Green basket is a generous size! It is perfect for organizing my yarn stash, keeping toys off the floor, or holding guest towels in the bathroom.

This CAL will be released on the blog in 3 parts.
Part 1- Materials, Gauge and Bottom.
If you don’t feel like waiting 3 weeks for the full pattern, you can purchase an ad-free copy of the full pattern HERE.
>> Add it to your Ravelry Favorites or Queue HERE <<<
>> Pin It for later!<<

This post contains affiliate links.
Materials
Yarn: Any weight yarn you choose! I used 129 yards of Lion Brand Yarn Vanna’s Choice in Dusty Blue for the Blue basket and 215 yards of Loops and Threads Camden Wool Big! in green for the large basket.
Hook: Use a hook a few sizes smaller than what is recommended on the yarn sleeve. This ensures a sturdier basket. I used a G (4.25 mm) hook for the Blue basket and a J (6 mm) hook for the Green basket.
Measuring tape.
Stitch Marker.
Pattern Key
ch: chain
st(s): stitch(es)
sk: skip
sp: space
slst: slip stitch
sc: single crochet
hdc: half double crochet
dc: double crochet
Experience Level
Intermediate
Gauge
Although gauge isn’t essential to the success of this project, my Baskets had the following gauge:
First 7 rounds of the Blue Basket = 6.5″ diameter.
First 7 rounds of the Green Basket = 10.5″ diameter.
Lansdowne Basket Crochet Pattern Instructions (Part 1)
BOTTOM
1: Starting with a Magic Circle, ch2, 12 dc in circle, pull gently to close, join to first dc. (12)
2: Ch2, 2dc around, join. (24)
3: Ch2, dc in first st, 2dc in next, *dc in next, 2dc in next, repeat from * around, join. (36)
4: Ch2, dc in first 2 sts, 2dc in next, *dc in next 2 sts, 2dc in next, repeat from * around, join. (48)
5: Ch2, dc in first 3 sts, 2dc in next, *dc in next 3 sts, 2dc in next, repeat from * around, join. (60)
6: Ch2, dc in first 4 sts, 2dc in next, *dc in next 4 sts, 2dc in next, repeat from * around, join. (72)
7: Ch2, dc in first 5 sts, 2dc in next, *dc in next 5 sts, 2dc in next, repeat from * around, join. (84)
That’s it for Part 1! The bottom of your basket is complete.
Click HERE for Part 2 where we will work on the body of the basket!

Copyright Notice
You are free to sell what you make from this pattern, but you may not share, copy or reproduce this pattern in part or whole.
Photographs are also copyright protected and may not be used.
Please link back to one of my shops if selling your finished items online.
(c) Pam Dajczak 2018
Where is week 3? I would like to make this basket, but I can’t find the last section.
Here you go: https://www.sincerelypam.com/lansdowne-basket-cal-week-3/