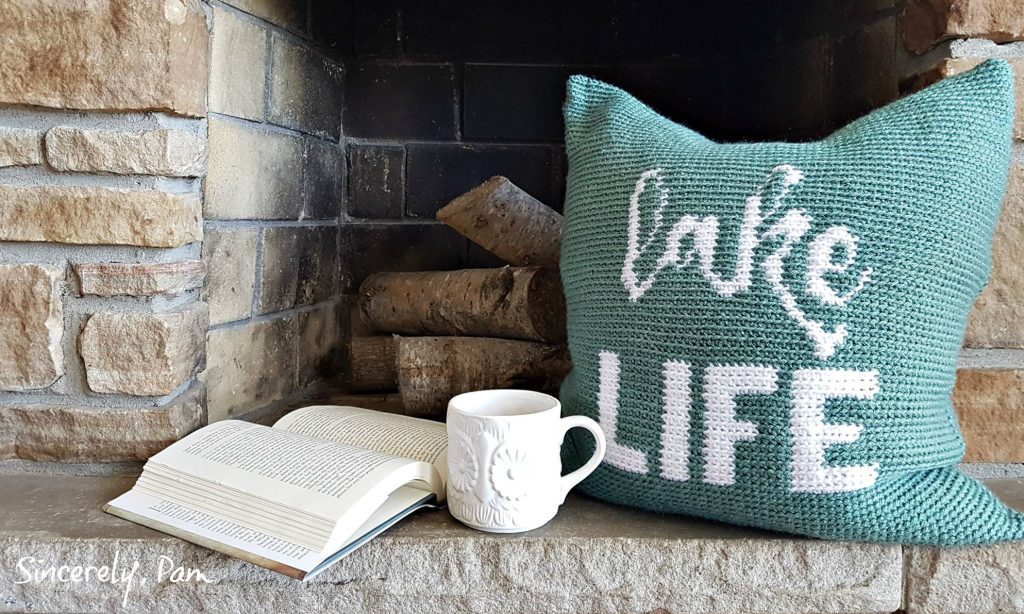
Welcome to my Tapestry Crochet Photo Tutorial! The humble single crochet stitch may seem basic and boring at first, but as we all know, looks can be deceiving. When used in Tapestry Crochet, it can look intimidating to those who haven’t tried it. I wanted to share with you the way I work Tapestry Crochet stitches to give a crisp and clean look to my patterns.
A Trick When Working In the Round
Traditionally in Tapestry Crochet, you will work both colors of yarn at the same time, meaning you will crochet over the unused color throughout the entire pattern keeping even tension and density throughout. Since my Tapestry patterns are worked in the round, I drop the unused color when switching colors, and carry it behind the color I am using. You may also prefer to cut the yarn at each color change and weave in the ends. This is personal preference depending on how it affects tension. If color changes are pulled too tightly, the item you are crocheting will pucker.

Crochet In the Back Loop Only
You might also notice that all the stitches are worked in the back loop only. The reason being is that when working in the round, the stitches tend to lean when crocheting. They don’t stack directly on top of one another. The result is a picture that leans noticeably to one side. When you work in the back loops, it helps to keep the stitches stacked straight.
Prefer a Tapestry Crochet Video Tutorial?
Tapestry Crochet Photo Tutorial
When working the different colors of my Tapestry Crochet patterns, the instructions will refer to them only as (A) for the main color and (B) for the contrast color before the number of sts you need to work in that particular color. For the example below, I used a seafoam for color (A) and white for color (B).
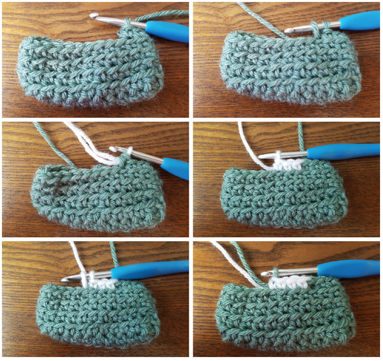
Let’s pretend that the instructions for this Round are: Ch1, (A) 4, (B) 4, (A) 18, join. (26 sts)
1: Shows the first 3 (A) sts being completed.
2: Pull a loop through the next st (2 loops on hook).
3: Yarn over with (B) and pull through all remaining loops. Color change complete.
4: Shows first 3 (B) sts being completed.
5: Pull a loop through the next st (2 loops on hook).
6: Yarn over with (A) and pull through all remaining loops. Color change complete.
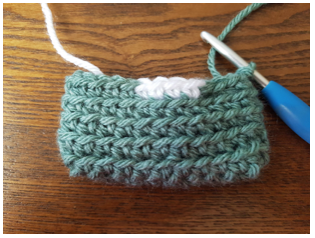
Although this is the simplest, and most basic way to work Tapestry Crochet stitches, you can see what beautiful results you can get! What do you think? Is this a technique you would like to try?
Check out some of my free Tapestry Crochet patterns by clicking the photos below, or check out THIS RAVELRY BUNDLE for the entire!



[…] When working the different colors of the Pillow, the instructions will refer to them only as (S) for Sage and (W) for White before the number of sts you need to work in that particular color. For example, (S) 10, (W) 4, means to sc 10 sts in color Sage then sc 4 sts in color White. You may carry the colors behind one another when working the color changes, or cut the yarn at each color change and weave in the ends. This is personal preference depending on how it affects tension. If color changes are pulled too tightly, the Pillow will pucker. You can check out my Tapestry Crochet tutorial HERE. […]