The Picnic Clutch crochet pattern was designed for the 2019 Mother’s Day CAL. Last year for the Mother’s Day Crochet Along event, I shared how my love of crafting started with my mom. This year, I thought I would share a memory.
I was taking a calculus class in high school with kids in the grade above me. I remember we were all working with our heads down, when suddenly the class erupted in laughter. I looked up and standing in the doorway was a clown with a bunch of balloons looking for a Pam in the class. The clown said that my mom wanted to wish me a Happy Birthday, then he gave me the balloons and started singing me songs. In the middle of class. In high school. With nowhere to hide. I don’t exactly remember what happened after that since I probably blacked out.
Sigh. That is my mom in a nutshell. The type of mom who would send a signing clown to your school just to make sure you knew she was thinking of you. ❤️ My mom has always been outgoing, fun, and silly. She has a wonderful sense of humor and I always have such a great time with her.
This post contains affiliate links to products we recommend. We may receive a commission for purchases made through these links.
2019 CELEBRATE MOM BLOG HOP
I’m excited to be participating in the 2019 Celebrate Mom Blog Hop hosted by Pattern Paradise! Each day in May, a different crochet designer will be featured and share a new free pattern with you! There are lots of fun prizes too, so come join the fun! For the list of designers and all the details, go to this post => 2019 Celebrate Mom Blog Hop & Giveaway.
THE YARN
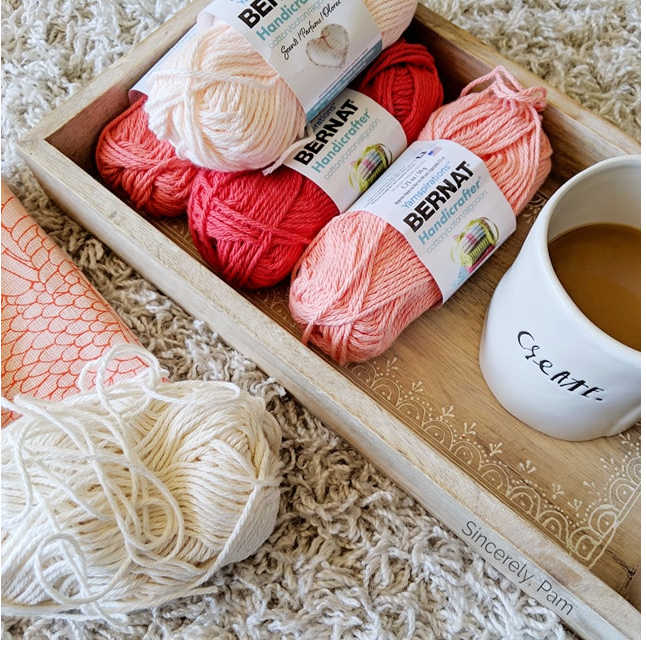
For the Picnic Clutch crochet pattern, I used Bernat Handicrafter which I purchased at my local Michaels store. I really enjoy using Handicrafter for this type of project for a couple of reasons.
#1 – This 100% cotton yarn is nice and sturdy. I really wanted this clutch to hold up and not be too flimsy. I also needed it to be machine-washable and really stand up the demands of being tossed during daily use.
#2 – The colors! There were DOZENS of colors to choose from and I couldn’t help but grab several coordinating shades that reminded me of watermelon sherbet!
#3 – The size of the skeins. At only 80 yards a skein, these babies were made for mixing and matching tons of colors without a lot of waste.
I have used Bernat Handicrafter for quite a few projects over the years! Check them out here:
- My Favorite Tea Towel (free pattern)
- Mini Granite Stitch Basket (free pattern)
- Julie Basket (free pattern)
- Samantha Tank (paid pattern)
>>> CLICK HERE TO SIGN UP FOR THE SINCERELY, PAM WEEKLY NEWSLETTER! <<<
PICNIC CLUTCH – CROCHET PATTERN
>>> PURCHASE THE AD-FREE PDF ON RAVELRY, ETSY, OR LOVECRAFTS <<<
Materials
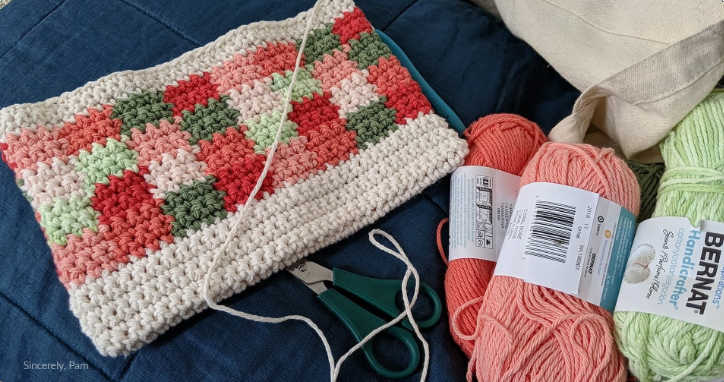
- Yarn: Worsted #4 weight yarn in seven different colors. Sample made using Bernat Handicrafter (see Special Pattern Notes for specific colorways used.)
- H (5.0 mm) hook
- Measuring Tape
- Scissors
- 9″/23 cm closed end zipper in a coordinating color
- (Optional) coordinating fabric to line the inside of the clutch (two pieces of 8″ x 12″)
Pattern Key
- ch: chain
- st(s): stitch(es)
- sk: skip
- slst: slip stitch
- sc: single crochet
Gauge
- 13 sc x 18 rows= 4”x4”
Special Pattern Notes
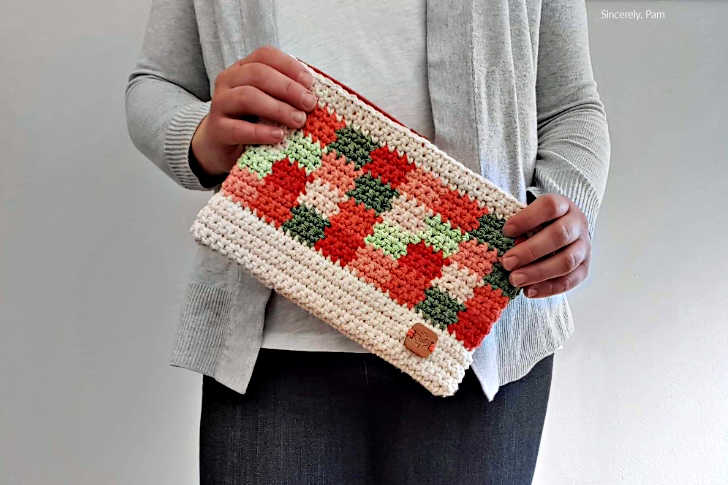
- This pattern makes a 10″ x 6.5″ clutch.
- This clutch is worked in one piece from the bottom up.
- The colorways used for the sample are 1 skein each of Bernat Handicrafter in Red, Tangerine, Coral Rose, Off-White, and Sage Green, as well as one skein each of Bernat Handicrafter Scents in Aloe Vera and Chamomile.
- Beginning ch1 does not count as a st throughout.
- Always join each round to the first sc of the round with a slst.
- When working the different colors of the clutch, the instructions will refer to them only as (OW) for Off-white, (SG) for Sage Green, (Re) for Red, (T) for Tangerine, (CR) for Coral Rose, (AV) for Aloe Vera and (Ch) for Chamomile before the number of sts you need to work in that particular color. For example, (OW) 4, (SG) 4, means to sc 4 sts in color Off-white, then sc 4 sts in Sage Green. You may carry or float the colors behind one another when working the color changes (making sure to always float across the WRONG SIDE of the clutch, or you can make bobbins of each color (4 each) and drop and pick up each color as directed. This is personal preference depending on how it affects tension and gauge. If color changes are pulled too tightly, the clutch will pucker. You can read my Tapestry Crochet color-change tutorial HERE.
Experience Level
Intermediate
Copyright Notice
You are free to sell what you make from this pattern, but you may not share, copy or reproduce this pattern in part or whole.
Photographs are also copyright protected and may not be used. Please link back to one of my shops if selling your finished items online.
(c) Pam Dajczak 2019
Sincerely, Pam
>>>PIN IT FOR LATER!<<<
>>>ADD THIS PATTERN TO YOUR RAVELRY QUEUE<<<
Picnic Clutch Crochet Pattern Instructions
Start with (OW)
1: Ch33, RIGHT SIDE, sc in 2nd chain from the hook and across, turn to work back across the foundation chain and sc across the remaining loops, join. (64 sc now and throughout).
2-8: Ch1, turn, sc around, join.
9-12: Ch1, turn, *(Re) 4, (SG) 4, (T) 4, (CR), repeat from * around, join.
13-16: Ch1, turn, *(T) 4, (Ch) 4, (Re) 4, (AV) 4, repeat from * around, join.
17-20: Ch1, turn, *(SG) 4, (CR) 4, (AV) 4, (Ch) 4, repeat from * around, join.
21-24: Ch1, turn, *(Re) 4, (SG) 4, (T) 4, (CR), repeat from * around, join.
25-27: Ch1, turn, OW around, join.
Fasten off and weave in all ends.
Add A Lining
Now, I will say that I am most definitely NOT a professional sewer, nor do I know the correct way to sew a lining, but I will share with you how I did mine. Since I am still in the process of moving and my sewing machine is in storage, I used a needle and thread and did this the old school way.
STEP 1
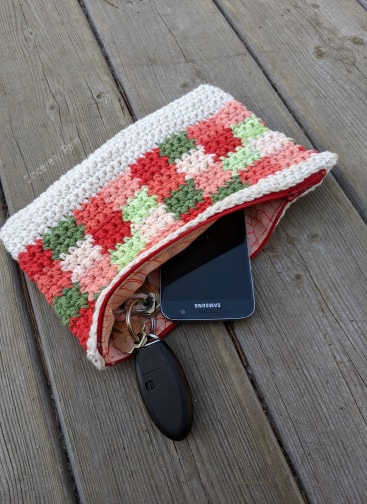
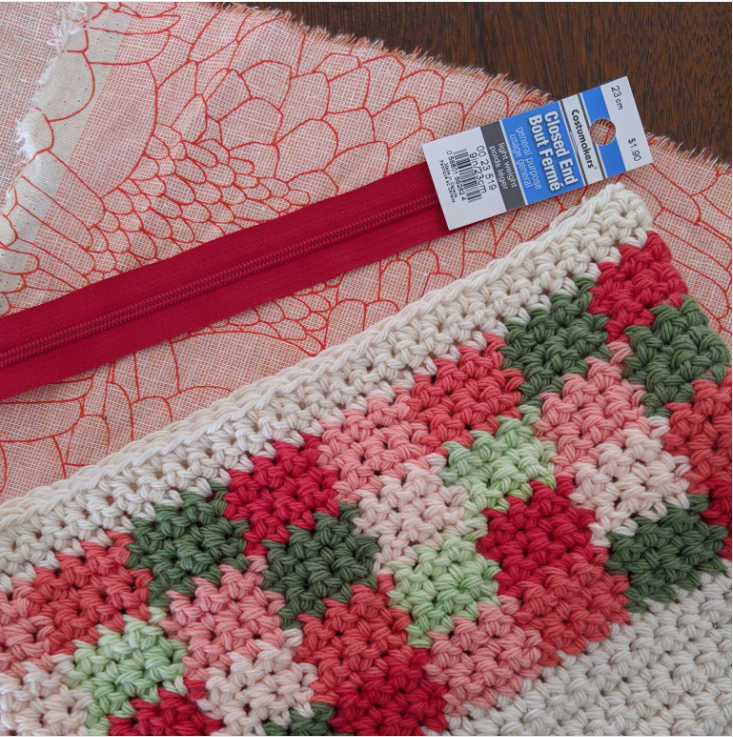
The first thing I did was cut two pieces of cotton fabric to the approximate size of my clutch, leaving an extra 1″ on all sides to allow for a seam. Don’t you love the way the floral pattern plays off of the colors in the yarn?
STEP 2
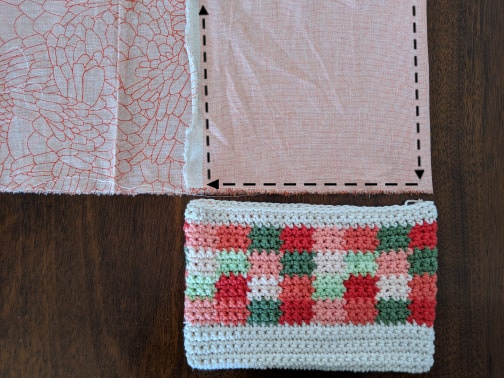
The next thing I did was place the two pieces of fabric so that the right sides were facing towards each other, and fold the left side towards the middle by 1/2″, then again, taking advantage of the 1″ allowance on that side. I sewed down towards the bottom of the fabric. Once I was 1.5″ away from the bottom, I folded the bottom up by 1/2″, then again, using that allowance. I sewed across to the right side until I was 1.5″ from the right and folded that side up the same way and sewed back up to the top.
STEP 3
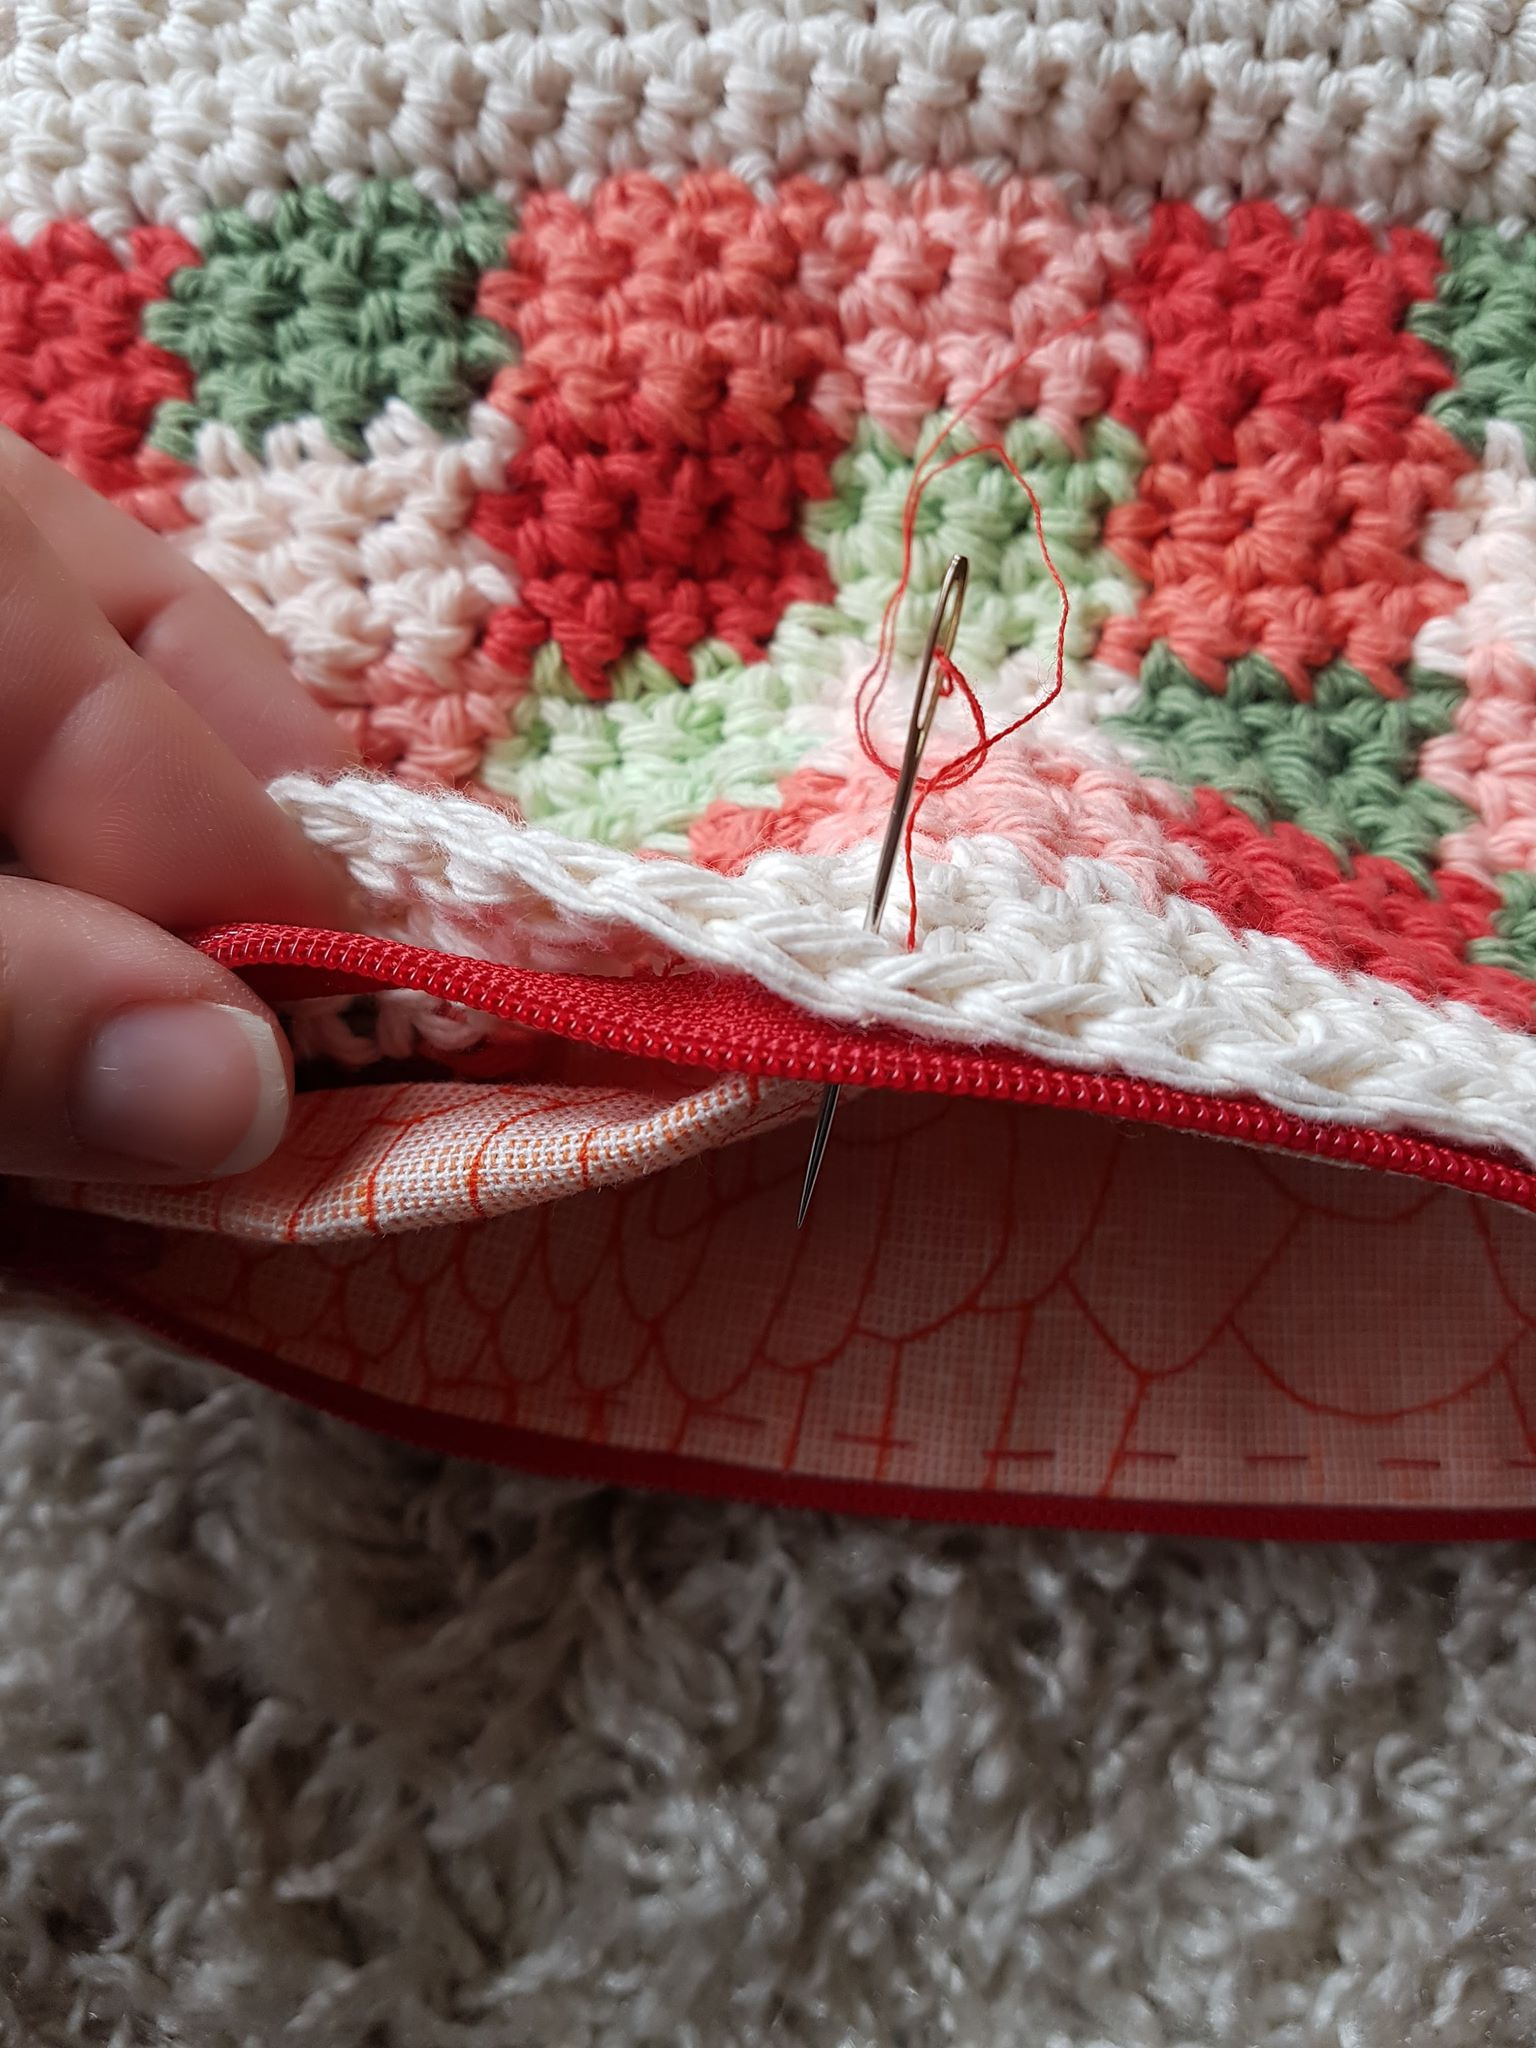
Once the lining was sewed up on three sides, I placed it inside the clutch. There is now 1″ hanging out the top with an unfinished edge. What I did next was a little bit trickier, but gave me a nice, clean look. I folded the fabric over onto the wrong side by 1″. I then placed the zipper between the clutch and the lining and sewed through all three pieces (clutch, zipper, lining) all at once. If you would rather do it one step at a time, I would recommend sewing the zipper to the clutch first, then sewing the lining inside the clutch next. You can read my tutorial HERE on how I sew zippers into crocheted items.
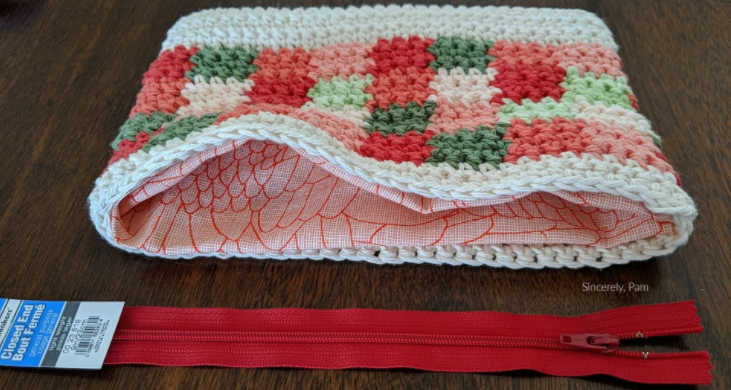
Once those steps are done you have finished your Picnic Clutch crochet pattern! What will you use yours for? Will it be your new everyday bag? Will you use it for your crochet hooks and notions? Or maybe a makeup bag? However you put this bag to use, I hope you love it for many years to come!


Love this pattern but…for the life of me, I have read and reread your directions for making the lining and I just don’t get it. I can’t even figure out from the picture how the fabric is placed. One piece looks right side up and the other appears, to me, as if you are sewing it completely closed inside-out. Were they side-by-side to start out or right sides together or overlapping? I’m so confused.